
This post contains affiliate links. Full disclosure here.
I’ve been trying to grow strawberries organically for the last ten years. Eight of those ten years have been complete failures. I had one good year, my second year where I was taking in bowls of healthy strawberries but every year after that I was dealing with major diseases.
I finally had a BIG breakthrough this year! I did all these things on my list and it worked! Where we live in Arkansas there is a multitude of diseases because the heat, humidity, and rain. If you are struggling with healthy strawberries just follow these tips and you will have success.
#1 Pick the right variety.
If you are struggling with plants that get disease the best line of defense is always to pick a variety that is resistant to the diseases that you have or are likely to have. This is so important.
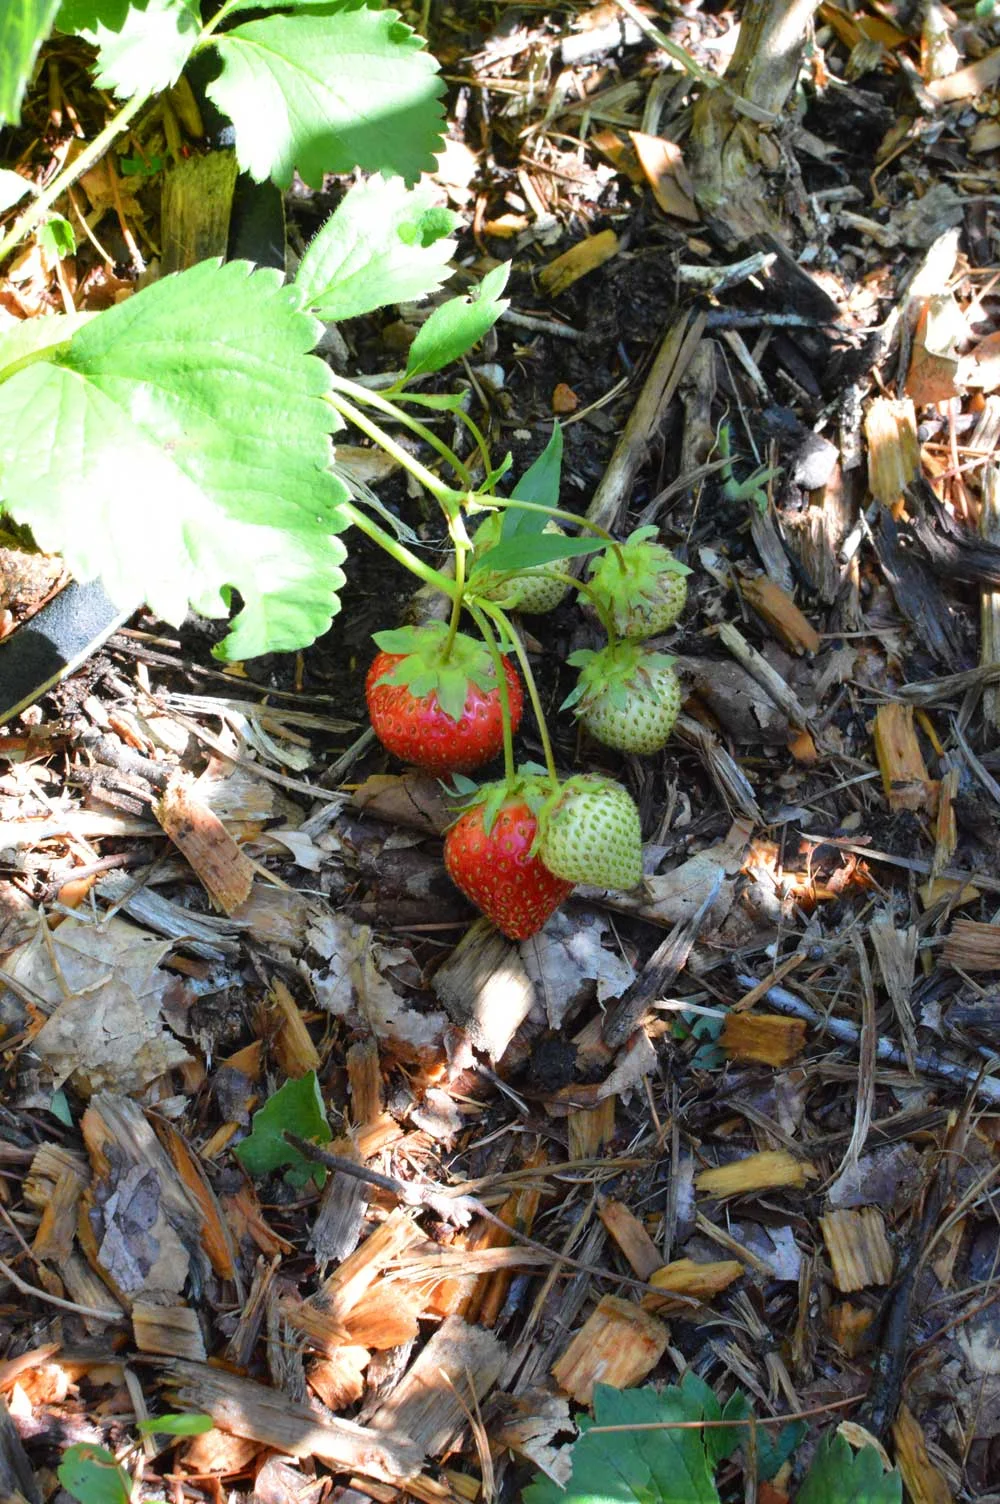
Example: My main diseases I was dealing with was anthracnose (Black rotten spots on berries) and Botrytis fruit rot (Gray Mold). Between the two of them I had very little edible berries left.
I went online and searched anthracnose resistant varieties because anthracnose did most of the damage. What came up was a few varieties. One was called Sweet Charlie but they were hard to find. Another one that really caught my eye was a new cultivar, Flavorfest. This is sold through my favorite berry company, Nourse Farms. Link to the variety HERE.
I bought 50 Flavorfest plants and put them in last year. Flavorfest is incredibly vigorous, almost to a fault (I was constantly removing runners). It’s benefits far outweigh the negatives though. Flavorfest has had no anthracnose or botrytis fruit rot. I haven’t lost a single berry to either of them! It’s absolutely amazing.
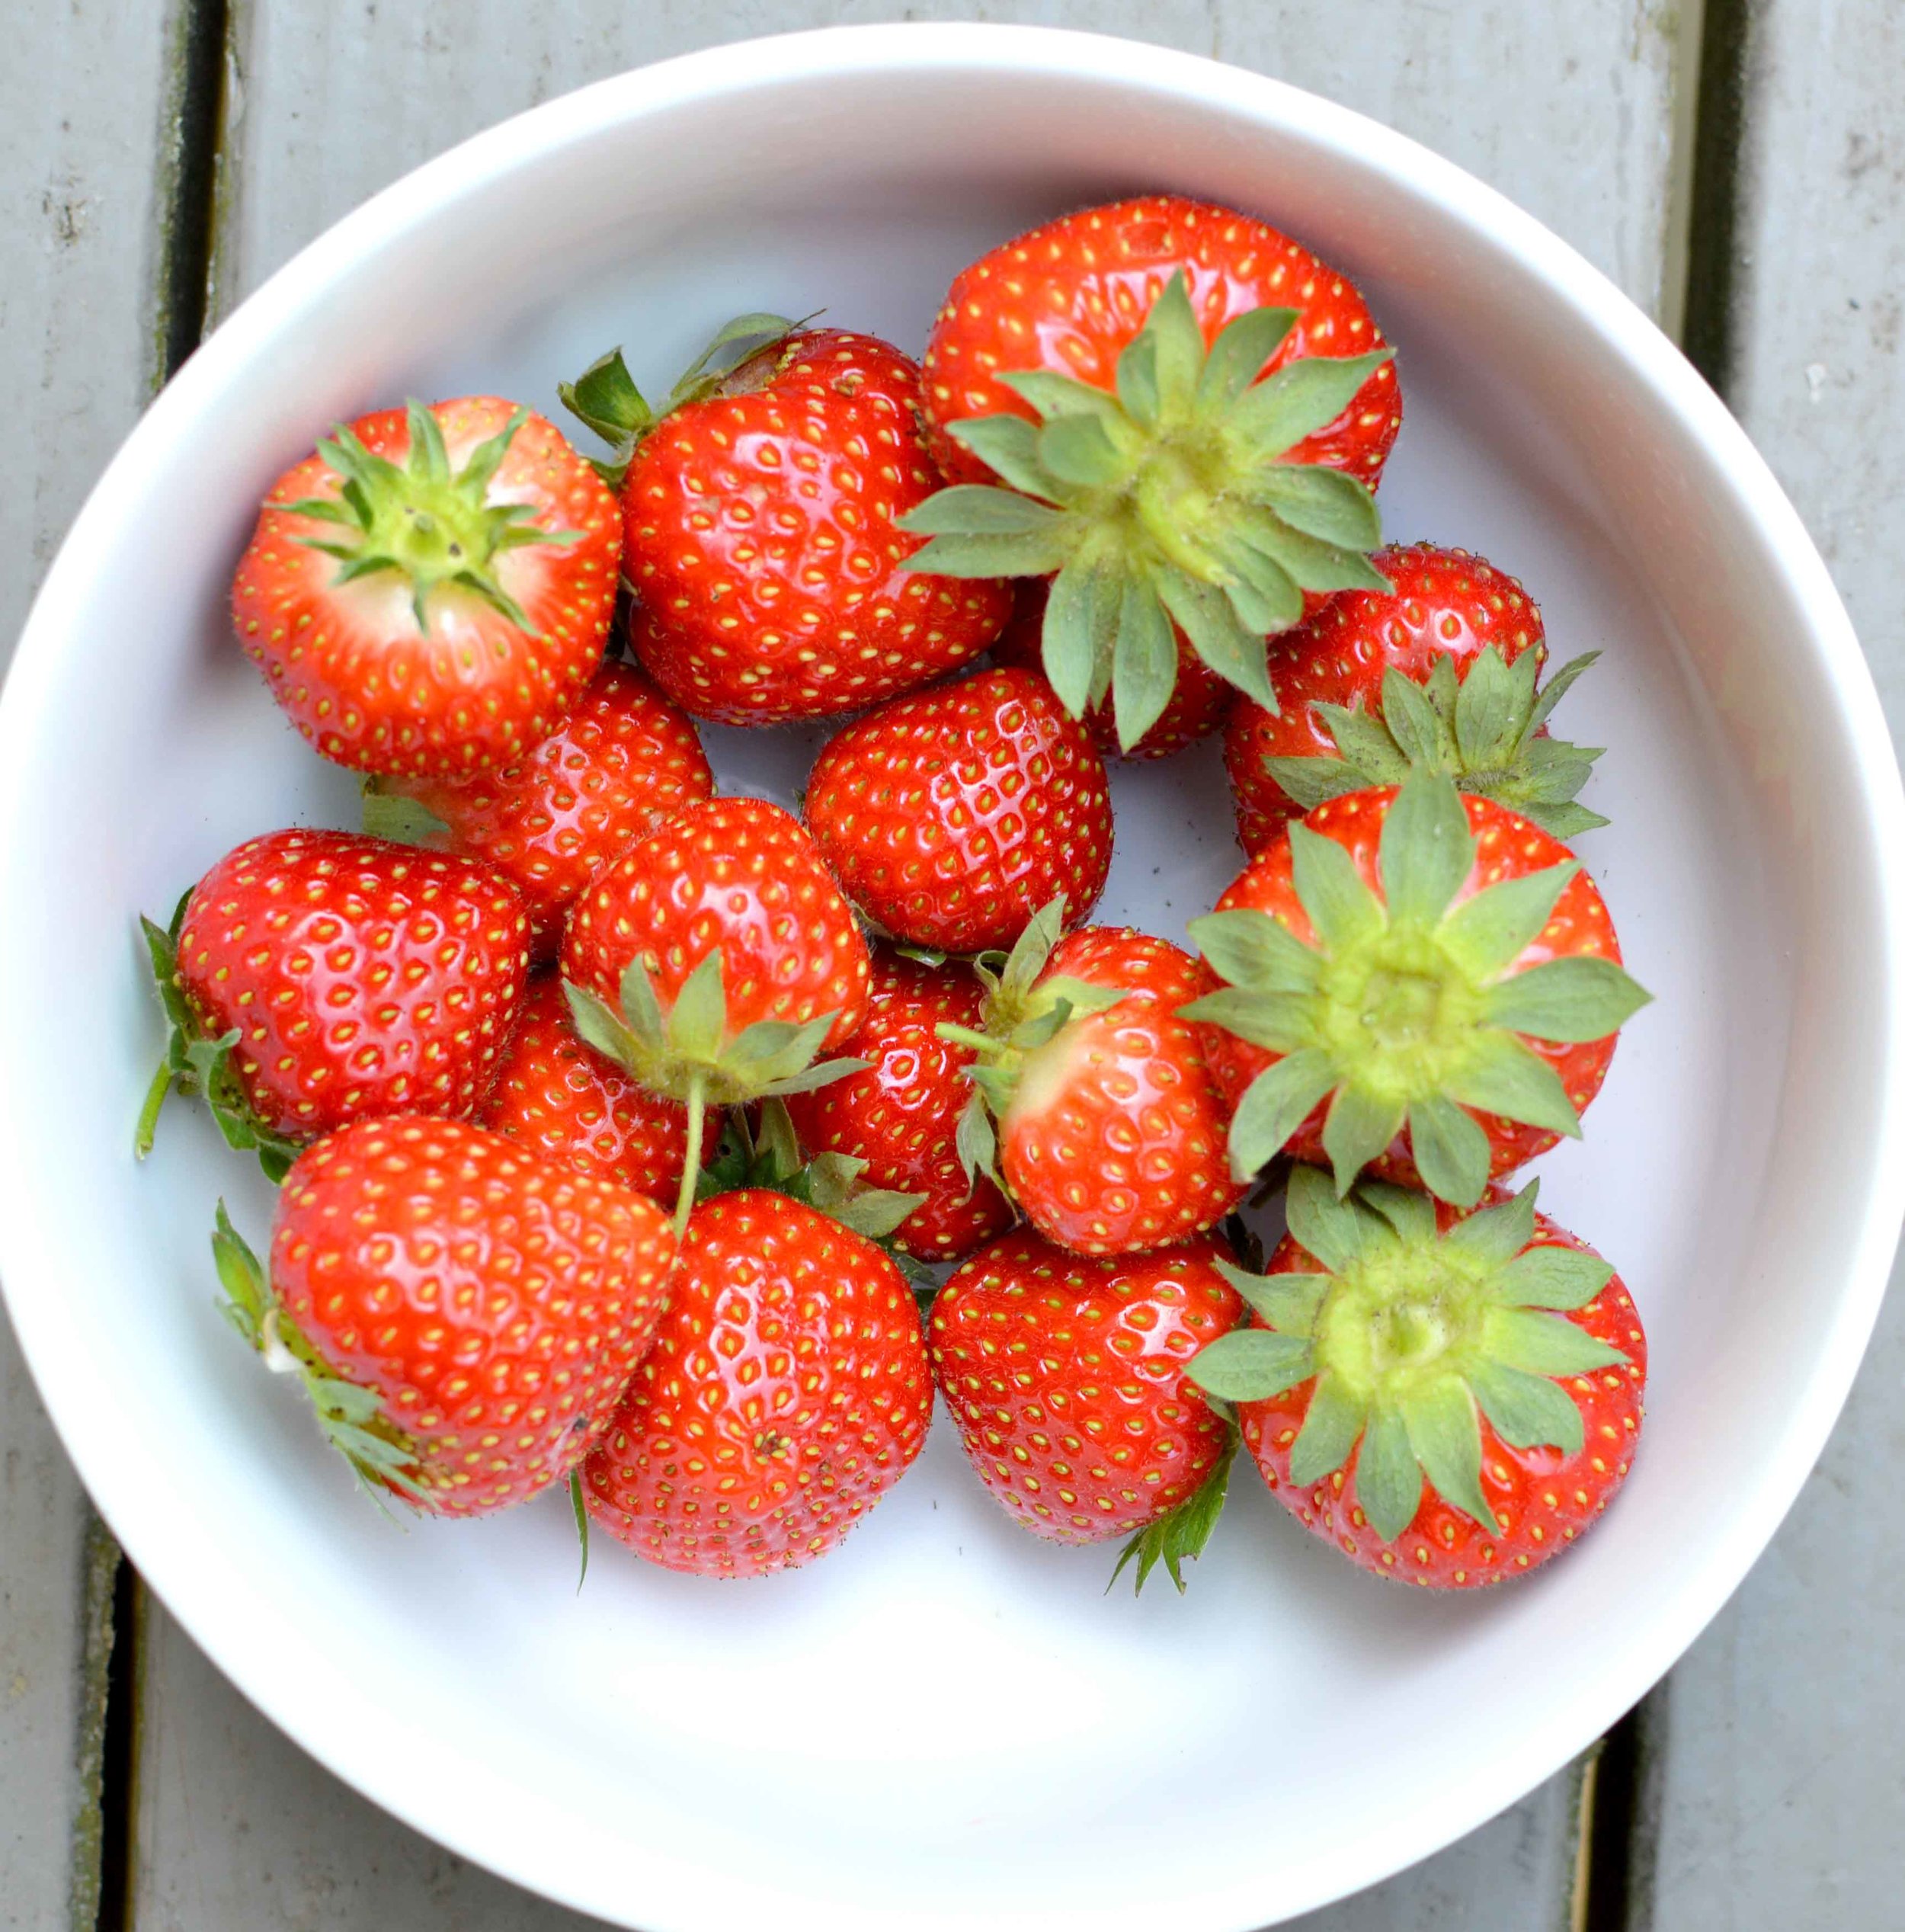 Flavorfest Strawberries
Though I haven’t lost any berries to disease this year, I do have one very persistent squirrel that is driving me nuts eating them! I just put netting over the berries yesterday. I hope it works! I’ll take the squirrel over the disease problems though any day 😉
I have been employing other tactics to keep my berry patch extra healthy too. Which leads me to the other 4 tips and tricks I have for you!
#2 Keep Strawberries Properly Spaced
I have used quite a few methods of spacing over the years. The main one being matted row. Matted row is when you space the mother (which is the older and likely larger) plants out quite far apart at planting time, with the idea that the runners will fill in the rest of the space. I liked the idea of my strawberries being able to reproduce themselves and a constantly replenished bed.
However, the big problem with this is that my strawberries always seemed fill in too much. I was constantly pulling out runners to make sure I had enough space between plants and inevitably they would end up way too crowded. I was difficult to tell where the mother plants were because my spacing was so random.
The consequence of this method was the crowding made disease problems much worse. The other negative from matted row is that when my plants were spaced too close together they had many slugs. If you want to reduce slug damage, space out your plants!
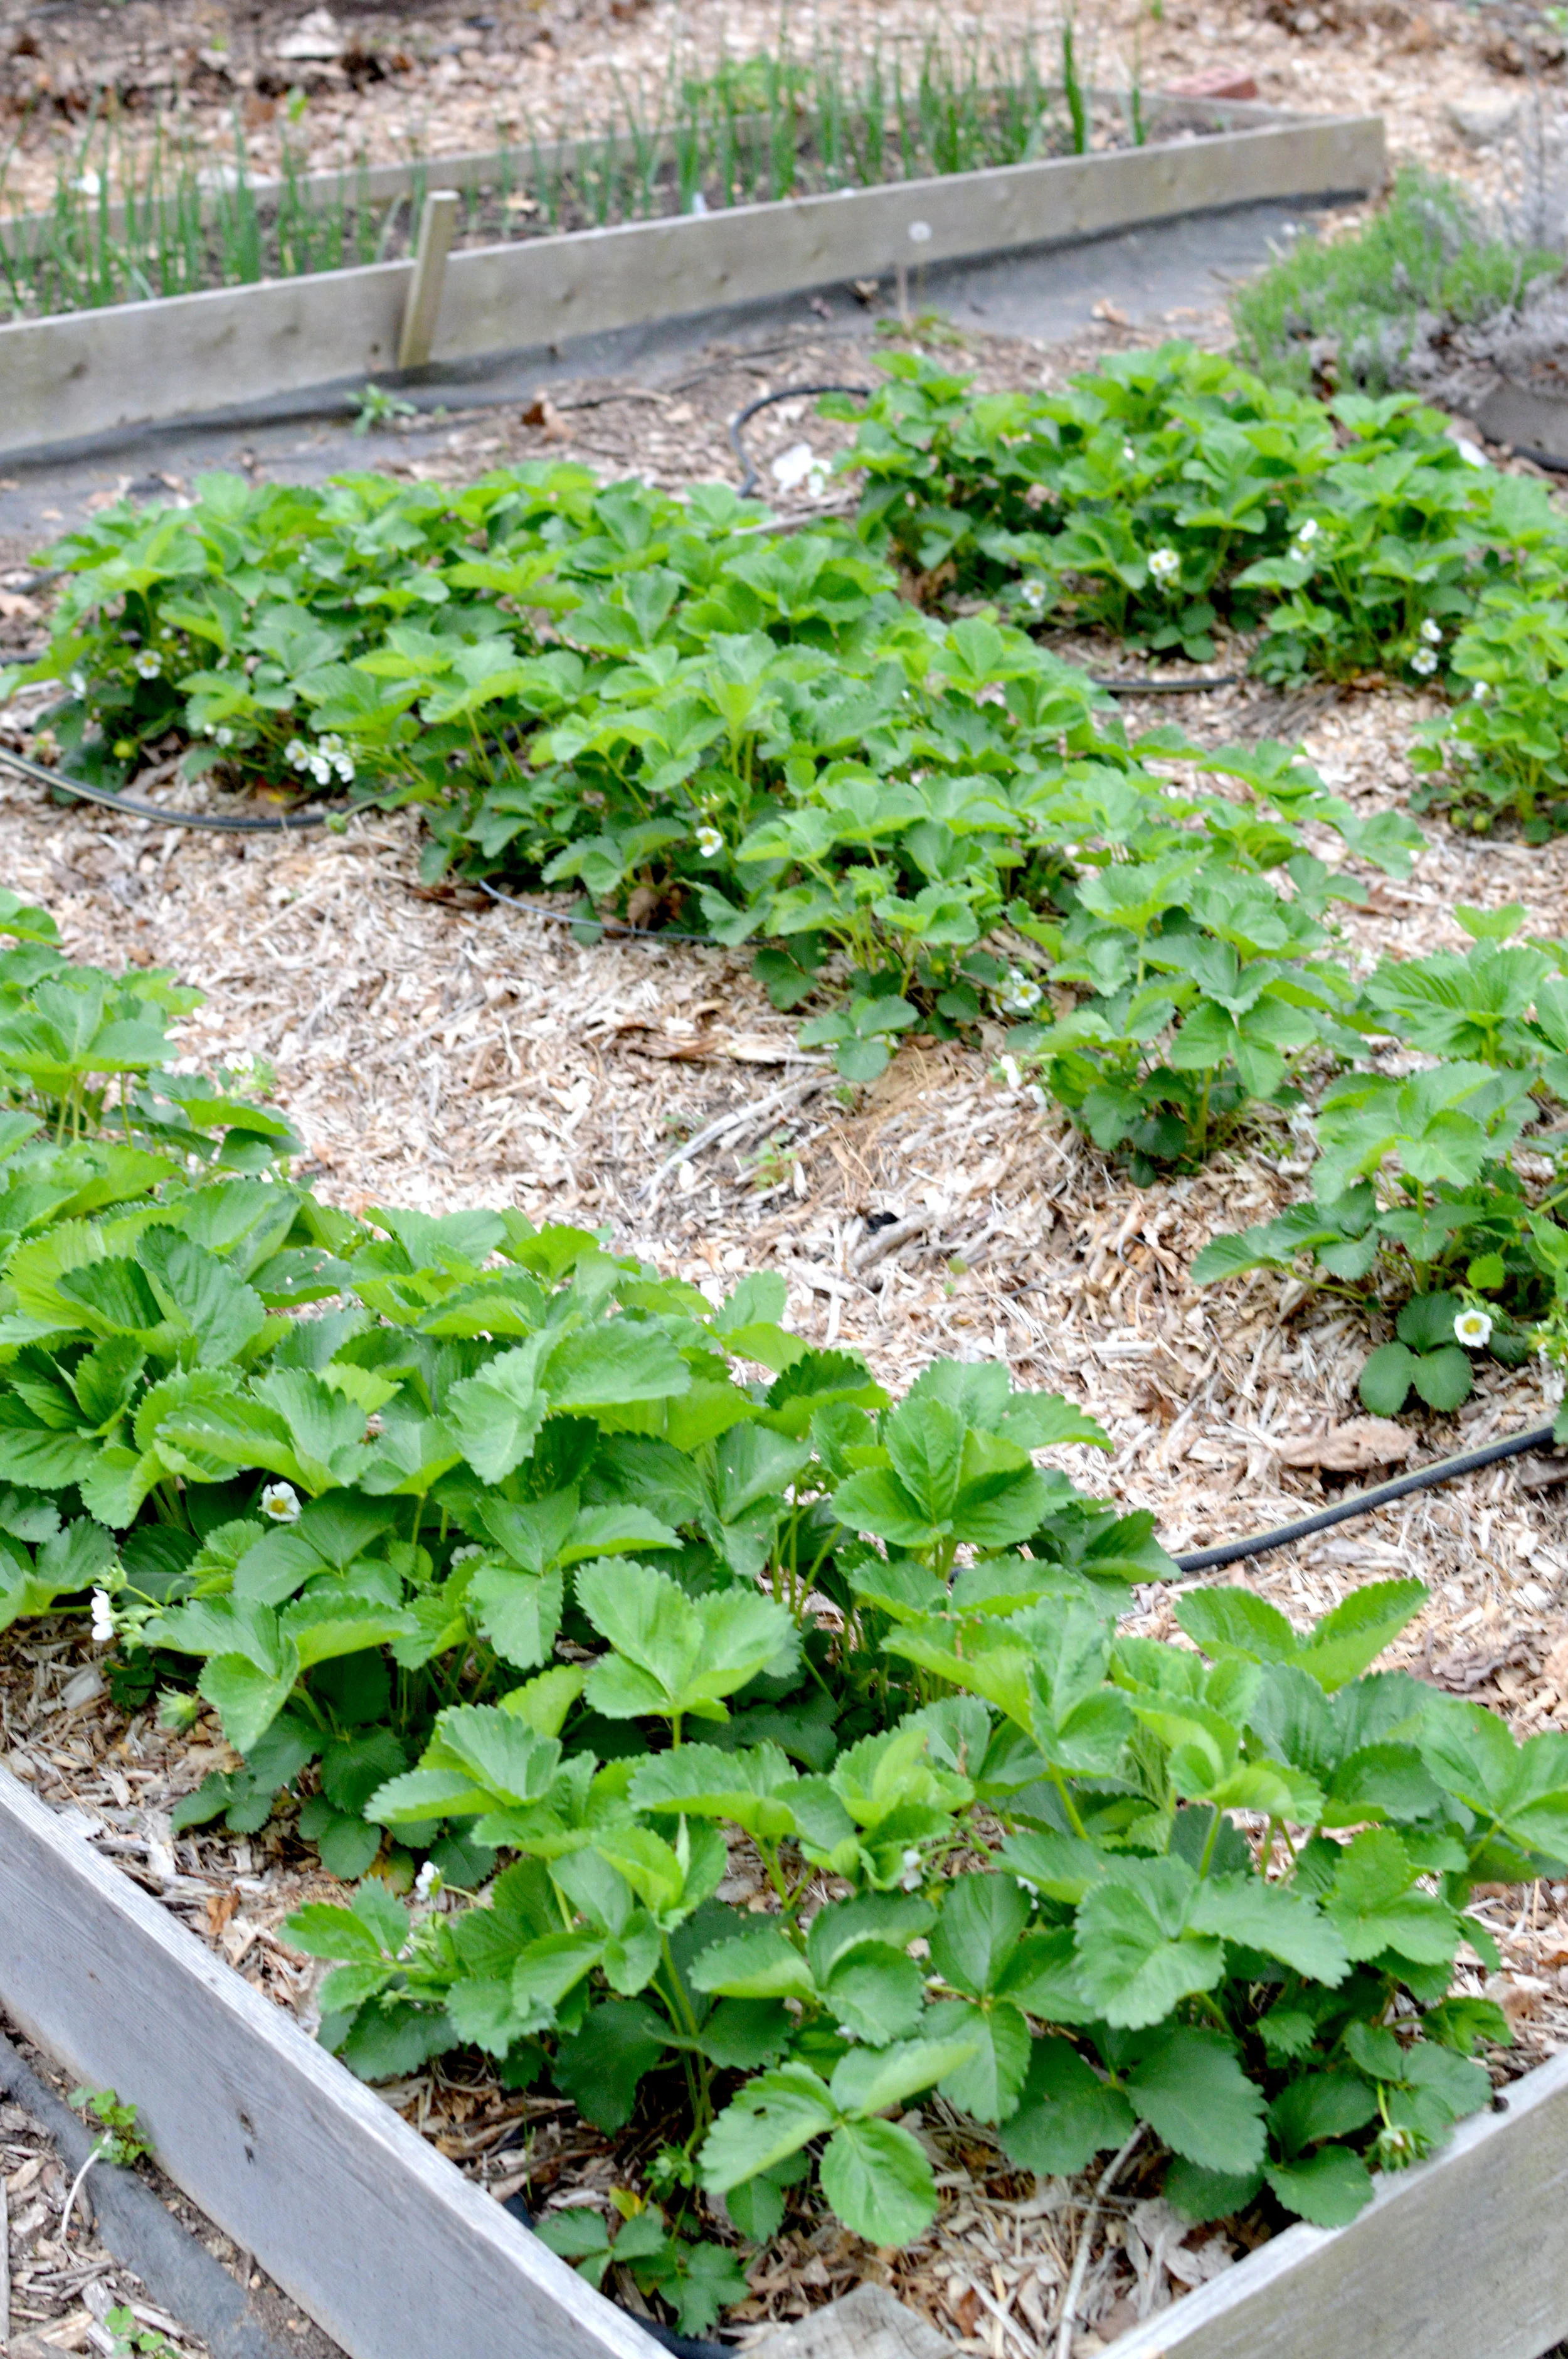
 Strawberry Plasticulture
Each year I would fail and then go you pick some strawberries at a local farm. I noticed that they used plasticulture production. This is when you just have the mother plants spaced optimally (12-18 inches) and allow no runners to take root because there is plastic laid down between the plants. Their berries seemed much more productive and healthy. (Photo above)
I thought I would try this in my own garden. But Instead of using plastic, I opted to use wood mulch. I still have to pick a lot of runners because they can root in that. Yet it is nice because I know where my mother plants are in rows and I can pull out everything else.
I should also mention that plasticulture is especially beneficial for June Bearing varieties. I don’t think it’s recommended as much for the everbearing types.
#3 Use Mulch.
Whether it’s plastic, straw, shredded leaves or wood chips, use mulch my friends! Mulch is a good friend to any gardener and this is especially true with strawberries. Strawberries left with bare soil underneath are much more likely to rot.
If you want good strawberries take the time to add a mulch. You won’t regret it.
#4 After Strawberries have Produced, Cut Down Leaves
After your strawberries have finished bearing fruit, mow down the leaves. For June bearing varieties this will be earlier in the year than ever-bearing types which won’t finish producing until fall oftentimes.
And by mow down the leaves, I mean clip them off and leave about 3 inches of stem left. It’s usually just stubby stems and no leaves. Haul off the remains. Clipping the foliage and removing it from the area helps to prevent disease.
You can refresh your mulch and/or fertilize at this point.
#5 Make sure you check off the basics. Correct ph, healthy soil, water, and sun.
-
With all these tips, you can’t forget to keep up with the basics. That is making sure your soil PH is correct. Strawberries like a PH of 6.5-6.8.
-
Start with a healthy soil. And in organic matter and possibly sand if you have a heavy soil. I did a combination of peat moss, sand, compost, and native soil (I have heavy clay). It’s worked great. Remember to feed your plants with a nutrient rich fertilizer.
-
For water, soaker hoses or drip irrigation are best. Like other plants, strawberries are less susceptible to disease in watered from below.
-
Healthy strawberries need sun. They need at least 6 or 7 hours of full sun. Ideally 8 hours plus is best.
And just so you know…some people still use approved organic chemicals for growing. I don’t use any chemicals at all. I like to use good growing practices instead! You can still get good results without the chemicals.
