This post contains affiliate links. Full disclosure here.
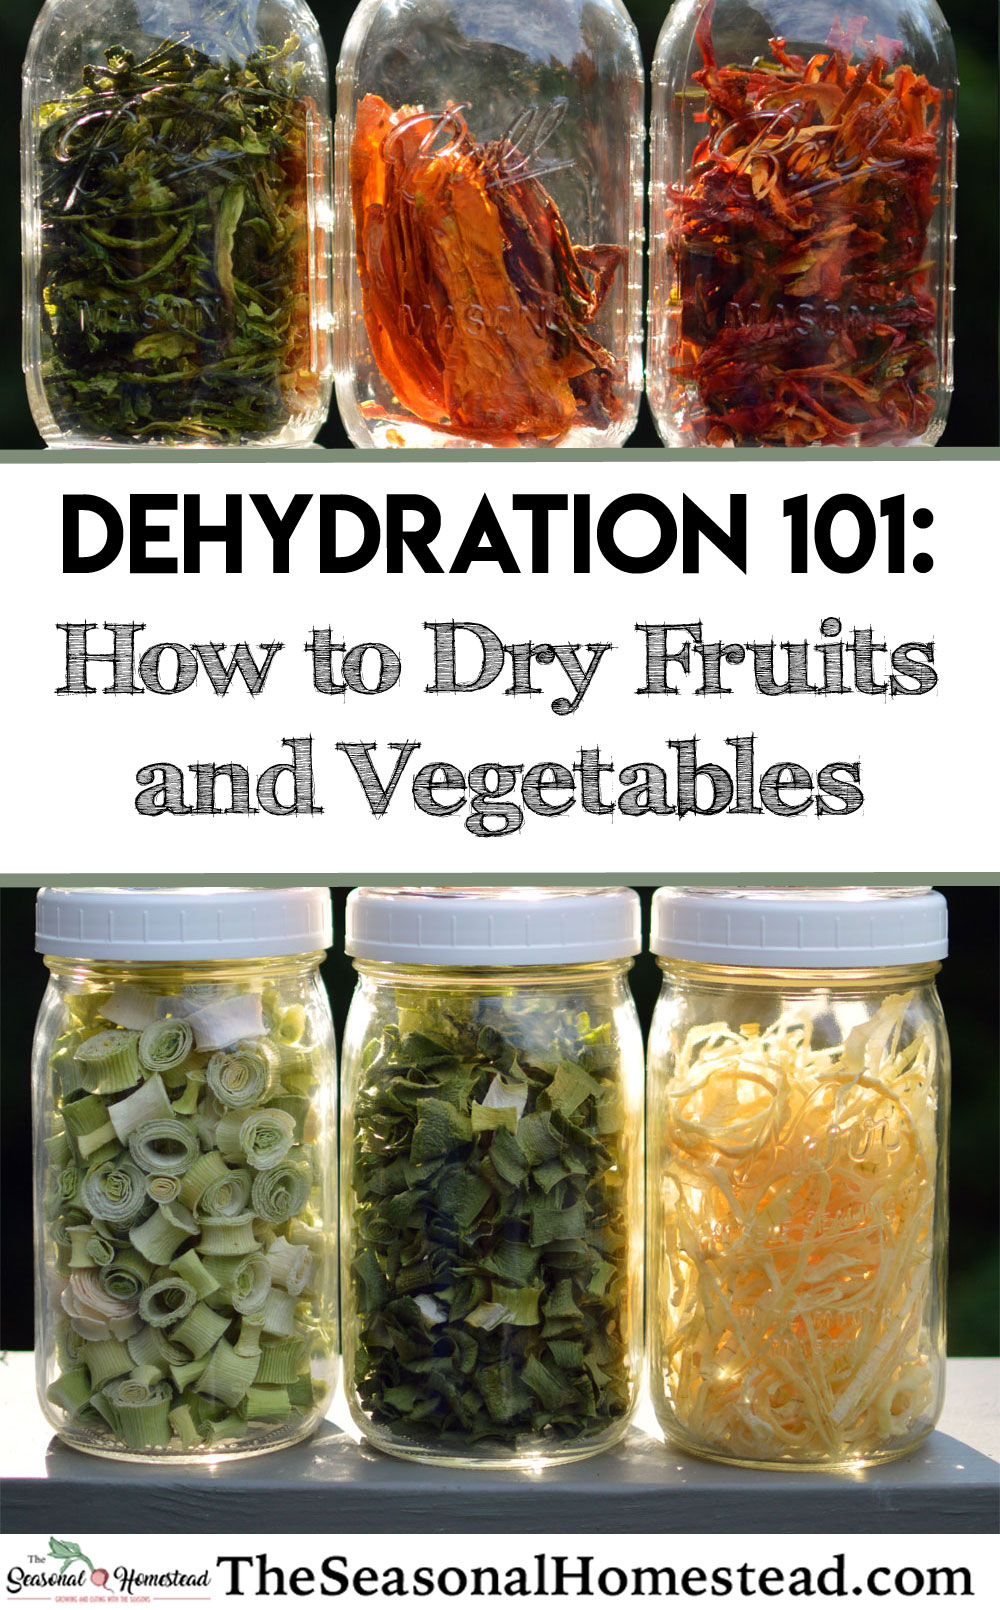
Dehydration is a method of food preservation which works by removing the moisture in food. When you remove that moisture, the microorganisms like mold can’t grow and break it down. The result is a shelf stable product that doesn’t spoil for many years.
When dehydrated, packed, and stored properly, fruits have a shelf life of 5 years and vegetables have an 8-10 year shelf life. More information on shelf life HERE.

Step #1: Choose a dehydrator or make your own
The first step in dehydrating is deciding how you are going to dehydrate your food, whether it’s setting it in the sun, your car, an electric dehydrator or a solar dehydrator. Below are some options for different dehydrators.
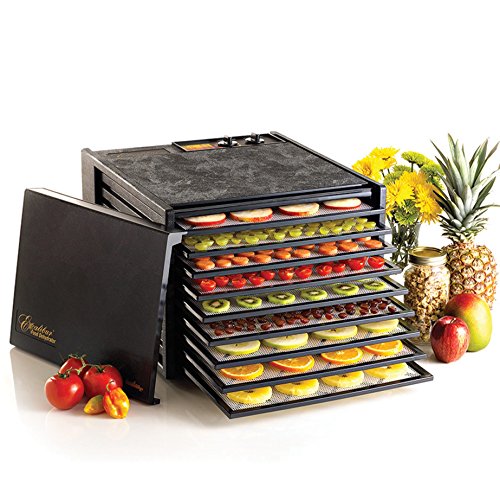
Option 1: Electric Dehydrator
Excalibur 9 Tray This is my favorite dehydrator. I won’t recommend any other type of electric dehydrator because I’ve tried a different brand and the excalibur is much better. Initially I bought one of the more budget friendly dehydrators that has the blower on the top and pushes the air down. The result was terrible and dried so unevenly, I got frustrated and hardly used it. I ended up selling it and getting the an this Excalibur which I should have purchased in the first place.
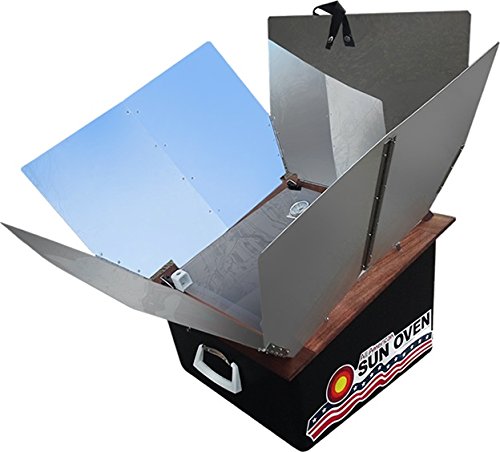
Option 2: Solar Dehydrator
All American Sun Oven is both for cooking and can be used for dehydrating. I love that it’s dual purpose and only requires energy from the sun. This one is definitely on my wish list for the future!
Option 3: Using a Kitchen Oven as a Dehydrator
To use your oven as a dehydrator, it needs to be on a very low heat. On most ovens this is 170ºF. This is still hot for dehydrating your fruits and vegetables (ideal temperature is 125ºF) so crack the oven open just a bit then set up a fan to circulate the air. Obviously this is very impractical during the heat of the summer but it may be ok in fall or winter.
You can also keep the oven closed but you run the risk of more cooked than dehydrated food. Especially if you have an oven that’s lowest setting is nearer to the 200 degree mark. That being said, I have heard feedback from friends of good results with just an oven. So if you’re on a budget try it out and see if it works for you!
Option 4: DIY Solar Dehydrator
Another great option is to make your own solar dehydrator. It opens up a world of possibilities because you can completely customize your dehydrator the way you need it. I’ve put a few options below of both simple and complex DIY dehydrators.
-
I’d love to try this one HERE!
Now that you’ve decided which dehydrator to use, the next step is dehydrating the food.
Step#2: How to Dehydrate your Food
Dehydrating fruit and vegetables is a pretty simple process. In most cases, all you need to do is peel if desired, cut to the size you want, remove pit or seeds if needed, and then begin drying.
Some fruits and vegetables do require blanching before the drying process. For most, all it takes is a 1-minute bath in boiling water and then they need to be submerged in ice water to stop the cooking. Drain well and then place on trays to dry. That’s it!
Fruits that require blanching: Apricots, cherries, grapes, plums, and rhubarb
Vegetables that require blanching or cooking: Artichokes, asparagus, green beans, beets, broccoli, brussel sprouts, cabbage, carrots, cauliflower, celery, collards, corn, fennel bulb, okra, parsnips, peas, potatoes, pumpkin and winter squash, sweet potatoes, and swiss chard.
A good rule of thumb for the vegetables is to treat it how you would before eating, prior to dehydration. For example, potatoes would need to be throughly cooked and broccoli just needs a quick boil until it turns bright green. Then once cooked how you would eat it, you can dehydrate.
How do you know when the food is dry?


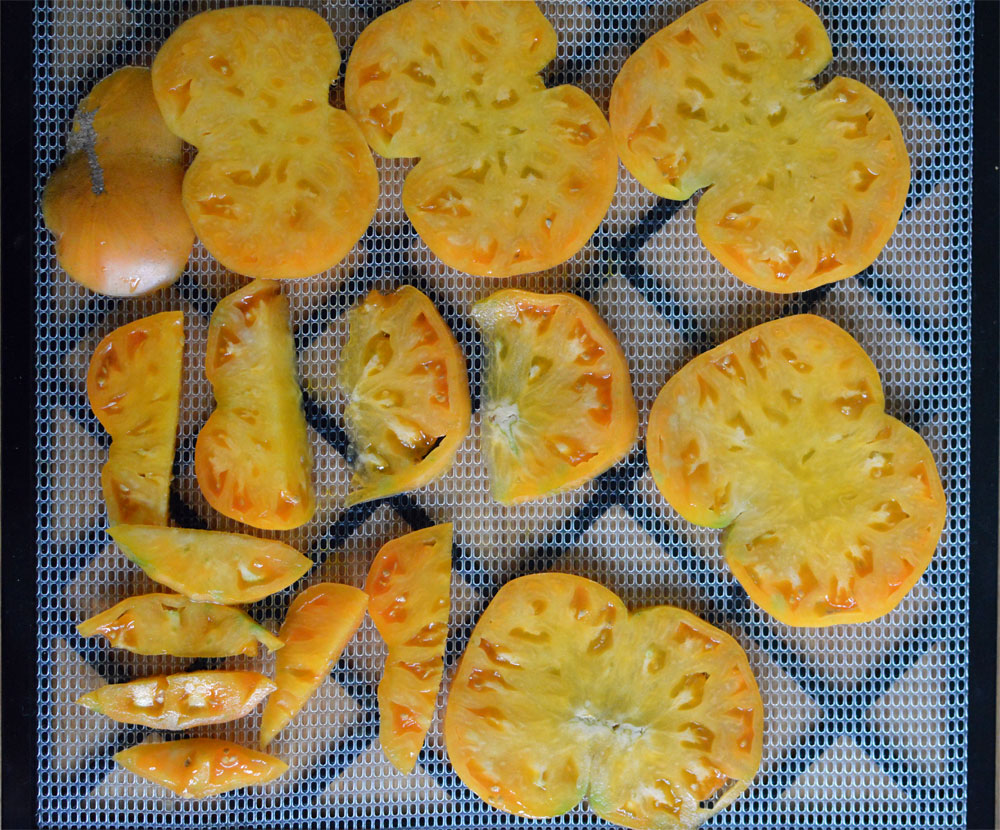
In most cases the food will be brittle and break under pressure. Sometimes like in the case of tomatoes, peaches, apples, strawberries, etc. you will have some flex to the dried food. It should feel papery with no moisture remaining. When in doubt just keep drying. It’s really hard to over dry a food.
Step #3: How to Store Dehydrated Food
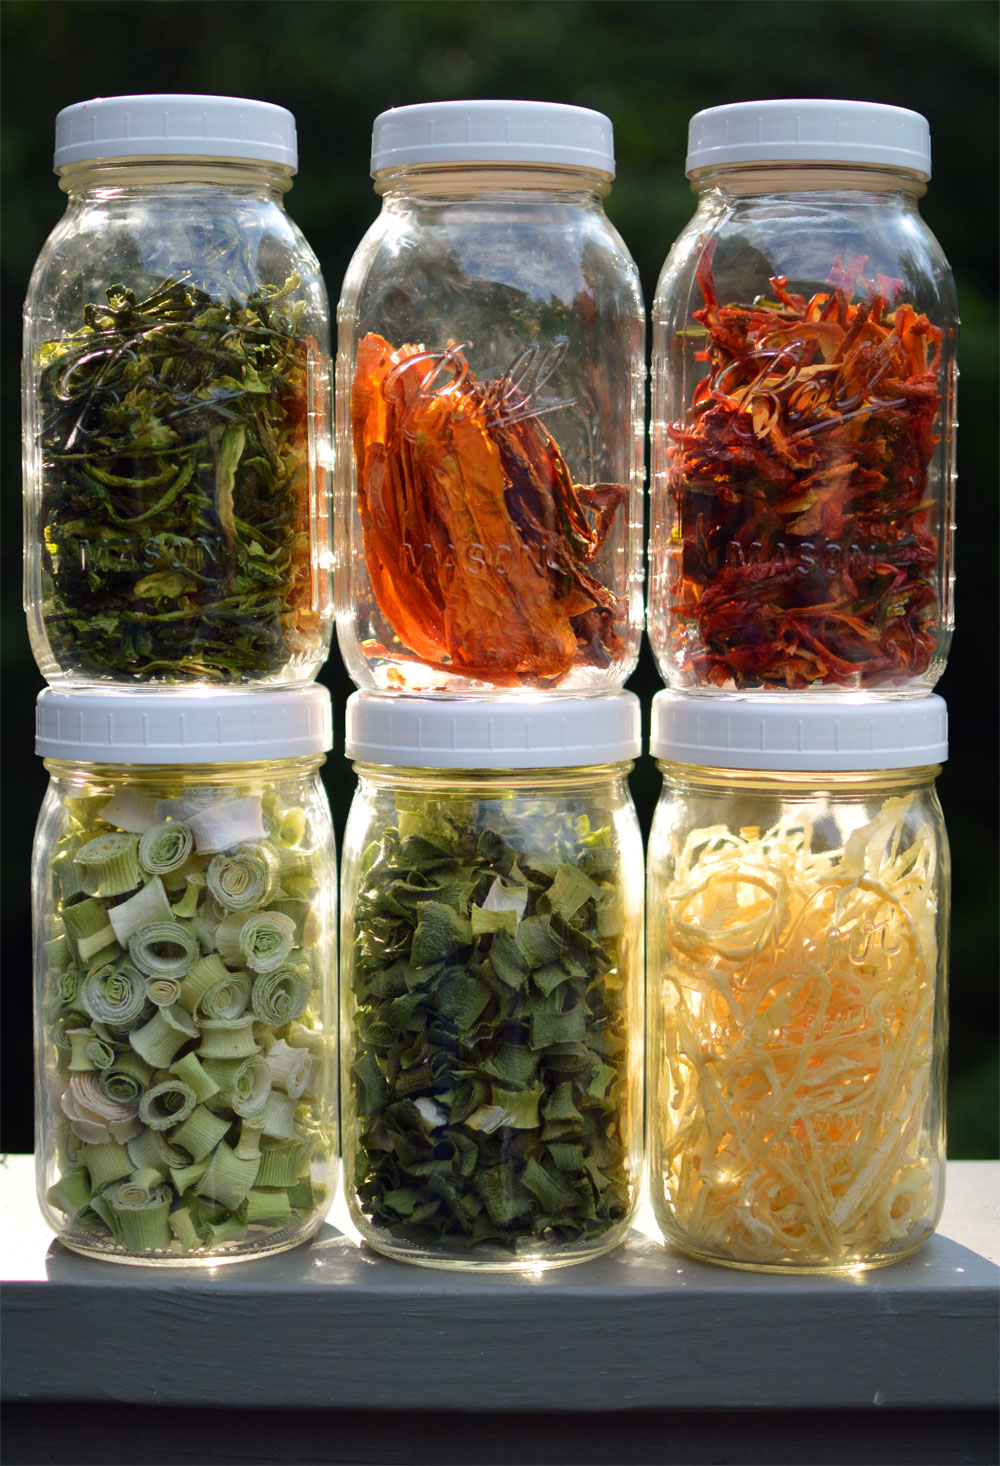
Dehydrated food can be stored for long term or short term. I personally use up 90% of my dehydrated food over the winter so I don’t need long-term storage.
Short Term Storage (Less than 1 year)
For short-term storage I store in an airtight container. I usually just use my mason jars. Keep away from sunlight, whether direct or indirect and store in a dark, cool place.
Long Term Storage (1 -10 years)
There are several ways to store dehydrated food long term. Below are some options to choose between.
Option 1: Use an airtight container with an oxygen absorber.
I used to put oxygen absorbers in all my mason jars but found that since I used the food so quickly they didn’t actually need it. If you want to keep the dehydrated food for longer than one year, I highly recommend it. Store in a dark, cool place.
Option 2: Vacuum Packing
This doesn’t work for a fragile dehydrated food but it does work for everything else. Using a vacuum sealer of choice place the food in the bag with an oxygen absorber to absorb any excess air and vacuum seal.
Option 3: Mylar Bags

Label your bag. Place dehydrated food into the mylar bag and then add in an oxygen absorber. Seal with a hot iron. The oxygen absorber should remove all the air from the bag and make it look like it was vacuum sealed.
Step #4: How to Use Dehydrated Food for Cooking

Using you dehydrated food can be a big hang up so I also want to give you some tips on how to use it. Fruits are delicious raw and in a dehydrated state. But vegetables can be a bit trickier. To rehydrate most fruits place in a bowl of lukewarm water for 15 minutes. They can be eaten fresh or used in any recipe that needs fruit. My favorite uses for dehydrated fruits are fresh and in baked goods.
To rehydrated vegetables place them in a bowl and cover them with boiling water. It usually only takes 15 minutes to rehydrate, but there are a few stubborn vegetables like peppers that will take a bit longer. To protect against food bacteria growth if your food isn’t rehydrated by the 30-minute mark, stick it in the refrigerator.

My favorite use for vegetables is in soup. Check out my black bean soup recipe which uses lots of dried peppers. I don’t rehydrate the vegetables prior to putting them in a soup. Just put them right in! I’ve also made pizza sauce from dehydrated heirloom tomatoes, fajitas with rehydrated peppers, used lots of dehydrated vegetables in chili and more.
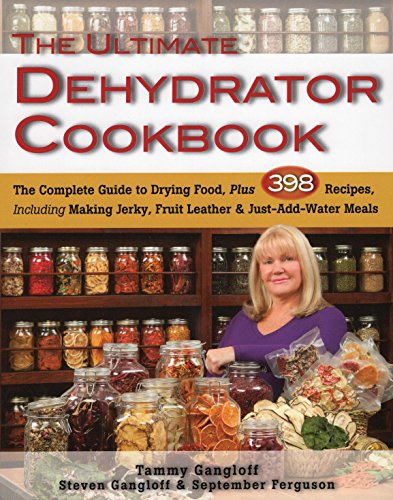
I often use the ultimate dehydrator cookbook to give me some ideas on what to make with my dehydrated foods. I haven’t really followed any of her recipes but used them as jumping off points to create my own dishes. The real gem of the book comes in her extensive knowledge of how to dehydrate food- how long, what temperature, whether or not to blanch, and other little quirky things that are good to know.
I hope this guide gives you the tools you need to get started with drying your food! It truly is one of my favorite methods of food preservation. As always, leave a comment if you have more questions.