
Caring for your asparagus at the end of the season is an important step to a healthy crop next year. Where I live, this is especially important as my plants are prone to asparagus rust and we have so many asparagus beetles. As an organic gardener, end of season asparagus care helps prevent and minimize some of those problems. And even if you have great healthy asparagus and no bug problems, making sure your asparagus and your soil is ready is very important to maintaining a good crop!

I forgot to take a true before picture. This is about halfway through me cutting back asparagus in this garden bed. I have two full 15 foot beds of asparagus. The best time to cut or trim back your asparagus is after a few frosts. You want to make sure it has taken in all the energy it needs for next year so don’t do this too early! For me (zone 6b), I am usually cutting back my asparagus by the end of November.
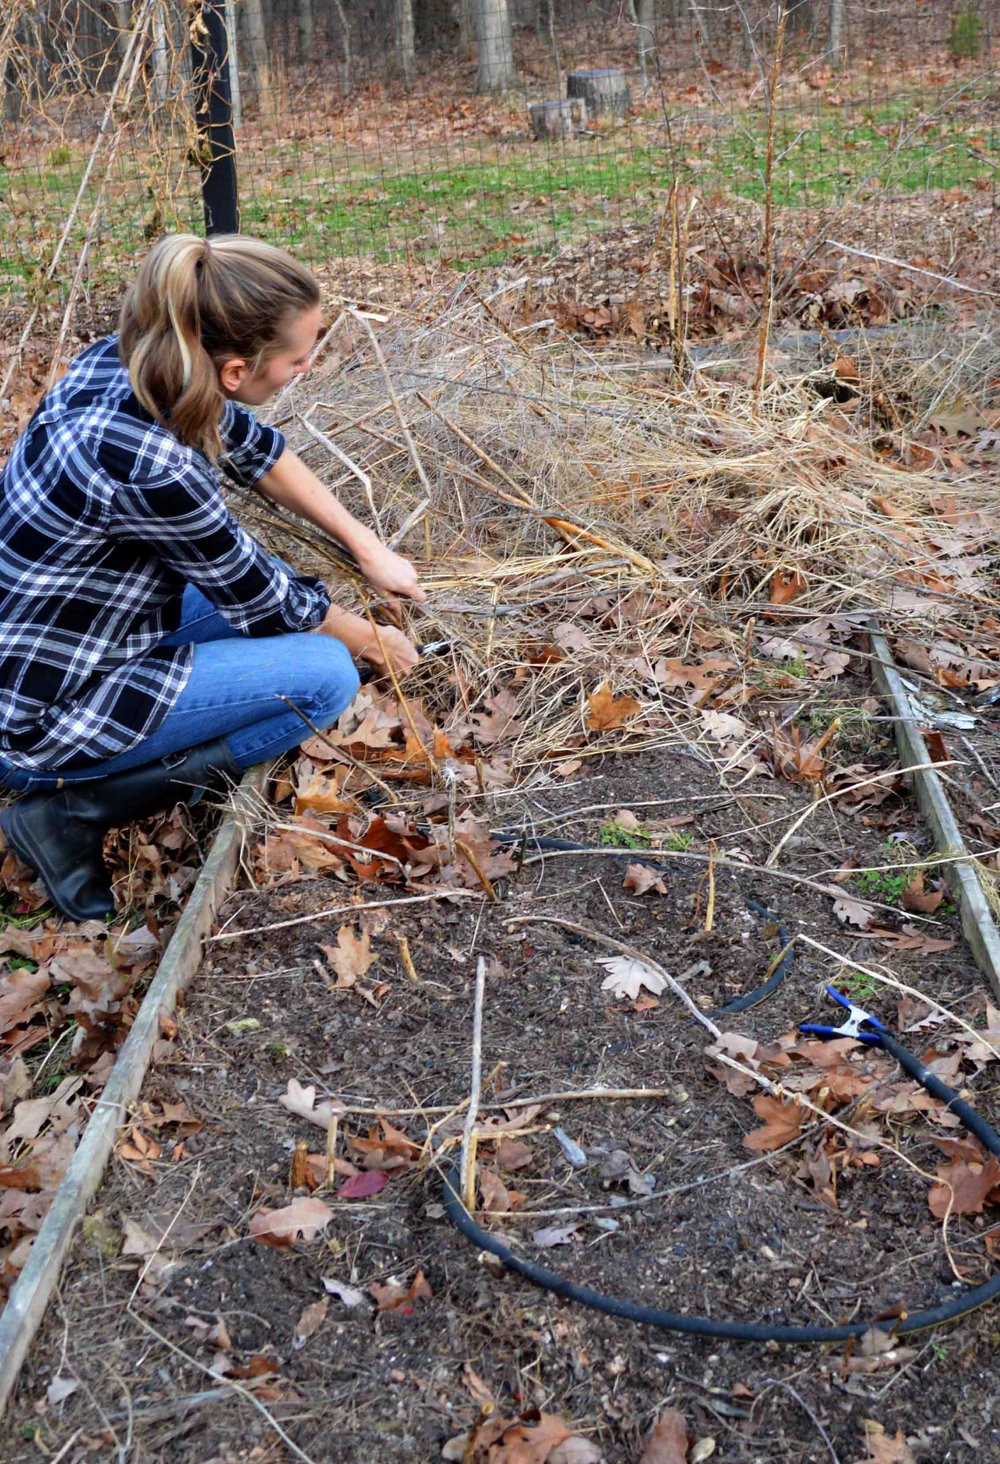
Step One is to get your pruning shears and cut the base of the asparagus.

My preparation also includes weeding as you can see haha! Those weeds love to hide in asparagus ferns during the summer and then you find them at the end of season in all their glory!

Once you’ve done the initial cut, if you have some sticking above the soil cut it down to the soil line (or as close as you can). If you have any sort of disease problem or start of one, you don’t want the spores from last year to get on next years crop. Keeping the old spears under the soil helps with that. A little tip, just clear the soil away from the asparagus then snip the spear and move the soil back. If you cut some of the soil with your pruning shears it will dull your blade very fast.
Next, take all your asparagus and burn them. If you have perfectly healthy asparagus (lucky you!) then put them in your compost heap.

After my asparagus bed is all trimmed back, I put my chicken tractor on it and have the chickens till, eat bugs and larva, and fertilize the soil. Usually this process takes about a week but you can do longer. If you don’t have chickens, no worries, it’s not a necessary step. You could add some compost instead or in addition to chickens. I just like to go a little over the top in my preparation. It can’t hurt right?
Asparagus isn’t a heavy feeder so you really don’t need much in the way of fertilizer. My soil was tested last year and is high in phosphorus and moderate in potassium. Last year I added a few inches of compost and a half pound of blood meal, an organic nitrogen source, per bed. If I do need nitrogen, I add it in spring when the soil starts to warm. This year, I just did the chickens because I am saving my small amount of compost for 2019’s seed starting. I’m hoping that in addition to chicken manure, the breakdown of last years mulch will also feed the soil. I am toying around with possibly doing a living mulch/ nitrogen fixing cover crop this year during the growing season on the asparagus beds.

While my chickens were doing all their tilling, I had to do some maintenance on one of my beds. The screws we used before were too short so the board on the end fell right off. I enlisted an assistant who is much better with a screwdriver than myself. We first unscrewed the old screws.

You can see the old screws (1 inch) on the corner post and new screws (2 inches) replacing the old. According to Cameron, a good rule of thumb is to have your screws go in about an inch into the inside corner post.
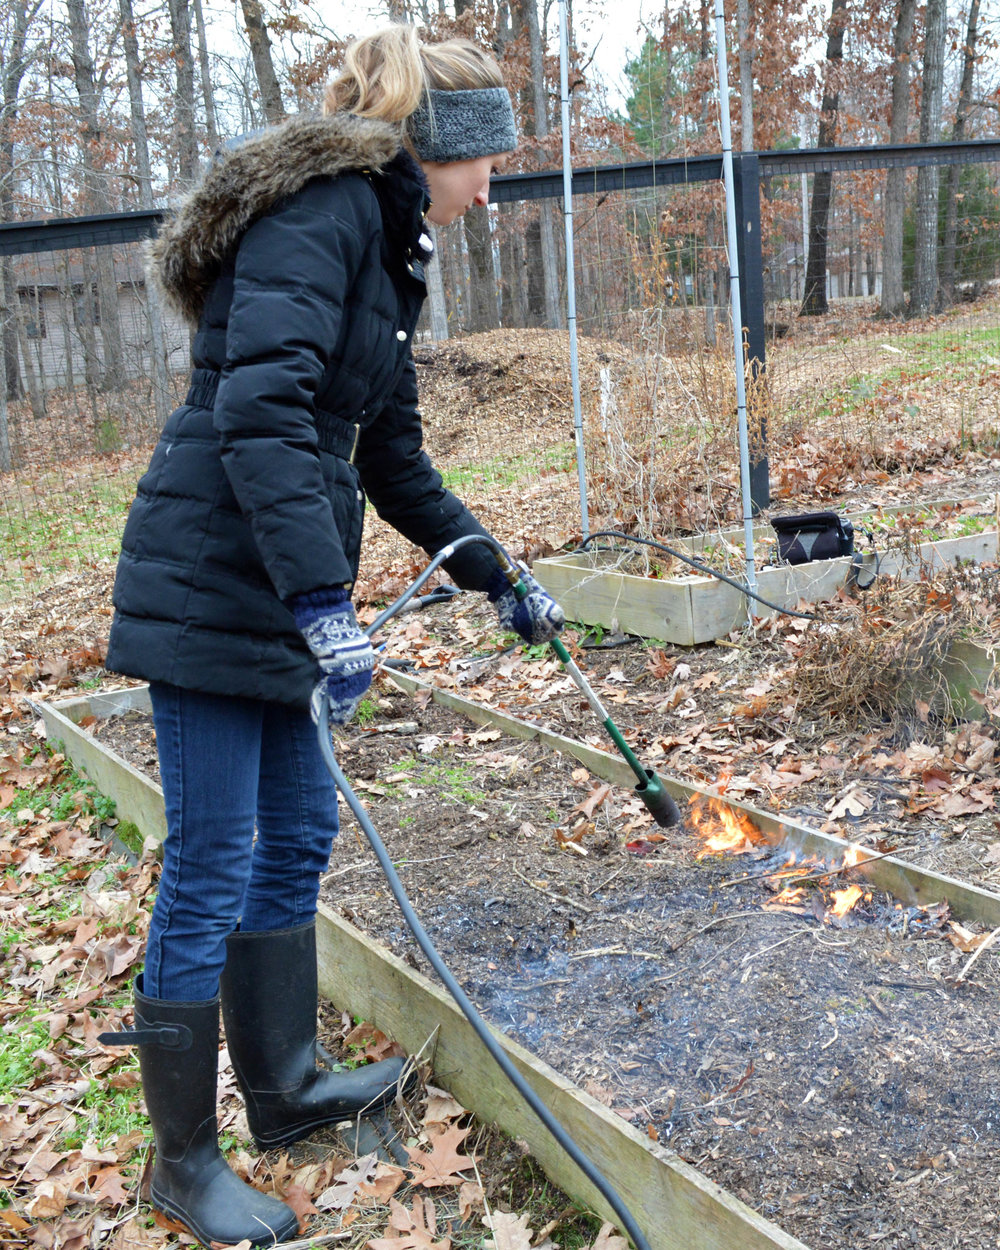
Next I flame weed the surface of the soil. This is another optional step. Since I’m all about killing spores and beetle larva, I go the extra mile and do the flame weeding (plus it’s really fun!). You also kill any weed seeds that are sitting on the top of the soil. If you’ve planted your asparagus correctly at least 6 inches below the soil surface, the flame will not harm your plants at all. An important note: move any hoses or drip lines before you flame weed 🙂 Also, have a water source near by in case the burning gets out of hand.

Heres what it looks like after its all beautifully charred.
Since asparagus is quite picky about ph, I dig back and test some of the soil from each asparagus bed. It should be around 7 which is pretty high for soil. I just did a home test and the ph looked about right. My ph was too low last year during winter so I added a small amount of wood ash. It seems like it did the trick!
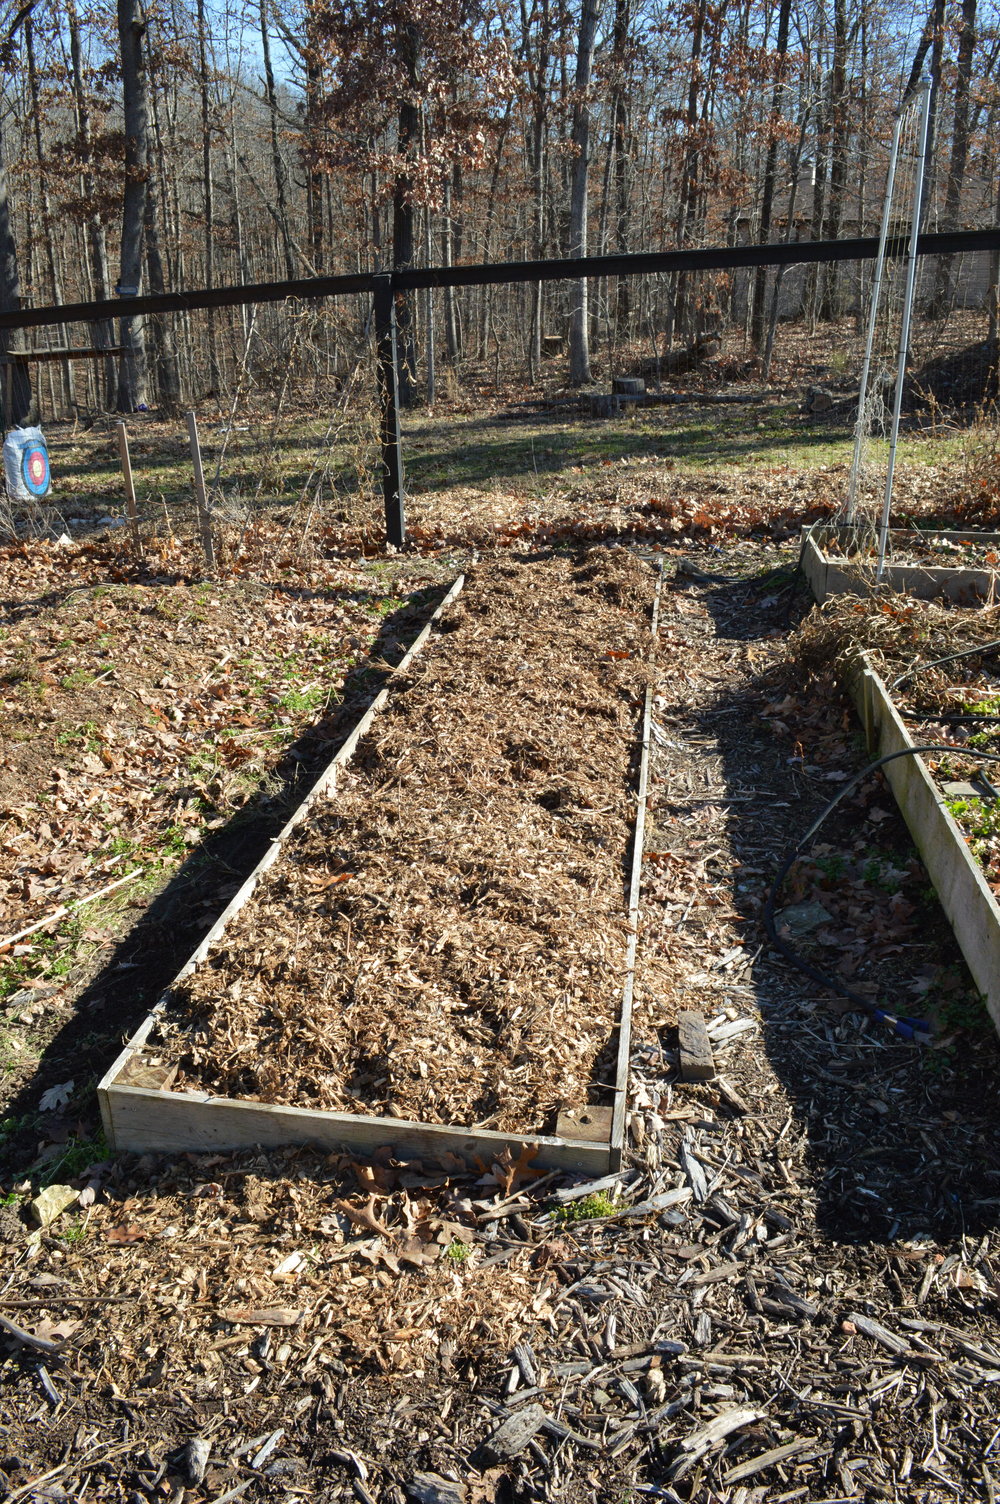
The final step is to cover with mulch. The mulch pictured above was free from the electrical company so it’s a mixture of chipped tree branches and leaves. I don’t skimp on the mulch because it breaks down a lot and helps prevent weeds. I usually add 3-6 inches. Not only does mulch prevent weeds but it also helps protect the soil and maintain the nutrients therein.
I only add wood mulch to my beds that I know I’m not tilling. If you till or mix in any of that wood mulch with the soil it will tie up the nitrogen and your plants won’t be able to take any of it up. As a result your plants will become nitrogen deficient, even though the soil has plenty of nitrogen. So don’t ever mix chipped wood and soil together!
You can also use different mulches. Last year I used shredded leaves which are plentiful where I live. Straw is another good option.
After you have put on a thick layer of mulch you are ready for spring!
