How to Make Preserved Lemons

Preserved lemons are one of my favorite foods to add flavor to any dish. They have a very pungent lemon flavor because the rind softens and you eat the whole lemon. They are best for savory dishes usually because they are preserved in salt and even after rinsing them are very salty. 
We like them chopped with roasted garlic and olive oil and then you put the sauce you create in pasta or on top of sauteed vegetables. I also use them in my hummus recipe

This post contains affiliate links. Here is the full disclosure.

Preserved lemons can last in a refrigerator for 9 months. After that they start to lose quality but will still be edible.

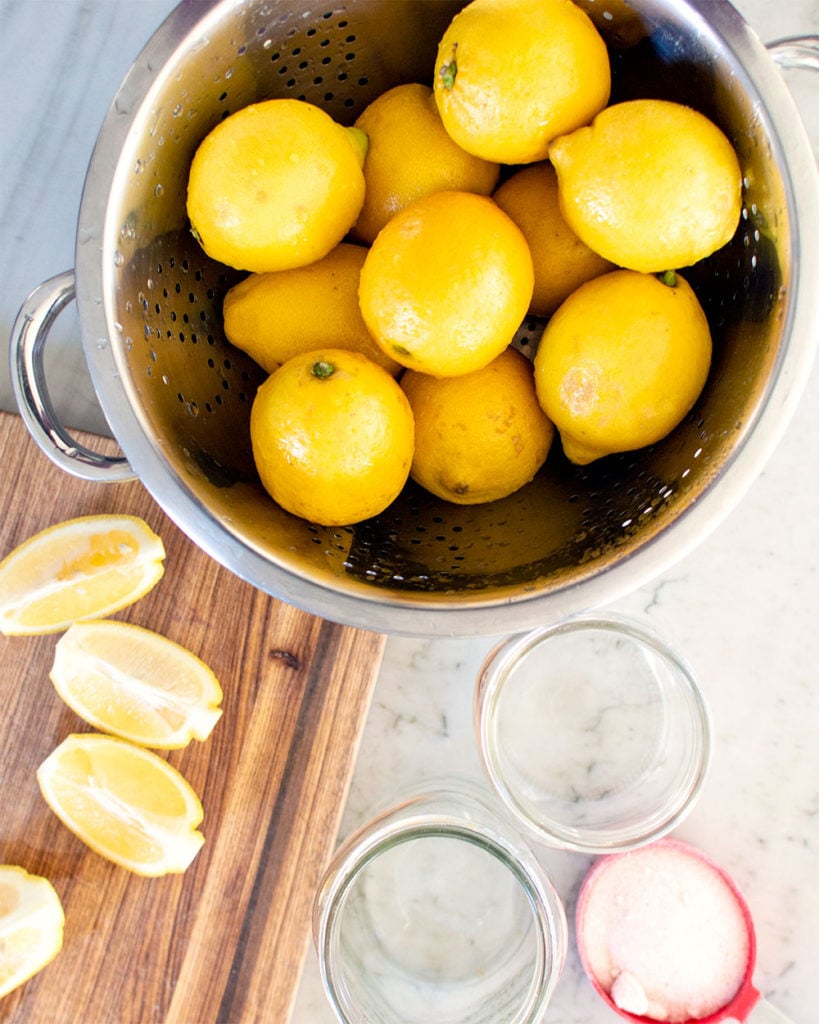
Start out by scrubbing the outside of each lemon with water and then set aside. While they are drying, measure out the sea salt into a bowl. Then cut the ends off each lemon and then cut into quarters.Pick out any seeds you see and discard.

Don’t follow my example above. I put too many lemons in these jars and ended up taking some out!

In a sterilized wide-mouth quart jar, sprinkle a few teaspoons of salt in the bottom. 

Roll each lemon quarter into the sea salt and place into the jar face down. They should be in there firmly but you shouldnโ€™t need to press so hard you squish out all the juice from the lemons.

Add a bay leaf to the side of the  jar as you are adding the salted lemons. You’ll want to allow an inch or two of space at the top of the jar.

Then repeat the steps above with the second quart jar. 

Divide any remaining salt from the bowl between the two jars and pour over the top.

Would you like to save this page?

Email yourself a link to this page and come back later.

Use the lemons you have left to squeeze the juice over the salted lemons. You need enough fresh lemon juice to completely cover the lemons. 

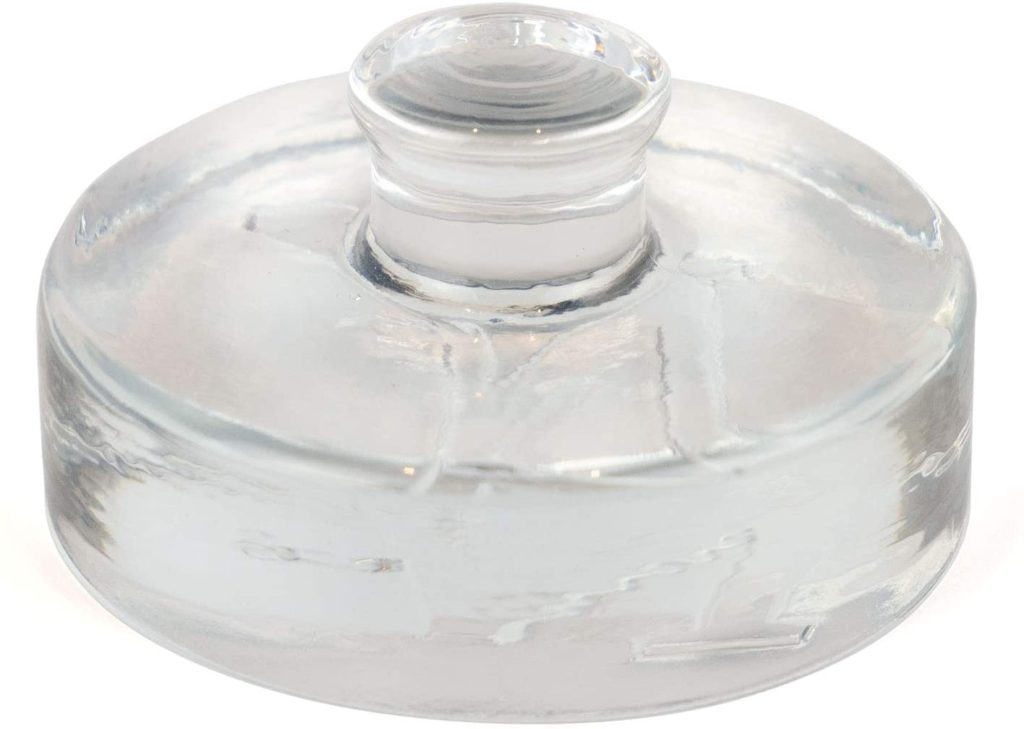
Place a weight inside the jar to keep the lemons under the lemon juice. If you donโ€™t have a fermentation weight you can use a half-pint jar placed inside the wide mouth quart jar. 

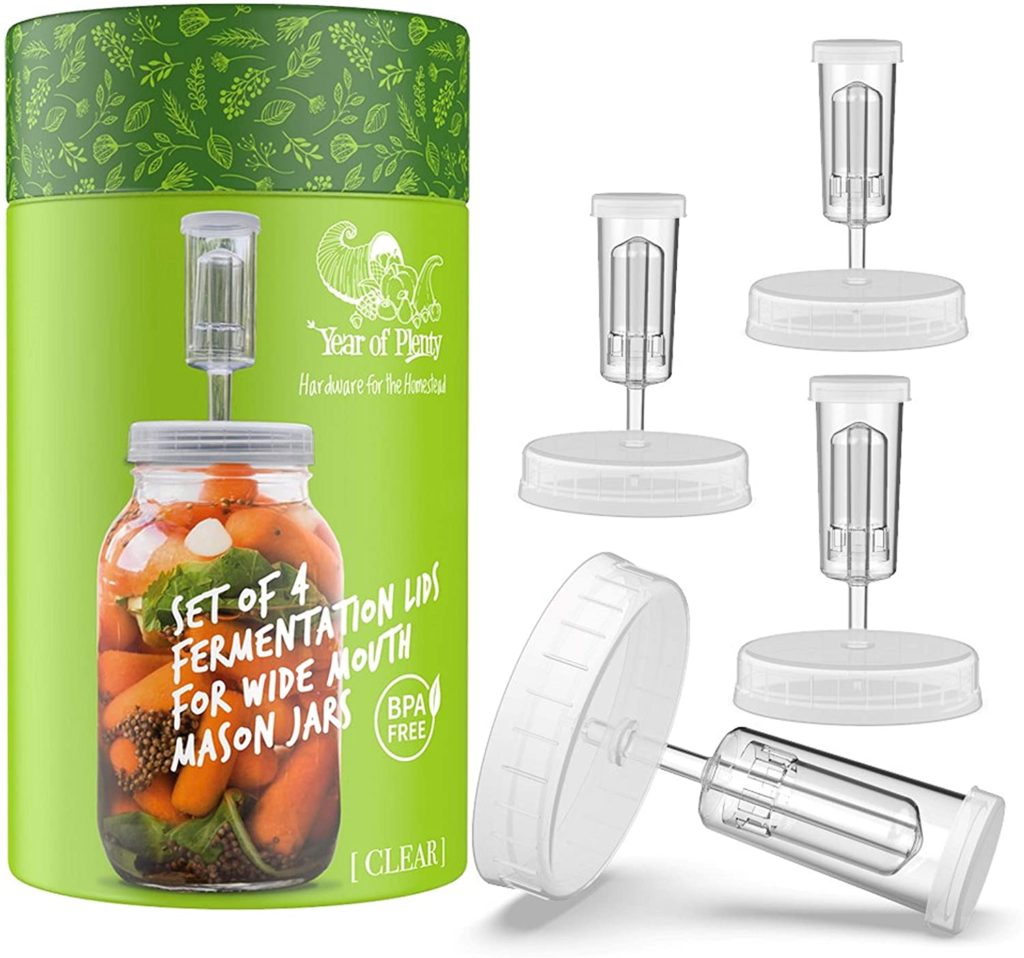
Cover with a fermentation lid. This could be the silicone kind or the airlock shown above. If you donโ€™t have a fermentation lid, just lightly cover with a jar lid. Youโ€™ll need to release fermentation pressure from the jar every few days if you cover it with a regular lid. You can also use a towel to cover the jar if you used a half-pint jar for your weight. 

During the first few days, the jar may need a little shake to get the salt dissolved and off the bottom. 

Let sit in a cool, dark place for 3 weeks.

Lemons after the 3 week ferment. Pink in the bottom is minerals from the pink sea salt.

Remove weight and replace with a regular lid and store in the refrigerator for up to 9 months!

Other recommended recipes which use preserved lemons:

My Favorite Fermentation Tools:

Click the image below to link to the product

Airlock Set that is very similar to mine. I got these for my Mother in Law for Christmas and she loves them.
This is a really good fermentation weight!
These are another easy option as a fermentation lid

Preserved Lemons

Preserved lemons are one of my favorite foods to add flavor to any dish. They have a very pungent lemon flavor because the rind softens and you eat the whole lemon. They are best for savory dishes usually because they are preserved in salt and even after rinsing them are very salty.ย 
Rate this recipe
1 Rating
Print Pin Rate
Servings2 quarts
Prep Time30 minutes

Equipment

  • set of fermentation lids

Ingredients

  • 4-5 lbs Organic Lemons
  • 2/3 cup Sea Salt
  • 2 Bay Leaves Optional

Instructions

  • Scrub the outside of each lemon with water and then set aside.
  • While they are drying, measure out the sea salt into a bowl.
  • Cut the ends off each lemon and then cut into quarters.
  • Pick out any seeds you see and discard.
  • In a sterilized wide-mouth quart jar, sprinkle a few teaspoons of salt in the bottom.
  • Roll each lemon quarter into the sea salt and place into the jar face down. They should be in there firmly but you shouldnโ€™t need to press so hard you squish out all the juice from the lemons.
  • Add a bay leaf to the side of the jar as you are adding the salted lemons.
  • Allow an inch or two of space at the top of the jar.
  • Repeat steps 5-8 with the second quart jar.
  • Divide any remaining salt from the bowl between the two jars and pour over the top.
  • Use the lemons you have left to squeeze the juice over the salted lemons. You need enough fresh lemon juice to completely cover the lemons.
  • Place a weight inside the jar to keep the lemons under the lemon juice. If you donโ€™t have a fermentation weight you can use a half-pint jar placed inside the wide mouth quart jar.
  • Cover with a fermentation lid. This could be the silicone kind or the airlock shown above. If you donโ€™t have a fermentation lid, just lightly cover with a jar lid. Youโ€™ll need to release fermentation pressure from the jar every few days if you cover it with a regular lid. You can also use a towel to cover the jar if you used a half-pint jar for your weight.
  • During the first few days, the jar may need a little shake to get the salt dissolved and off the bottom.
  • Let sit in a cool, dark place for 3 weeks.
  • Remove weight and replace with a regular lid and store in the refrigerator for up to 9 months!

Nutrition

Calories: 0.3kcal | Carbohydrates: 0.1g | Protein: 0.01g | Fat: 0.01g | Sodium: 37.724mg | Potassium: 8mg | Fiber: 0.03g | Vitamin A: 6IU | Vitamin C: 0.04mg | Calcium: 24mg | Iron: 0.4mg

You May Also Like

5 from 1 vote

Leave a Reply

Your email address will not be published. Required fields are marked *

Recipe Rating


4 Comments

  1. It’s actually absurd to me how good these preserved lemons are! I made them after watching your YouTube video with the lemon, garlic pasta, and I am IN LOVE! Easily one of the best things I’ve ever made. Looking forward to trying your hummus recipe next! Thank you for all that you do, and for sharing these gems with us all

  2. I followed your recipe for the preserved lemons. With them, I made my traditional humus recipe and what a difference. A whole new flavor profile. The bay leaves really kicked it up a notch. Hope to continue doing them this way. Thank you!