The Best Professional Soil Test Kit
If there is one absolutely vital piece of growing a garden, it is doing a soil test. Whether you’ve had a garden for years, or are just getting started, it is essential to test your soil. After years of trial and testing (18 to be exact), I’ve found what I believe to be the best professional soil test kit.

I’m so happy to have found a company that makes a test kit that is professionally done, easy, and offers custom soil recommendations based on results.

Why Is Soil Testing Important?
A proper soil test will act as a guide to reveal nutrient deficiencies and the PH level.
Not only does a soil test show soil deficiencies but it will also show excesses of specific nutrients. If you were to fertilize blindly, without a soil test, you could easily make these excesses worse and cause toxicities and nutrient imbalances in your garden.

Is Soil Testing Worth the Money?
As a gardener, it’s common spend hundreds or more getting a garden set up. There are costs associated with buying seeds, buying transplants, purchasing compost, and maybe even soil, but too often the soil is not tested before getting started.
Failure to test soil and implement the results can lead to crop failures across your entire garden. Thus wasting all your time and effort you put into the set up. A professional lab test soil test and results do cost money, but you will recoup the cost and save even more money in the end with a bountiful harvest.

How Often Should I Test My Soil?
And even if you have had a garden for years, you should be testing your soil at least once a year. Nature is never stagnant, even if you get a perfect soil test back one year, you’ll need to test it again the next to make sure all the nutrients and ph are being maintained.
I test my soil each Fall and make adjustments as needed. Sometimes I test those same areas again in the Spring to make sure they are good to go before I plant. Twice a year might be overkill but we grow a year’s supply of food from our garden and need it to perform well.
What Soil Tests Should Be Avoided?
There are a lot of options and methods of testing soil available but I’ve found over the years that the majority of soil tests fall short in one regard or another. Don’t fall for using cheap or gimmicky soil tests. Even the homemade tests won’t give you all the details you need to know.
Let me say that again, don’t use cheap DIY tests! You are legitimately throwing your money in the trash. I’ve used them and they are so inaccurate it’s crazy. No one is going to get a good soil test result by using a pinch of soil and trying to read the color of the water.

In addition to the cheap DIY kits, I’d recommend avoiding a test from your cooperative extension.
Here’s why: It may have a low cost or even be free but speaking from experience, it was not worth it. My extension only took dry soil samples, making it so I had to wait a few weeks for the soil sample to dry indoors. Then I had to drive over an hour round trip to drop it off, and finally to top it all off, I waited for another month for the results.
My Cooperative Extension would only give recommendations for amendments that were conventional and I was organically gardening. It was such a pain and hassle overall.
What is the Best Professional Soil Test Kit?
The BEST professional soil test kit is from Redmond. The kit uses MySoil technology to test the soil via an ion-exchange resin capsule. Simply put, the resin capsule acts like a synthetic root measuring only the nutrients that are available for the plant to uptake and absorb.
This is different than most soil tests which usually are dried and ground to measure nutrient levels. Then nutrients are extracted with different chemicals.
So in the end, the old school method of soil testing may not show accurately what nutrients are available to your plants. Redmonds soil test method is a better choice if you’re looking for a good basic test that’s easy to read.
Pros & Cons of a Redmond Soil Test Kit
I love this soil kit but no soil test is perfect. I’ve made a list of pros and cons that will help you decide if it’s a good one for you.
- Pro: Easy to do & easy to read results.
- Pro: Inexpensive
- Pro: Works for all soils including raised bed soil, potted plant soil, or in ground soil! Normal soil tests need actual soil in them to work, this one will test a “soil” that is entirely compost and organic materials. You could test a compost pile if needed!
- Pro: GREAT for Beginning gardeners.
- Pro: Tests for all major and micronutrients and pH.
- Pro: Gives recommendations of organic fertilizers and minerals to use.
- Con: Due to the soil testing method, you won’t be able to find out the percentage of organic matter in your soil.
- Con: Due to the soil testing method, you won’t get a cation exchange capacity result.
Why You’ll Love this Soil Test
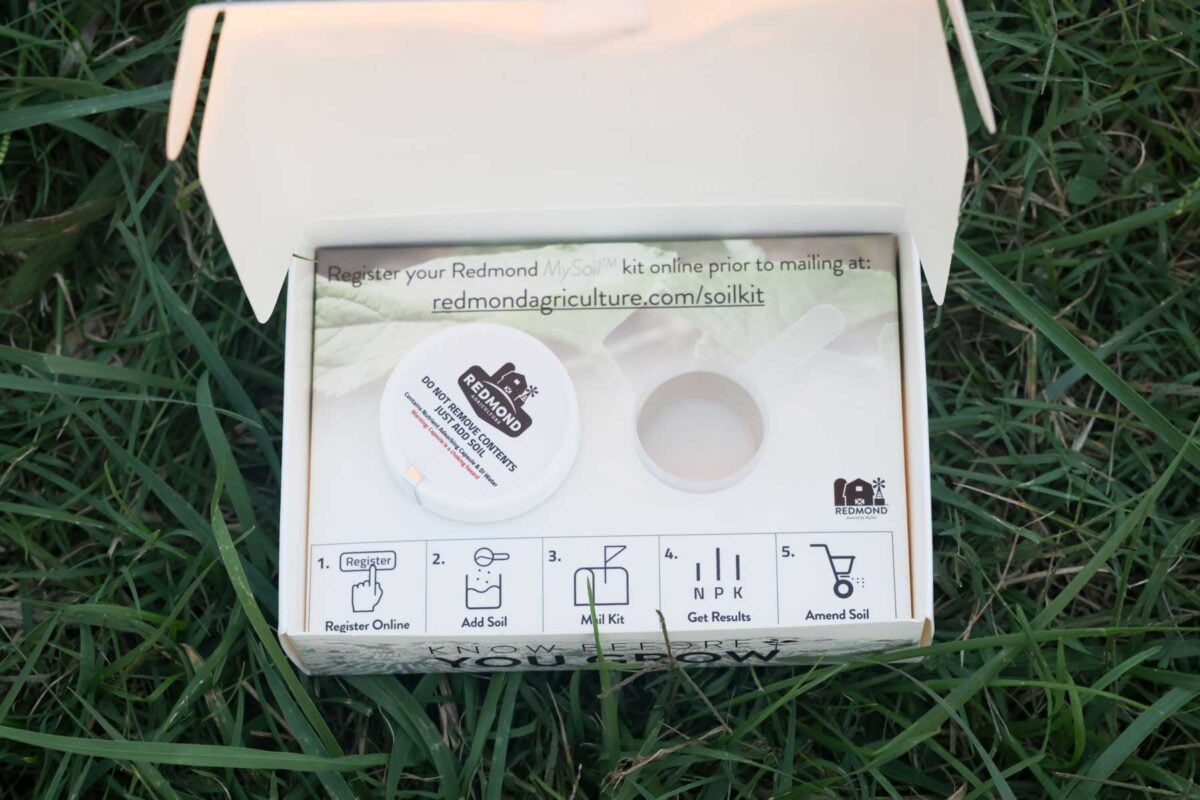
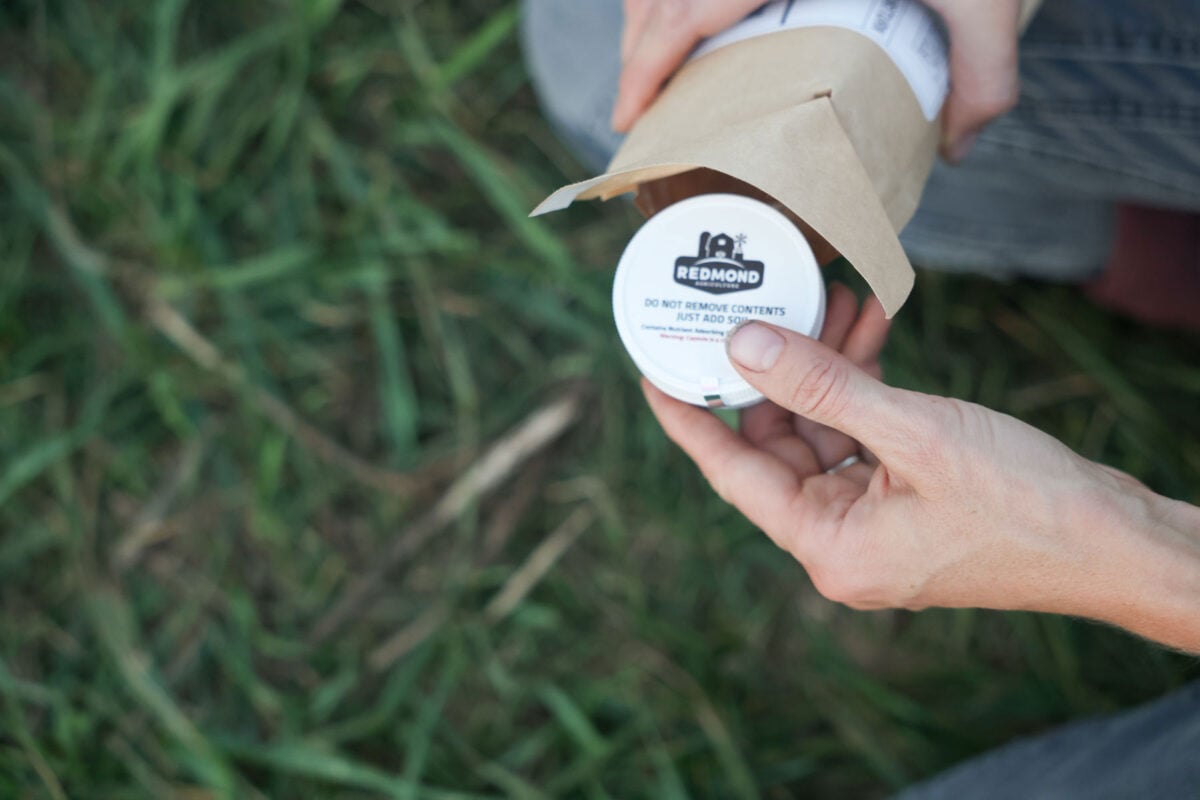
The Redmond Soil kit makes it so testing is both professionally done and easy! You’re shipped a provided box, a prepaid shipping label, a container, scoop, and easy to follow instructions.
Once the results are complete, an email is sent to you with your results. Before ordering any test kit, they ask what type of soil you’re testing, the size of the garden you are testing, and whether you would like your recommendations in conventional agriculture products or organic products.
Another favorite part of the test is that when the results are received, they give a recommended fertilizer and you can put in the amount of square feet you need it to cover so you know how much you need to purchase.
It is truly a great all around test, and I will explain step-by-step below how it works!
Here’s how it works:
1. Purchase the test.
Depending on the size of your garden, you’ll want to purchase 1 or more tests. For example, my family garden is 10,000 square feet and I purchased 4 tests this year. One test covers 2500 square feet of space.
If you have raised garden beds that are all filled with the same material, you can take samples from all the garden beds and combine them into one test.
On the other hand, if you have raised garden beds and have noticed some garden beds with plant issues, I recommend doing a separate test for that area, so you can pinpoint what is going on.
Here’s where you can get the soil test kit and my code SEASONALHOMESTEAD gets you 15% off.
#2 Your soil test box is shipped straight to your address!
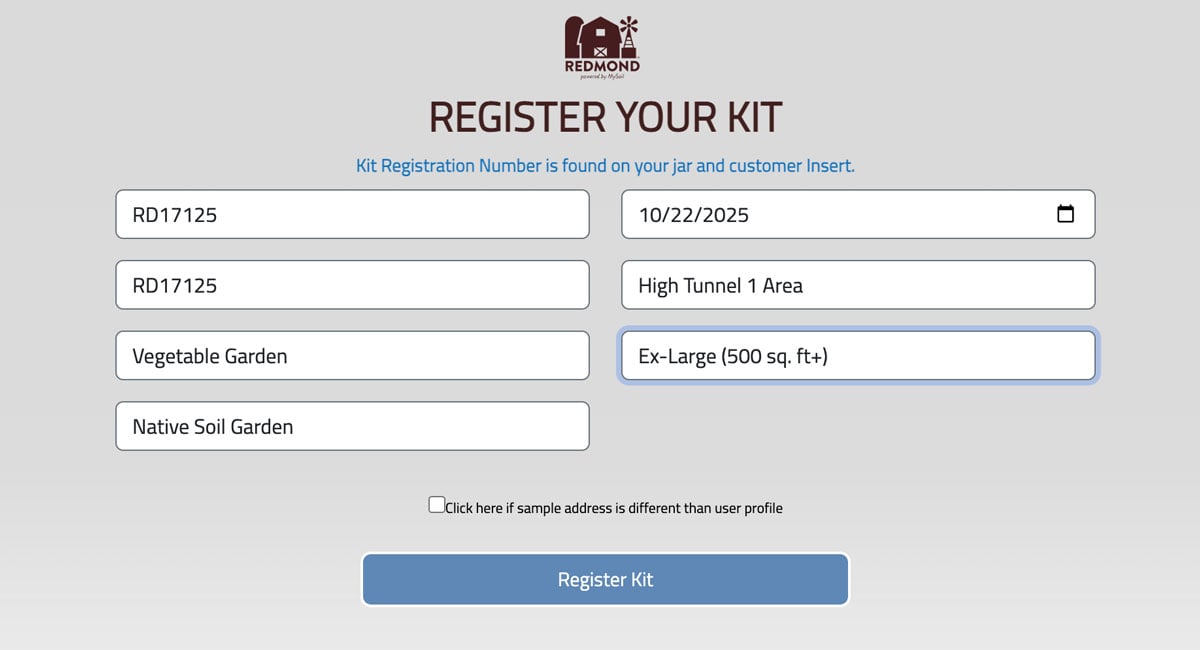
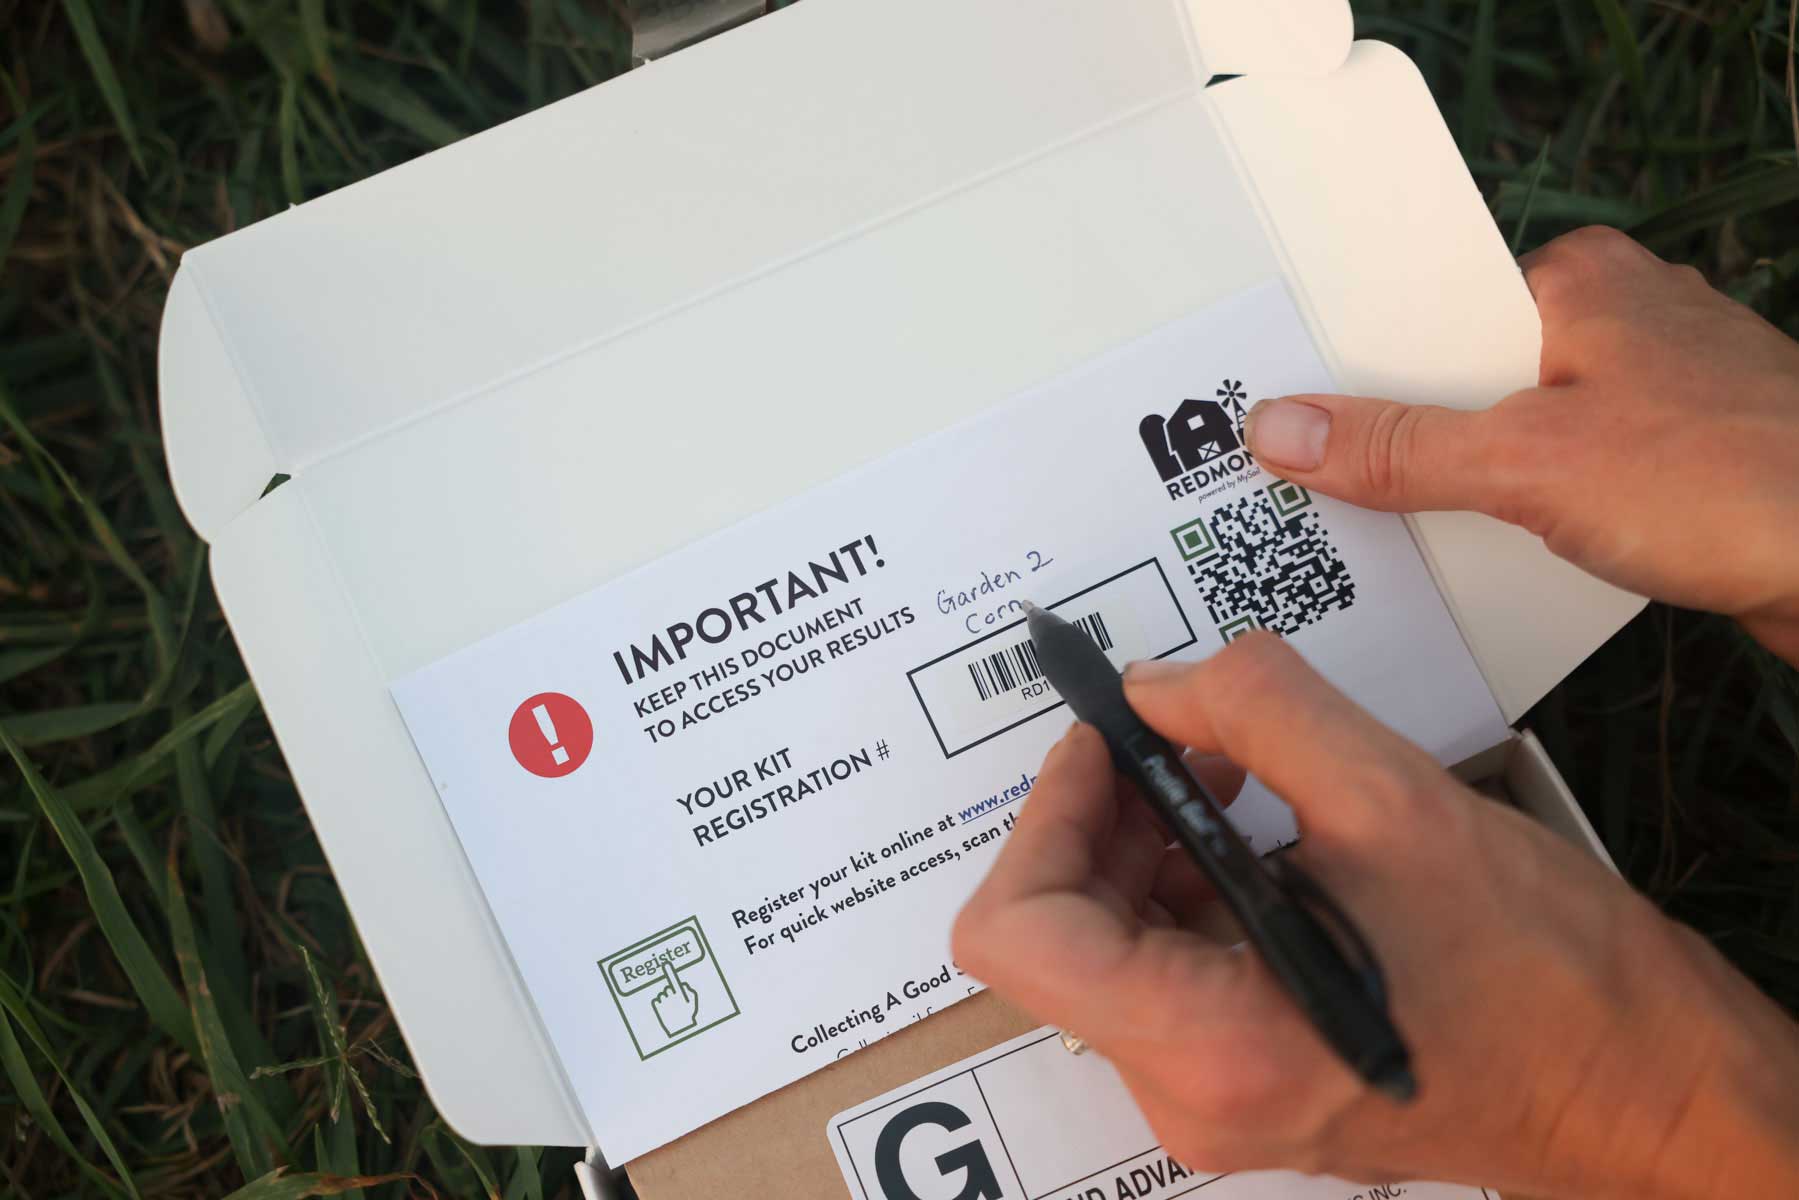
#3 Register your kit
Register your kit online www.redmondagriculture.com/soilkit or scan your QR code for quick access.
Note: You can also register immediately after you take the soil sample. I chose to do it after because I had 4 soil test kits and wanted to make notes of which area I ended up testing on each registration form. You’ll want to keep that document for your records.
#4 Collect your soil sample
Collecting soil is a simple process but here are some tips on how to do it correctly.
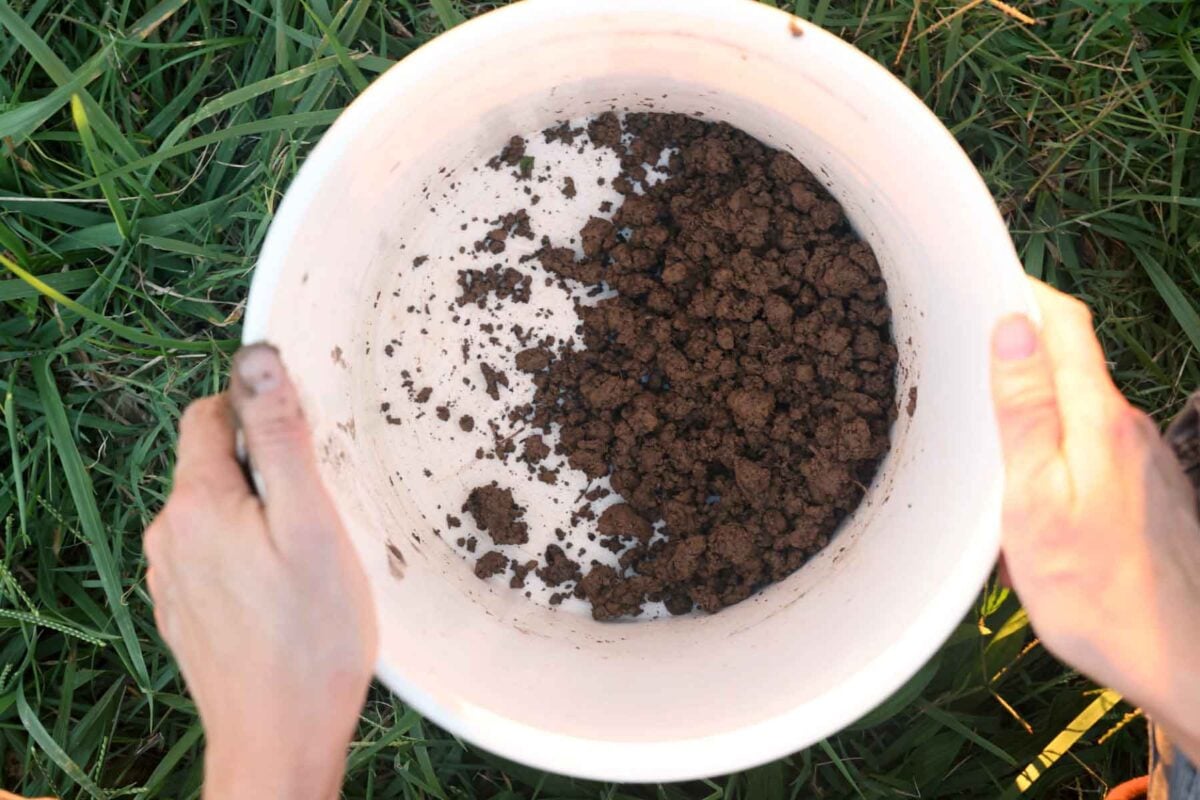
- Use a soil probe or garden trowel to collect a sample of soil. Since I test my soil often, and have multiple gardens I test, I bought a soil probe. The key here is to get a sample that goes 6-8 inches deep. Place your collected soil in a bucket.
- Go to another area of the garden you are testing and get another sample. Then move to another area of the garden you are testing and collect another sample. Do this at least 5-7 times total. Place all your samples in the same bucket.
- Now mix them all together really well.
- Remove any debris like grasses, rocks, and sticks. You want just soil.

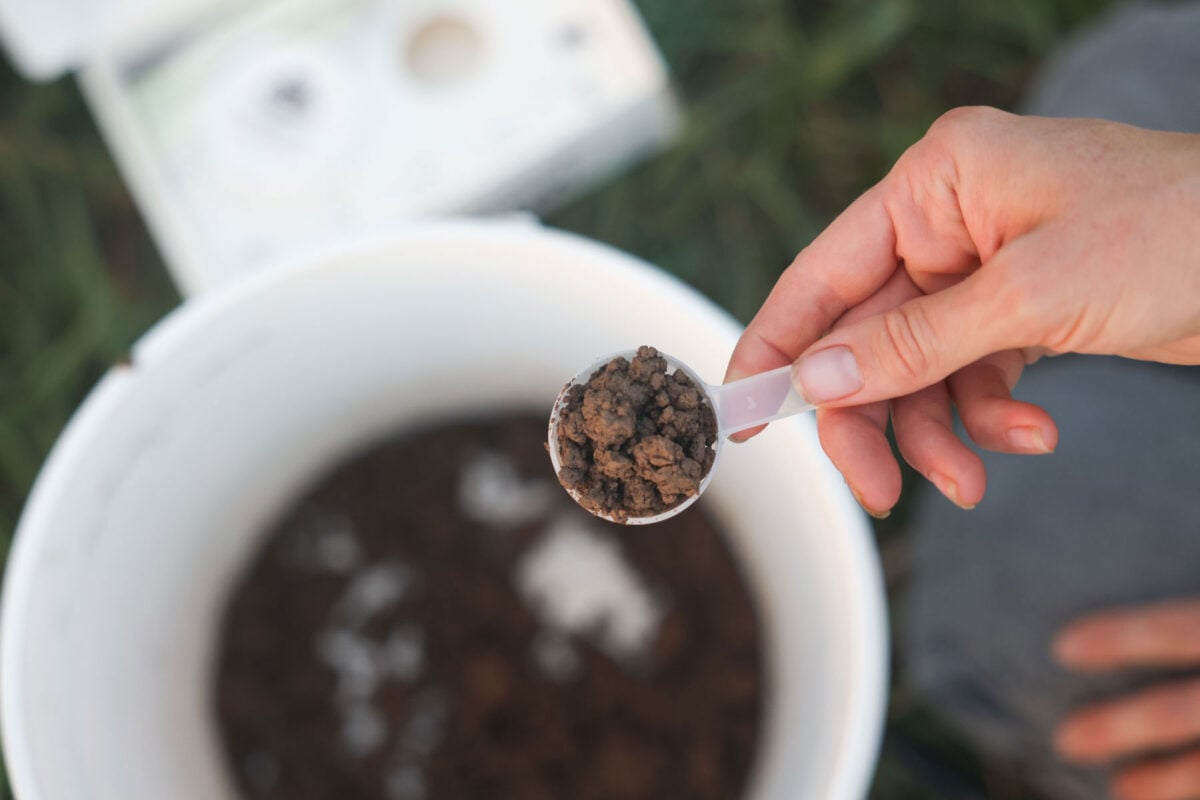
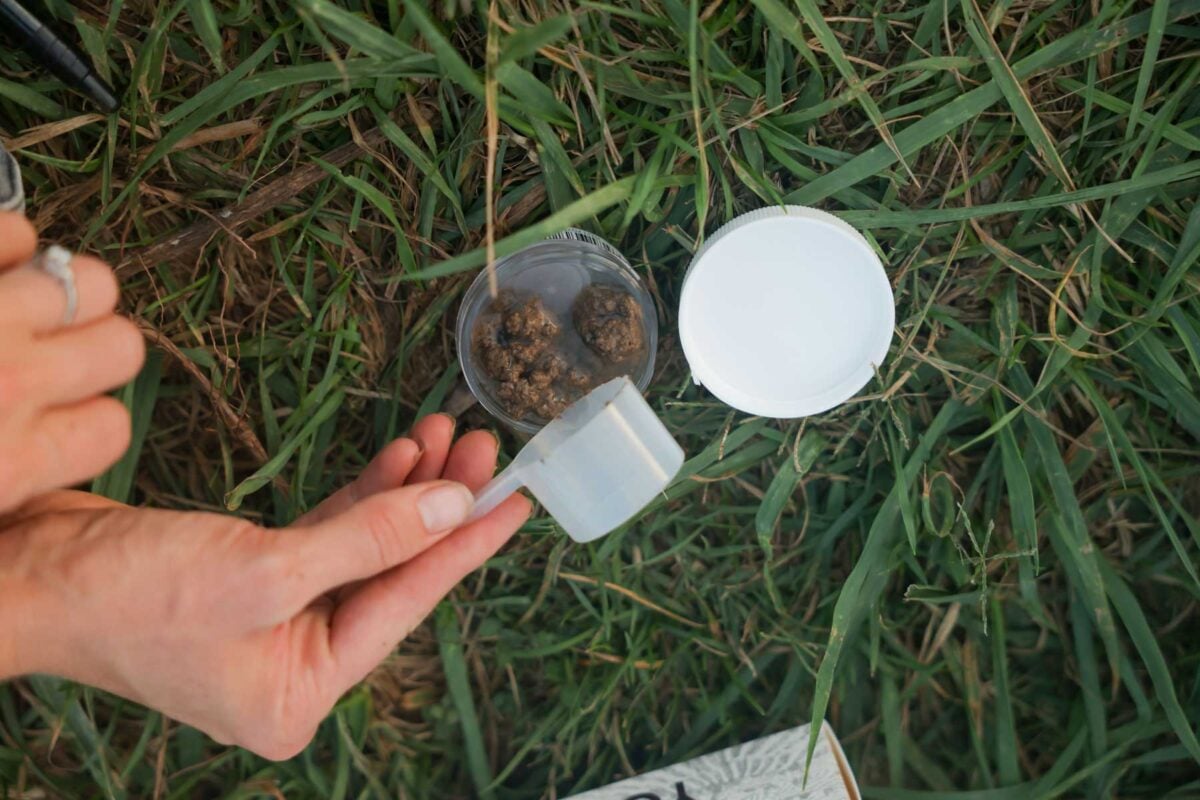
#5 Use the provided scoop and capsule
Using the provided scoop, collect one level scoop of the mixed soil and add it to the jar containing DI water and the nutrient absorbing capsule. Tightly secure the lids! DON’T DUMP THE WATER OUT OF THE JAR.

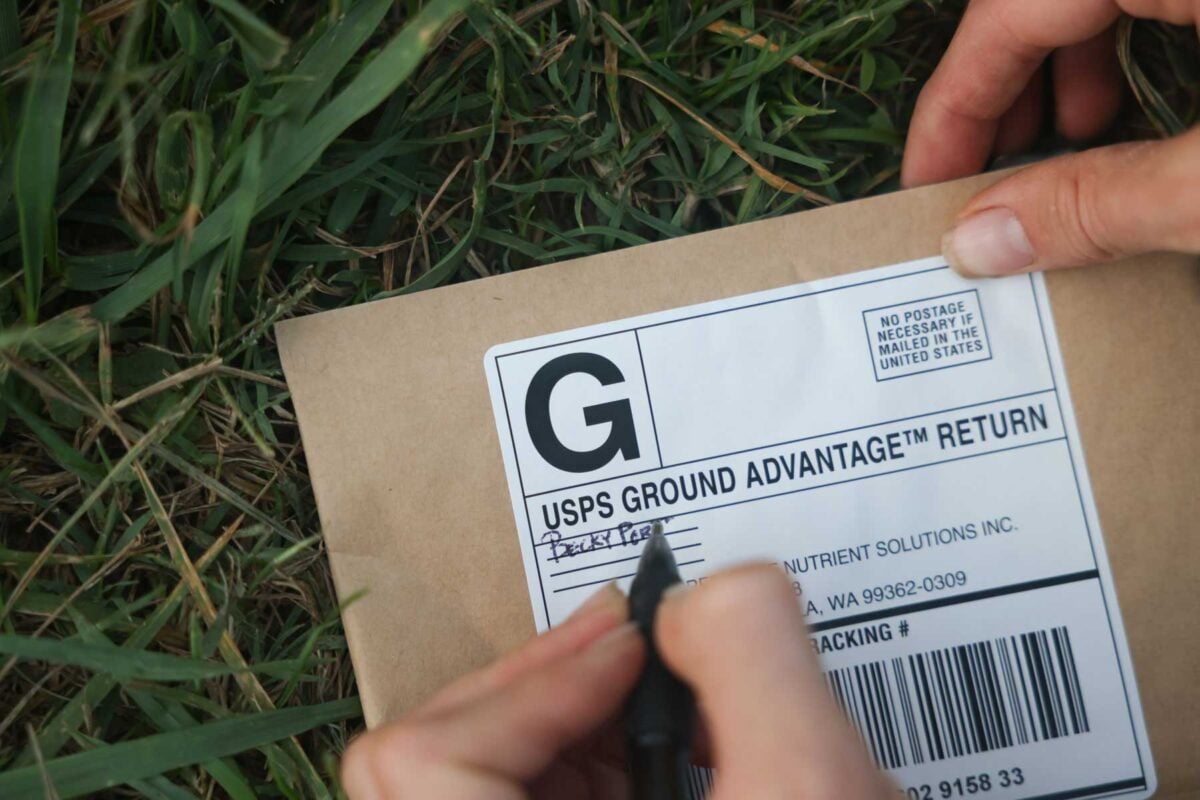
#6 Mail your sample to the lab
- Mail your sample within one day of adding the soil to the jar.
- If testing multiple areas, make a note of which area you’re testing on your registration form if you haven’t yet.
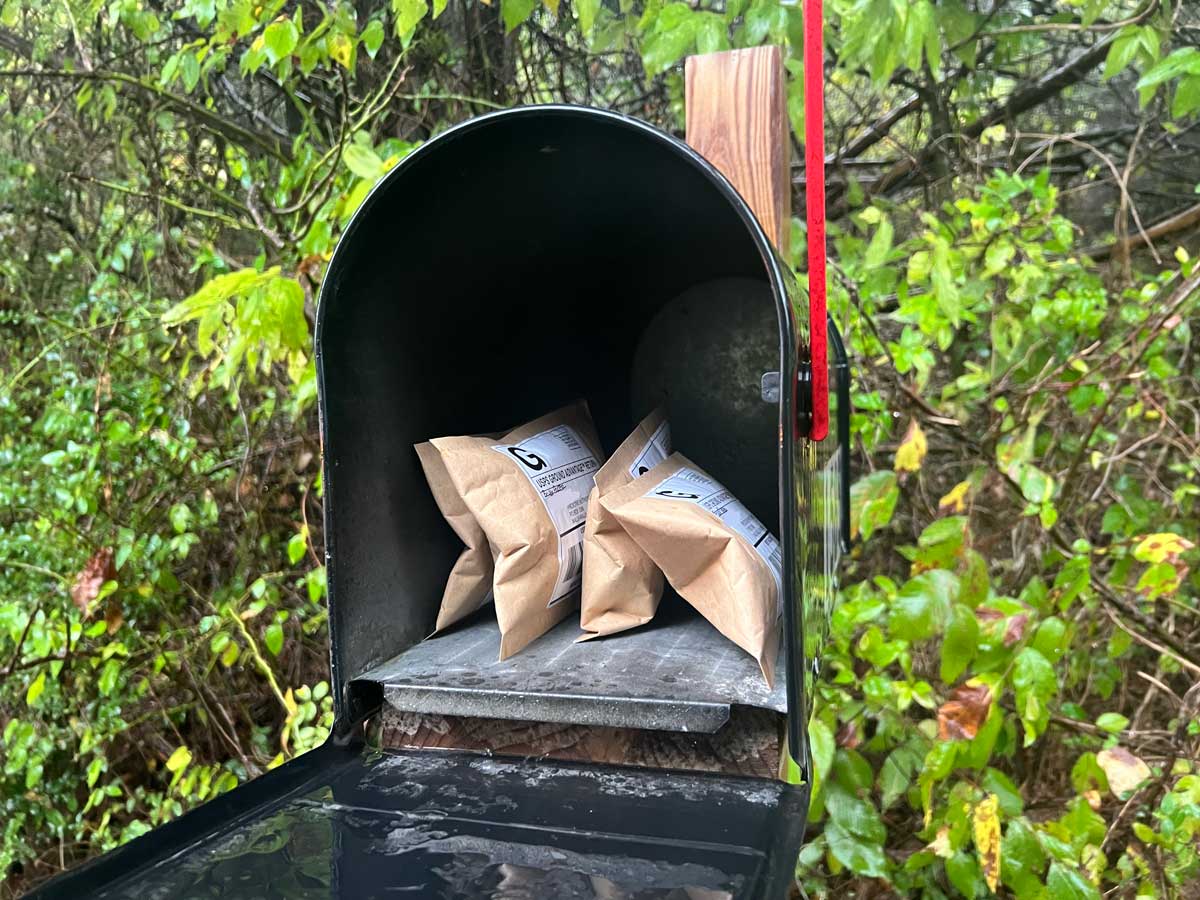
- Place jar in provided postage-paid envelope.
- Place envelope in your mailbox or anywhere USPS shipments are accepted.
- You will recieve email norifications of sample progress over the next 6-days or login to your dashboard at www.redmondagriculture.com/soilkit
#6 Get your Results
You be notified via email when your results are ready (6-8 business days from the time the sample was sent) or login to your account where you registered to check the status.
Reading Results

Above, you’ll see the results for one of my garden tests from Redmond.
The numbers are there for you to read, and the optimal range listed below each macro and micro nutrient. Honestly, you don’t need to be a soil scientist or have a horticulture degree to read this and understand it easily.
That is part of what makes Redmonds Soil Test Kit so great. It’s easy to do, you get fast results, inexpensive, and very easy for even a beginning gardener to read. But at the same time gives you the professional results you need.
By the way, all test results are in one easy to find location on your dashboard and can be compared year over year.
Implementing Recommendations
It can be easy to micro analyze each nutrient, but it’s really not necessary. Everything you need to add to the soil is recommended below the results if you use a professional soil test kit like Redmond. For little deficiencies, they are easily corrected with organic matter like compost (more on that below)
After reading through the needed amendments, the most important step of all is add the fertilizers, nutrients, and minerals recommended.

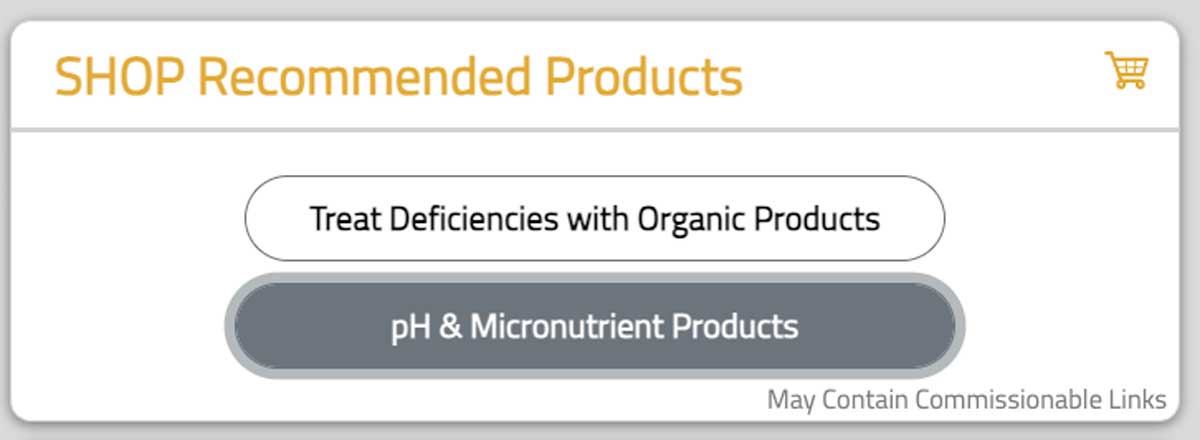
A fertilizer recommendation is given. It’s hyperlinked so you can click to see the recommended products or view them under “shop recommended products”.
A soil test in and of itself doesn’t help your garden, it’s how you use and implement those recommendations that really matters.
Organic Additions
The nutrient recommendations are fantastic but also know that in order to improve your soil quality, it’s good to add organic matter too. Specifically, you could add organic material like compost, shedded leaves, straw, or crop residues to name a few.
Redmond does a great job of addressing major nutrient deficiencies and the small deficiencies will correct themselves with organic matter.

Another option is to increase soil fertility is by growing cover crops in your garden.
Conclusion
A basic nutrient soil test helps you to see a snapshot of the health of your soil. In addition, it helps to view the main nutrients and minerals to see if any adjustments need to be made. To do a soil test, Redmond is a great professional test kit option.
Looking Deeper at Soil Biology
Something to consider is that a nutrient soil test not completely comprehensive since as we now know, there is a world of microbiology also teeming beneath the soil as well! Once the main nutrients in the soil are addressed and adjusted to correct levels, it’s also important to focus on practices that increase soil biology and life.
Soil biology increases not only with organic recommendations, but also by low soil disturbance, keeping the soil planted as much as possible, and keeping the soil covered as much as possible.
To watch step by step how I test my soil, check out my video. :

P.S. The original soil company used in the video went out of business. The concept is the same and I show updated testing in the video below. I’ve timestamped you straight to the part about soil testing.