How to Can Dry Beans (without Gassiness!)
Canning dry beans at home is a great way to save money, take control of your food supply, and have them ready-to-eat at a moment’s notice. Note: This canned bean recipe requires a pressure canner.

Also, don’t be fooled by recipes that skip soaking and boiling. Even though it’s faster, it is not a safe method. My recipe follows guidelines of the National Center for Home Food Preservation but adds a secret ingredient to reduce the gassy after effects of the beans and also ease digestion 🙂
This post contains affiliate links. Here is the full disclosure.
If you’re new to pressure canning definitely check out my beginners guide on pressure canning. Also here is a list of 10 canning mistakes to avoid. I also have list of basic canning equipment and how it’s used.
Why You’ll Love This Recipe
- Safe for pressure canning.
- Less gas and easier digestion.
- Saves Money. (More on this below!)
Ingredients
Dry Beans– Choose fresh completely dry beans of any kind. I use black beans as an example but pinto, navy, kidney, and all others work.
Bay Leaves– Bay leaves contain enzymes that aid in breaking down certain proteins in beans. This reduces the gas-inducing effects of beans and makes them easier to digest!
Salt– For canning, be sure to use a salt that has NO additives. This could be a natural sea salt or canning salt.
Canning Your Own Dry Beans Saves Money
I worked out the math and found that canning your own beans saves on average about $1.00 per pint jar. While that may not seem like much, if you process a lot of jars, the savings can really add up.
Of course, you can decide the time it takes to pressure can be worth the extra effort for money savings. For me, it’s the other benefits like being able to control the salt and a trick for better digestion of beans which make it definitely worth the time. The money savings is kind of like a little bonus!

Breaking Down the Numbers
Here are the costs currently, as of April 18th, 2025.
Cost of home canned beans
For organic dry black beans sourced at Azure Standard, the cost is $1.37 per pound for a 25 lb bag. It takes about 4 lbs of beans to make about 14 pints.
That means the cost of the beans is about $0.39 per pint. If canning a pint jar, you need to include the cost of a lid. My favorite quality lid is Superb brand and they run about $0.29. So total for one pint jar or 16oz is $0.68.
So with a little quick math find that for home canned black beans the cost is $9.52 for fourteen pint jars (16oz).
Cost of factory canned beans
Here is what it costs to have the beans canned for you by a factory for a 15oz can (basically the pint jar equivalent.).
- Great value $1.15
- 365 Brand $1.29
- Azure Market $ 1.74
- Eden $2.87
If you buy beans at the store, it costs $24.36 for fourteen 15oz cans. I used the Azure Market brand as the example because the price came close to the average of the sample brands.
Total Savings
So that’s a total savings of $14.84. And technically you save another dollar or so because you don’t have to pay the tax on those cans either!

If you choose to can the beans in quart jars, the savings is even more because you’re using less lids. So the cost is $1.07 per quart (32oz). For the equivalent of 14 pints the total cost is $7.49. If you compare against the store equivalent, that’s a savings of $16.87.
How to Can Dry Beans Step by Step Guide

STEP 1: Place 3.5 lbs of beans in a large bowl. Fill the bowl with cold water. Allow beans to soak overnight or for at least 12 hours in a cool place. Alternatively, you can do a quick soak by heating water to a boil and pouring it over the 4 lbs of beans in a bowl. Then let sit for one hour before proceeding to step 2.

STEP 2: Rinse and drain beans.

STEP 3: Place beans in a 8 quart saucepan and fill it an inch below the rim with fresh water. Then add 2 bay leaves.

STEP 4: Turn the heat to medium and bring the beans and water to a simmer. Cook for 30 minutes.

STEP 5: Meanwhile, prepare the mason jars, lids, and rings. To do this, fill a pressure canner or a large canning pot with water and place jars inside. Then turn on the heat and bring to a simmer for a couple minutes. Turn off heat and leave the jars in the pot until ready to fill. Sterilizing the jars isn’t required due to the long processing time.

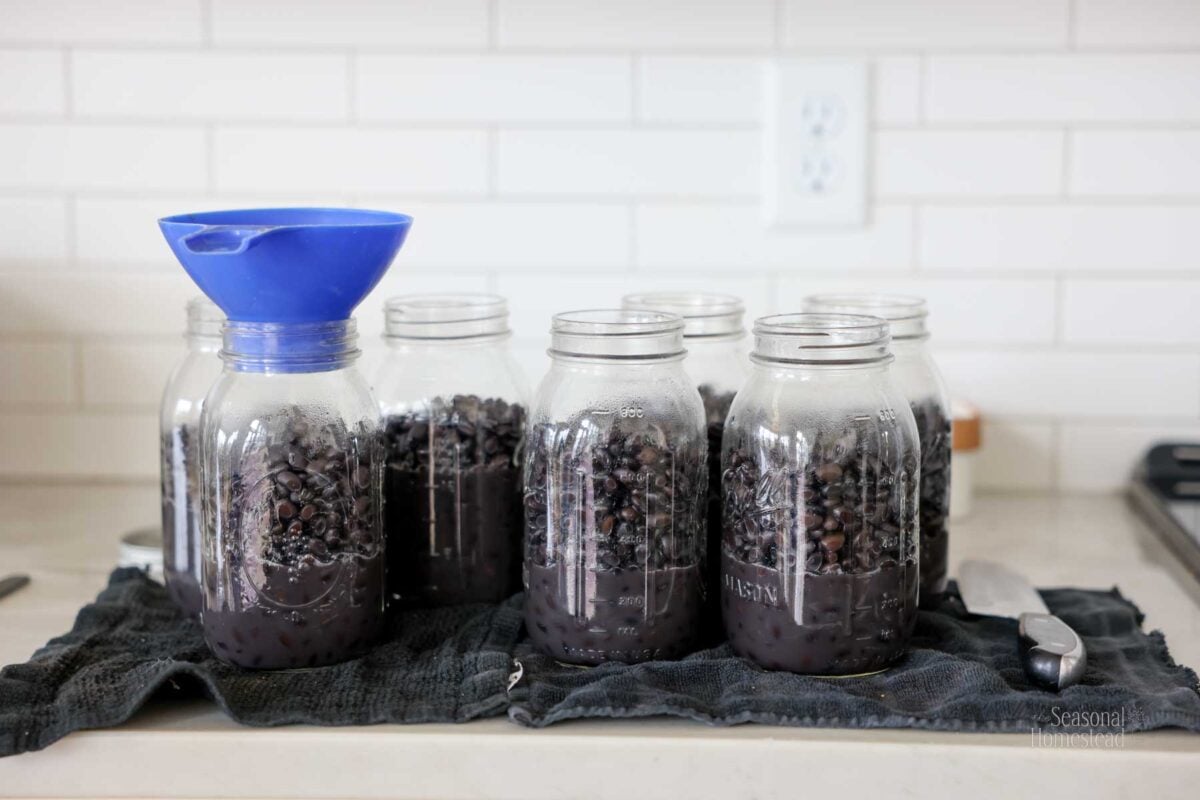
STEP 6: Fill hot jars with hot beans about ¾ full. Do not overfill the jars with beans. Add the remaining cooked bean water leaving 1 inch of headspace. Note: If there isn’t enough hot bean water to bring each jars liquid to 1 inch of headspace, you can heat more water and add it to the jars.

STEP 7: Then add sea salt or canning salt if desired (½ teaspoon per pint or 1 teaspoon per quart). Stir beans to remove air bubbles.

STEP 8: Wipe jar rims with vinegar, add lids, and rings. Tighten to fingertip tight.

STEP 9: Place jars in a pressure canner filled with water according to manufacturer’s directions. For example, my All American Canner is filled 2-3 inches high with hot water. Once the jars are placed in the canner, the water is displaced and reaches nearly to the top of the jars. The water does not need to fully immerse the jars since steam pressure is what cooks and seals the beans.

STEP 10: Tighten the wing nuts on the lid and turn heat on medium to medium-high. Keep the vent pipe/ petcock open. Once a steady stream of steam is escaping the vent pipe or petcock, set a timer for 10 minutes.

STEP 11: Process jars with a weighted gauge at 10 lbs of pressure canning in an area 1000 ft or below sea level. If you live 1000+ft above sea level use 15 lbs of pressure. For a dial gauge, elevations of 0-2,000ft maintain 11 lbs of pressure throughout the entire process time. 2001-4000ft use 12lbs pressure. 4001-6000ft use 13lbs of pressure. 6001-8000 ft in use 14 lbs of pressure.

Step 12: Once the correct pressure is reached and maintained, process pint jars for 75 minutes and quart jars for 90 minutes. Allow pressure to come back to zero naturally. Do not remove the weight or open the petcock until the pressure is all the way down to 0.

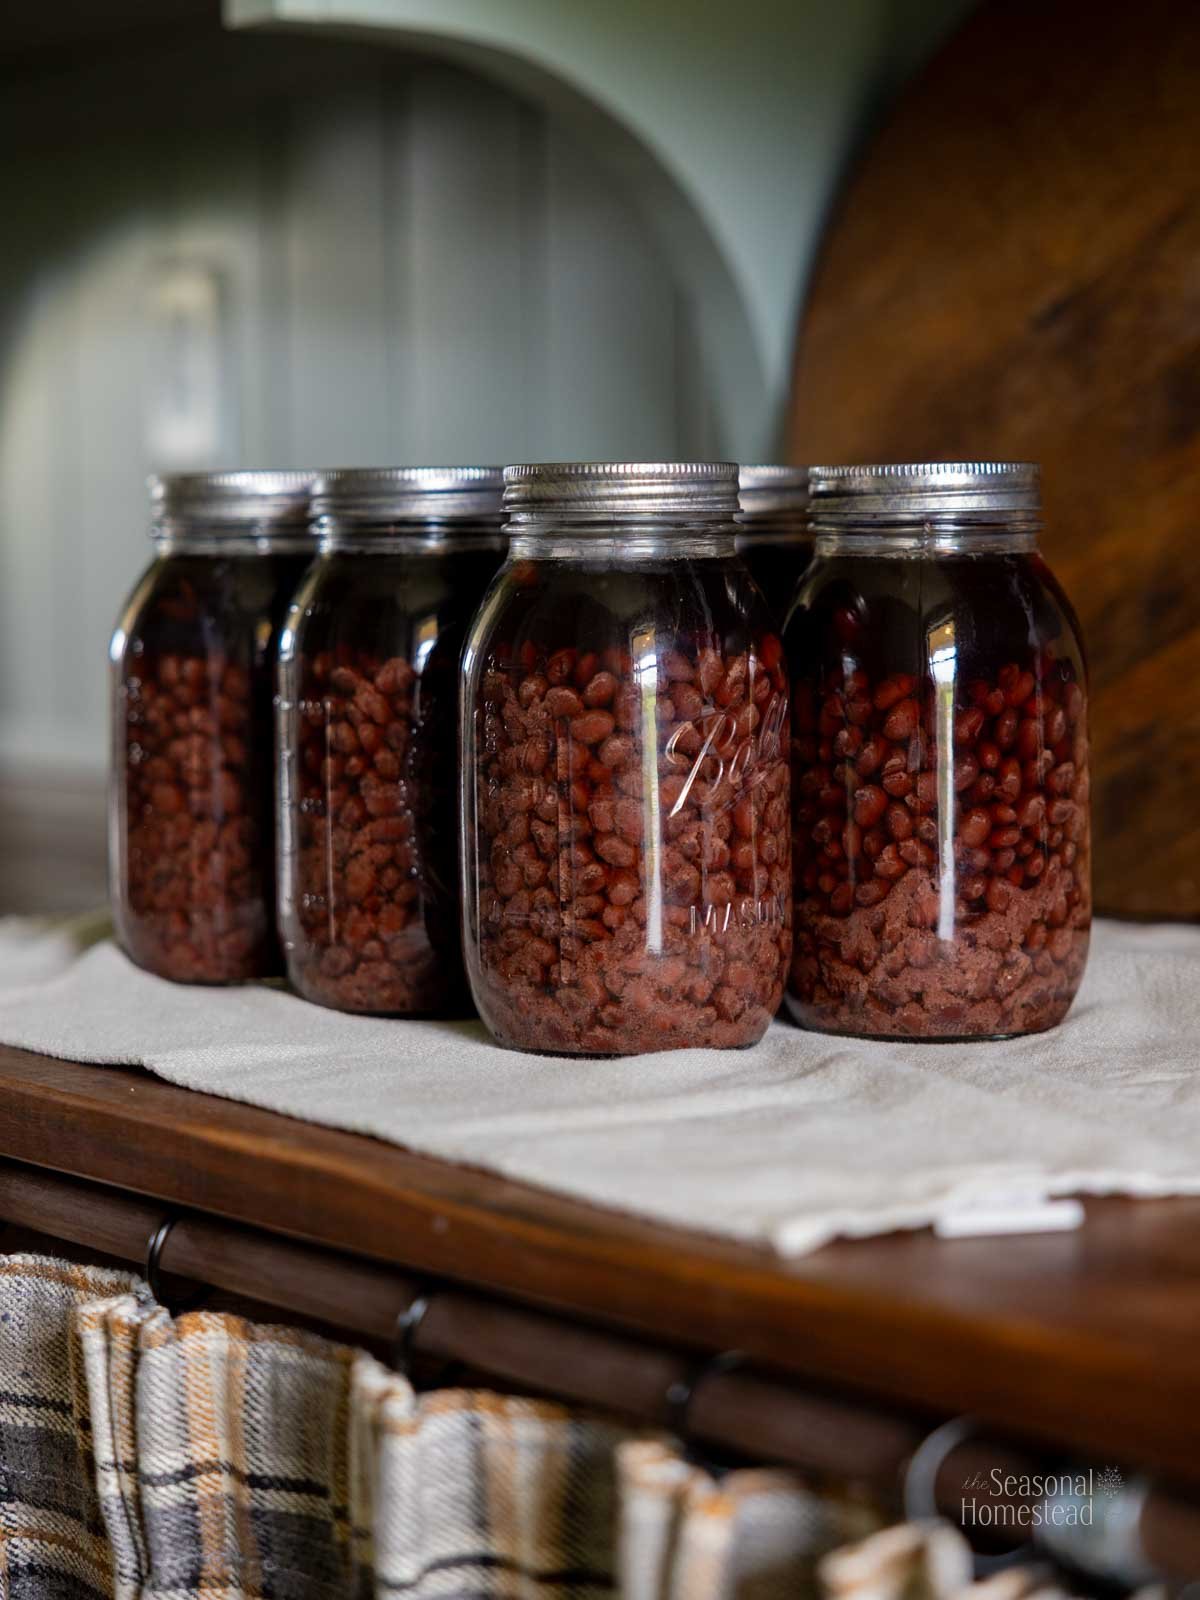
Step 13: Remove the pressure canner lid and let the jars rest for at least another 10 minutes. Then remove jars. Allow to lid for 24 hours, then check seals, remove rings, clean jars with vinegar or warm water, then label and store in a cool, dark place.
Frequently Asked Questions
No, This is not a recommended practice because the recipe canning time and safety is based on using soaked beans.
Under NO circumstances is a water bath canner safe to use for this recipe. YOU MUST USE A PRESSURE CANNER. If you’re looking for someone who gives out risky (and potentially lethal) canning advice you aren’t in the right place.
Is it worth it to can your own beans?
Canning beans saves about a dollar a jar. This savings can add up when canning many jars. It does take a significant amount of time to can beans so you’ll need to weigh whether or not your time is worth the money savings.
There are other benefits like being able to control the salt and a trick for better digestion of beans which make it definitely worth the time. The money savings is kind of like a little bonus!

How to Can Dry Beans
Equipment
Ingredients
- 3.5 lbs dry beans
- 2 whole bay leaves
- sea salt optional
Instructions
- Place 3.5 lbs of beans in a large bowl. Fill the bowl with cold water. Allow beans to soak overnight or for at least 12 hours in a cool place. Alternatively, you can do a quick soak by adding beans to a saucepan and fill with it water. Then bring to a boil and after 1 minute turn off the heat. Then let sit for one hour before proceeding to step 2.
- After soaking, rinse and drain beans.
- Place beans in a 8 quart saucepan and fill it an inch below the rim with fresh water. Then add 2 bay leaves.
- Turn the heat to medium and bring the beans and water to a simmer. Cook for 30 minutes.
- Meanwhile, prepare the mason jars, lids, and rings. To do this, fill a pressure canner or a large canning pot with water and place jars inside. Then turn on the heat and bring to a simmer for a couple minutes. Turn off heat and leave the jars in the pot until ready to fill. Sterilizing the jars isn’t required due to the long processing time.
- Fill hot jars with hot beans- it should be about ¾ full of beans. Add the remaining cooked bean water leaving 1 inch of headspace.
- Add sea salt or canning salt if desired (½ teaspoon per pint or 1 teaspoon per quart). Stir beans to remove air bubbles.
- Wipe jar rims with vinegar, add lids, and rings. Tighten to fingertip tight.
- Place jars in a pressure canner filled with water according to manufacturer's directions.
- Tighten the wing nuts on the lid and turn heat on medium to medium-high. Keep the vent pipe or petcock open. Once a steady stream of steam is escaping the vent pipe or petcock, set a timer for 10 minutes.
- Process jars with a weighted gauge at 10 lbs of pressure canning in an area 1000 ft or below sea level. If you live 1000+ft above sea level use 15 lbs of pressure. For a dial gauge, elevations of 0-2,000ft maintain 11 lbs of pressure throughout the entire process time. 2001-4000ft use 12lbs pressure. 4001-6000ft use 13lbs of pressure. 6001-8000 ft in use 14 lbs of pressure.
- Once the correct pressure is reached and maintained, process pint jars for 75 minutes and quart jars for 90 minutes. After processing is complete, allow pressure to come back to zero naturally. Do not remove the weight or open the petcock until the pressure is at 0.
- Remove the pressure canner lid and let the jars rest for at least another 10 minutes. Then remove jars. Let sit at room temperature for 12-24 hours, then check seals, remove rings, clean jars with vinegar or warm water. Then label and store in a cool, dark place.
Notes
- Use fresh dry beans for this recipe. Most dry beans that are more that a year old will not cook well, no matter how long you process them.
- Don’t skip soaking or the 30 minute cook, it’s essential to keeping this recipe safe for canning.
- A pressure canner MUST be used for this recipe. There is no substitute.
- If there isn’t enough hot bean water to bring each jars liquid to 1 inch of headspace, you can heat more water and add it to the jars.
- For black beans, I found the perfect amount for 7 quarts or 14 pints to be about 3.5 lbs dry beans if filling jars 3/4 full with beans. The sweet spot for pounds of beans to make a full canner load may be slightly different for other varieties.
- Here’s a guide for if you want to do a custom amount of jars. About a half pound of beans is needed per quart jar. A quarter pound of beans is needed per pint jar. So if you were to make 20 quarts of cooked beans, you’d need to start with 10 pounds of dry beans.


