How to Clean the Garden in Fall
The weeds are 4 feet high, the vegetables are diseased, the harvests are nearing completion, and a walk in the garden is reminiscent of a jungle floor. Does this sound like your garden? Maybe not, because I just described my own, haha. Even so, this is the time of year where it’s tempting to give up on the garden but critical you don’t! Let’s talk about how to clean the garden for fall!

1. Finish Harvesting Crops
If you’re cleaning up a vegetable garden, the first order of business is to harvest all the fruits and vegetables that are mature. If you need ideas for preserving, I got you covered!
This post contains affiliate links. Here is the full disclosure.
Next, assess if there are any crops that are past their prime and should be removed. For example, I have several watermelon plants that are still producing fruit, but the plant is slightly diseased and has too many squash bugs.

We will get a frost in the next month (October), and the majority of the fruits on the plant will not reach maturity. If they are at this point, it’s usually a good idea to pull them out. I plan on removing mine this week.
If you have an flower garden and a frost has already come, pull out all annual flowers that have died. Or better yet, clip the stems at the soil surface and leave the roots in the ground.
2. Remove Weeds
You knew this one was coming, didn’t you? I’m sorry but yes, weeds need to be removed. Do not, I repeat, do not leave your weeds where they are.
Why? Because one weed can drop literally thousands of seeds. If you leave it in the garden, say hello to one thousand plus new weeds next year.

At this point, since we are talking about how to clean the garden for fall, the weeds present likely are already covered with mature dry seeds ready to drop at any moment.
Here are a couple of steps to help clear out weeds:
Step 1: Get a wheelbarrow, large bucket, or garden cart.
This is a place to put your weeds. If you throw them on the ground, even temporarily, they will drop seeds. Having a place to hold the weeds after pulling them out is critical.

Step 2: Pull the entire weed out, roots included or prune weeds at the base, then remove roots.
Some weeds are pretty easy to remove by pulling by hand. If so, carefully pull it out and put it in your wheelbarrow.
However, some weeds can become bush and tree-like in their size. You can definitely get out the pickaxe and remove large stubborn weeds with it.
Alternatively, if a weed is about to drop seeds a better option is pruning at the base. Unlike the pickaxe or even shovel, there are no sudden movements, it’s gentle and fast. Again, pruning gently matters because you want to limit the amount of seeds that are falling back into the garden. I use pruning shears for this job.

After the exposed weed is removed, then I come in with a tool like a pickaxe to get the roots.
3. Remove Diseased Plants
Even though I already mentioned removing diseased plants, I want to add a little information on what to look for and how this should be done.
You can determine if a plant is diseased by looking at the leaves, fruit, roots, or the stem. If you see spots, wilting, yellowing, dried up leaves, black on the stem (inside or visible), roots that are rotten or look strange, spots on fruit, or anything that looks sketchy, remove it.

There isn’t always time to take a plant to get looked at by an expert to confirm disease so just pull it out and get it away from the garden.
The best option if it’s allowed in your area is to burn all the plants. Burning kills all the disease spores that could spread right back to your garden.
Option two is to bag the crop and take it to a waste facility that will accept it or take it far, far, away from your garden.
4. Cover the soil
Once some of the plants are pulled up it’s important to cover the soil. Considering the goal is to clean the garden, it may seem counter intuitive.
Yet soil protection helps prevent soil erosion, leaching of minerals and nutrients, and keeps the soil from compacting over winter. It also helps keep all the soil biology much happier.
Options for soil protection include cover crops, organic matter, plastic or woven ground cover, paper, cardboard, and more. Here are the benefits and drawbacks of each:
Cover crops
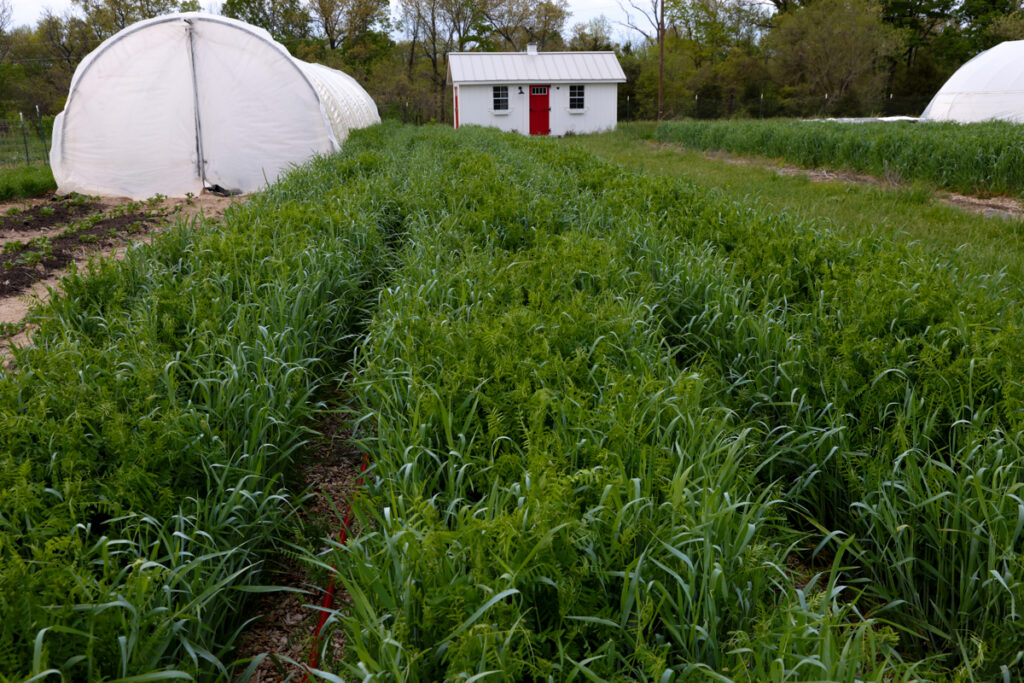
A cover crop is a living plant that covers the ground but is killed or cut back before it creates seed. Cover crops have a ton of benefits for the soil and soil biology.

It is by far my favorite option but it only works for garden beds that are cleaned up early enough to plant seeds and have them get some growth both in the roots and above ground before cold weather sets in.
If you’re wondering what you can plant that will either die on purpose in winter or overwinter, here is more information on how to grow cover crops.
Organic Matter
Organic matter is anything made from a living organism, even if it’s now decaying. It is wonderful for the soil and a great protection for winter.
You can add straw, hay (watch out for weed seeds), compost, shredded leaves, wood chip mulch (be careful to lay on top and not to mix it in the soil), chopped up healthy garden plant matter, composted chicken manure, composted horse or cow manure, and the list goes on.
Added caution is needed when applying straw and hay. This caution is necessary because if they are sourced off the farm they can have herbicide contamination. Herbicides will have negative effects on future plants.
Plastic or Woven Ground Cover
Plastic is definitely a controversial soil covering, especially for winter coverage. Usually for certified organic growing plastic is not allowed to sit on the soil overwinter. However, for some individuals ground cover or plastic might be the only option.

I think the fear for most is the leaching of microplastics into the soil. I plan on doing a deep research dive into this at some point soon to see if it is a valid health risk or not worth worrying over. You are welcome to do your own research and decide!
Paper and Cardboard
Technically, these are organic matter items but they have been changed slightly by processing. Most cardboard and paper is safe to add to a garden.

However, you want to avoid shiny paper, color paper or cardboard, or cardboard that is coated with PFAS or other chemicals. A DIY test for PFAS can be done by pouring a bit of oil on the cardboard and seeing if it beads up or soaks in. If it soaks in, that is good news. If it beads up, don’t use the cardboard.
Here is a deeper dive into other types of mulches and information on cardboard.
Composted Animal Manure
Composted animal manure is a great option because it adds nutrients and it still covers the soil. If it smells, it’s not fully broken down and needs a little more time.
5. Leave Perennial Plantings Alone
Even though it’s tempting to sweep clean the entire garden. You want to leave a few areas alone . The areas that are often ignored on purpose are where you have perennial plants.
Many living creatures need a home for the winter. Included in that group are beneficial insects. Beneficial insects will come out and kill all those pesky insects that actually eat your plants and destroy them.

This year, I set up an area that has our herb garden and to preserve the overwintering beneficial insects, I won’t touch it, except for adding some mulch over top.
6. Consider what will be planted in an area in the Spring
A really important consideration with cleaning the garden is having a plan for spring. You’ll need to know where crops will be planted the next growing season. The reason is to know whether to add a mulch, a cover crop that will die with cold temperatures, or a cover crop that will overwinter extend into spring.
I always think about where I’m planting my garlic first. I have that area cleaned out and then add a mulch like compost until late October or early November when I’m ready to plant.

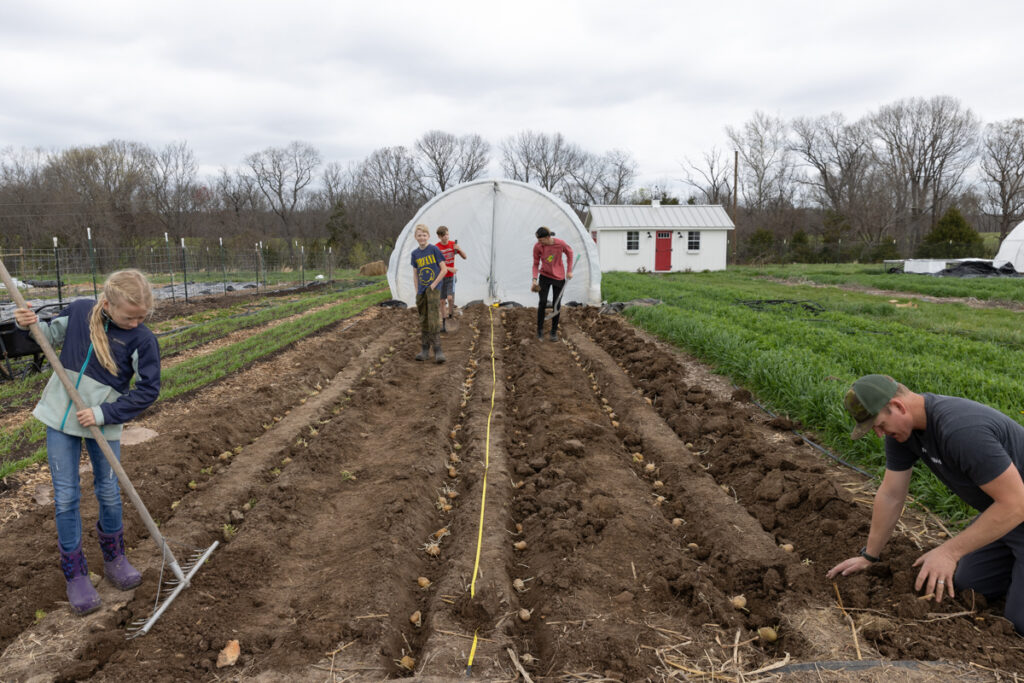
Then I plan where peas, potatoes, onions, and greens will be planted the next year. These crops need to be planted in early spring. Therefore, it’s best to have a mulch or cover crop that winter kills in these areas.
In all the areas where I’ll plant heat loving crops (tomatoes, peppers, cucumbers, beans, etc.), I have a cover crop planted that will overwinter. The garden doesn’t need to be planned entirely for the next year. It’s just good to have a rough idea of what will go where.
Thinking ahead really pays off when it comes time to plant. It makes the job easier when the area needs minimal prep work to be ready for a new year of growing.


