Preparing Soil for Strawberries
Preparing the soil for strawberries is one of the most critical parts of a successful harvest. The biggest and best tasting berries are grown when the foundation of good soil is achieved!

Whether you are growing strawberries in containers, raised beds, or in the ground, there are several steps for proper soil preparation.
Soil Preparation Tips for Strawberries
- Choose a location with good soil drainage (or make a raised area with good drainage)
- Remove ALL weeds
- Add organic matter to the soil
- Take a soil test
- If growing in containers, formulate a good soil mix
- Set up irrigation prior to planting
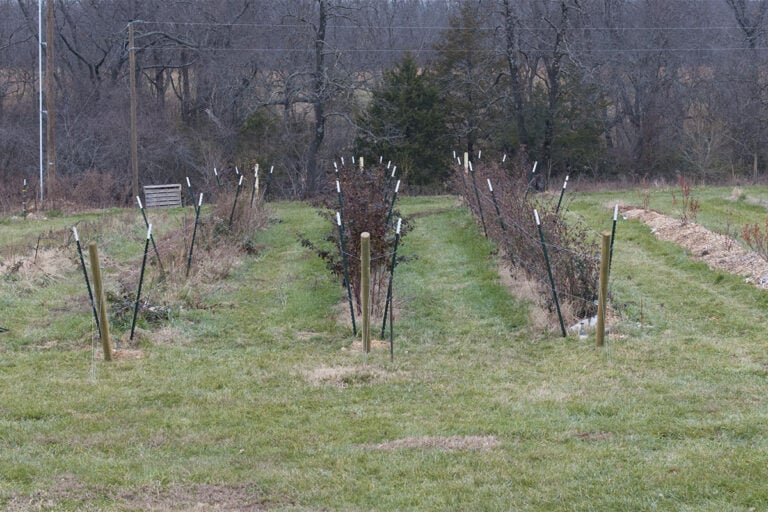
1. Choose a location with good soil drainage
Strawberry plants and their roots will fail to thrive if they are too wet. This is because standing water deprives soil roots of oxygen. Therefore it’s very important to pick an area with good drainage.
To check drainage, dig a hole 12x12x12 and fill it with water. Good drainage happens when the water level goes down at the rate of 1 inch per hour. If the water drains more slowly, drainage is poor.
If you don’t have an area with good drainage, you can create it. This is done by raising the soil higher than what is around it so the water drains out quickly.
You can build a raised bed that is supported by metal or wood. Or you can simply mound the soil higher into a raised garden row.
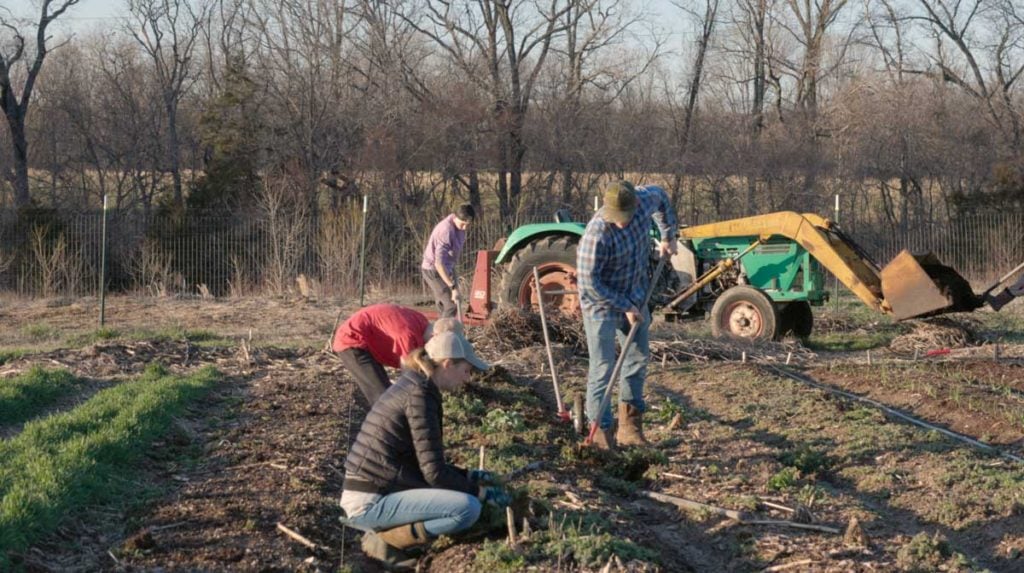
2. Remove All Weeds
Another essential step in preparing the soil for strawberries is to remove all the weeds. Annual weeds are easily removed but perennial weeds in a strawberry patch take more effort.
If you have the time, taking an entire year to make sure there are no weeds left is ideal. The most effective and hands off organic method to kill weeds is tarping the area with silage tarps to deprive it of light and oxygen.
Another option is to remove all the weeds manually with garden tools. Some perennial crops have very deep taproots so be sure to get every bit of root.
Sheet mulching by adding cardboard and several thick layers of organic matter is another option but depending on your area, it may be no match for the perennial weeds. Here is a list of types organic mulches for a vegetable garden.
You will be so glad you took the time to do this step right before planting. Speaking from experience, it saves tens to hundreds of hours of weeding. It is worth the time to make sure it’s done right.
3. Add Organic Matter to the Soil
Ideal soil conditions for strawberries are planting them in well-drained, fertile soil. Amend your soil with compost or well-rotted manure before planting.
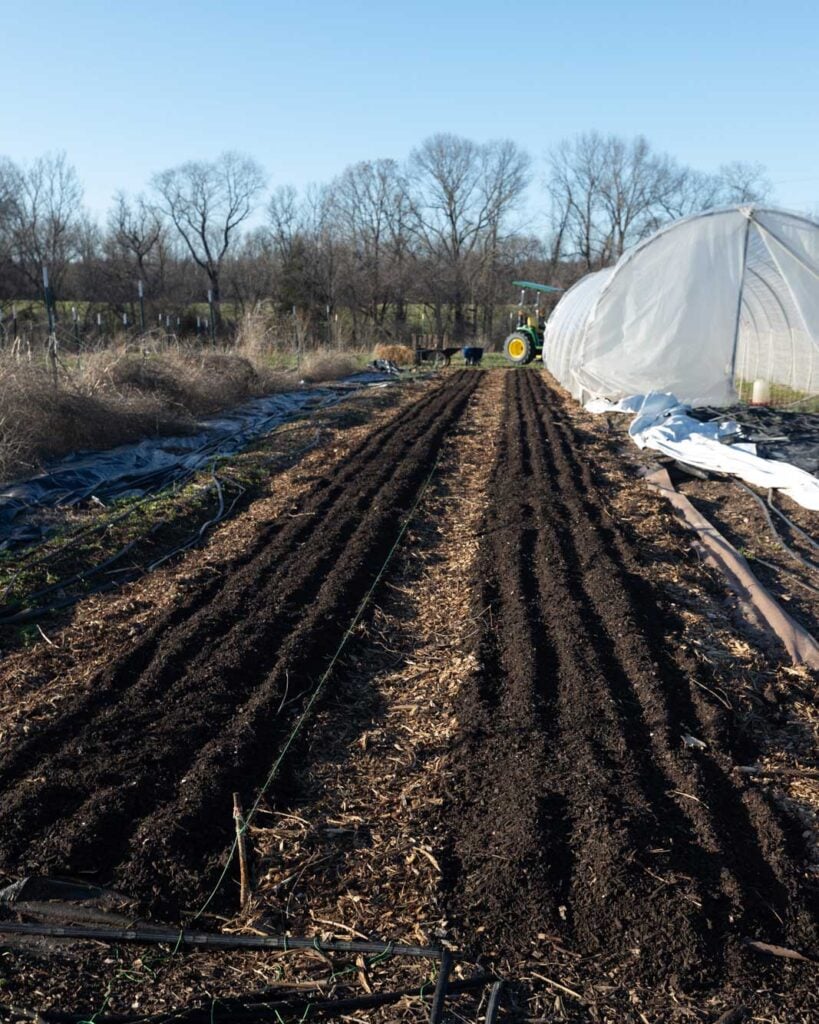
Alternatively, you can layer organic materials and let them break down slowly in place. This is a long process that can take 1-2 seasons depending on the materials used. This was made popular with the book Lasagna Gardening and is a useful method if you have lots of time.
Types of organic matter that can be used for a lasagna garden approach are peat moss, seaweed, compost, leaves, wood, chicken litter, hay, straw, grass clippings, and many more.
The rule of thumb for strawberries is to plant when these materials are no longer recognizable and have composted in place.
4. Take a Soil Test
The ideal pH of soil for strawberries is between 5.5 and 6.8. A soil test gives results for soil pH as well as any deficiencies in the soil.
It’s pretty common for a new gardener to add a fertilizer into soil that is labeled good for strawberries like an all purpose 10-10-10 formula. While it’s not the end of the world, it’s not recommended. It may work for a year or two but eventually you’ll start running into problems.
The best practice is to take a soil test and amend the soil prior to planting. This is especially true with a crop that stays in place for about 3 years like strawberries.

Ideally, a soil test would take place in the fall prior to planting. But if you aren’t able to do that, testing right before planting is better than not testing at all.
Here is my recommendation for the best soil test kit and instructions on how to use it. After testing, if any changes need to be made and amendments added, do that prior to planting strawberries. This corrects imbalances in the soil and will improve your harvest.
Additional supplemental fertilizer shouldn’t be added until 6 weeks after planting.
An important note: a soil test is for soil. It’s not for testing a raised garden bed made up of almost entirely organic matter.
While many soils have organic matter in them, it is usually 10% or less of the total amount. If you want to soil test raised beds that have top soil in them, you can get results. But if there is too much organic matter in your raised beds or a container garden, a lab will not be able to give you a good soil test analysis.
5. For Growing Strawberries in Containers, Formulate a Balanced Soil Mix
Strawberries are one of the few fruits that grow well in containers due to their small size and relatively small root system.
If this is the route you’d like to take, the soil mix you use will play a large role in the health of the plant and berries. You can purchase soil mixes (also known as potting soil) or make your own.
If you’d like to formulate your own mix, I have a soil block recipe (works great as a regular potting soil too). Use 75% soil block mix + 25% top soil. Mix well and add to a container. The topsoil will add some nutrients that a soiless mix just doesn’t have.

If you don’t want to make your own, use 75% potting soil, 15% topsoil, and 10% compost or aged manure.
Container growing requires additional supplemental fertilizer at least once a month, if not more. The reason for this is that in containers the strawberry plants have to absorb all the nutrients they need from a small area.
There are also holes in containers for good drainage and the act of watering will leach out the nutrients from the potting soil quickly.
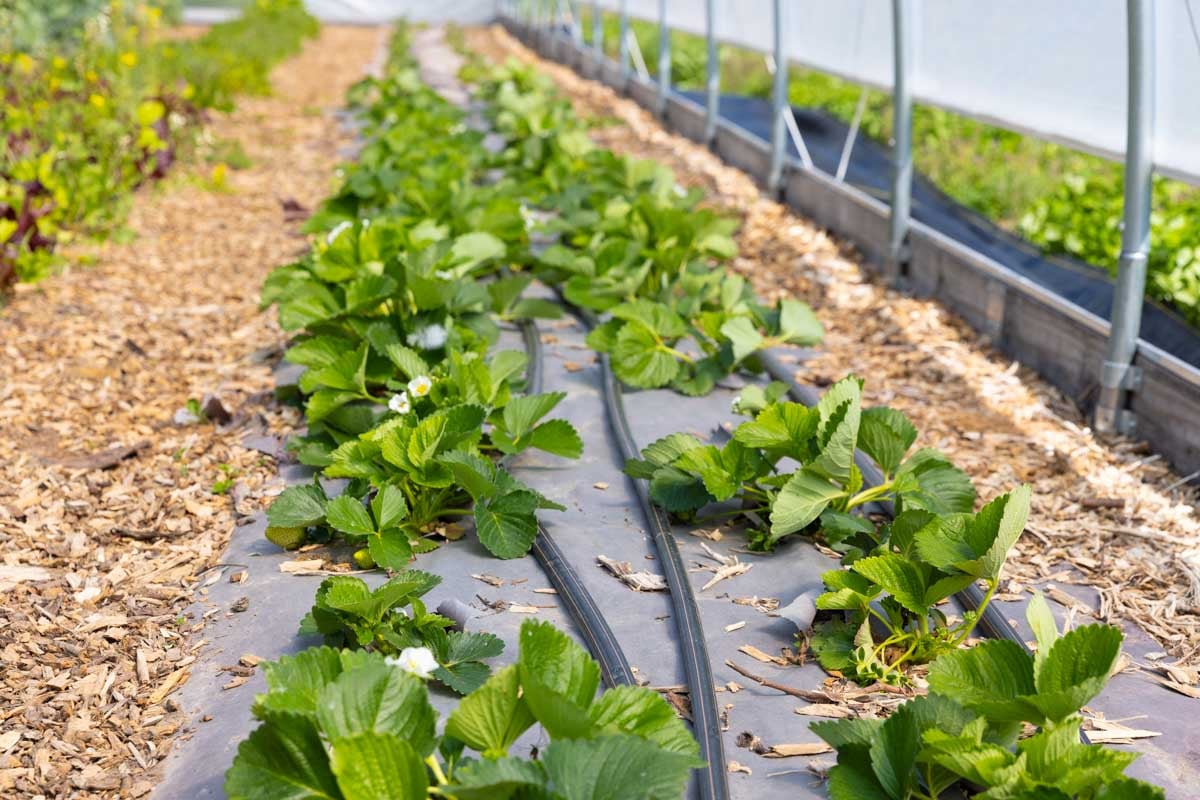
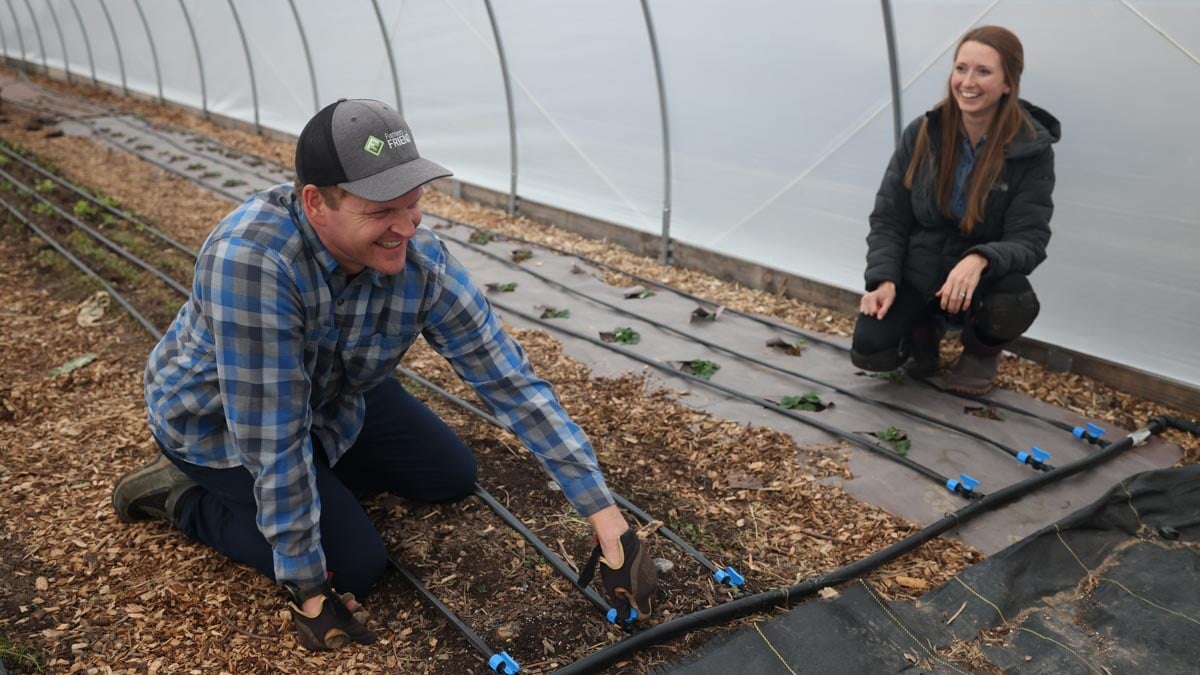
6. Set Up Irrigation
Dig and install any water lines necessary to irrigate your strawberry plants prior to planting. For strawberries drip irrigation is ideal.
The reason to use drip irrigation instead of an overhead sprinkler is that drip lines help to keep the leaves and fruit of those strawberries nice and dry. This helps to avoid slugs and snails, fruit diseases, and leaf diseases brought on by excessive moisture.
I personally don’t like soaker hoses but it’s another option for vegetable garden irrigation (or in this case fruit).
Placing drip irrigation immediately after planting strawberries is so important. The plants will grow big and fill in the space. If you wait until this point, you’ll have a lot more work laying down drip lines.
Want to learn more about strawberries?
After many years of trial and error, I came up with 5 tips for growing strawberries organically.
I also have a lot of illustrations and photos on how to plant strawberries that are helpful for both beginners and experienced growers.