How to Ferment Vegetables (Beginners Guide)
This guide of how to ferment vegetables lines out all you need to know to get started with fermentation. Fermentation is a timeless and easy way to preserve food. Not only that, it actually makes your food easier to digest and fills it with beneficial bacteria.
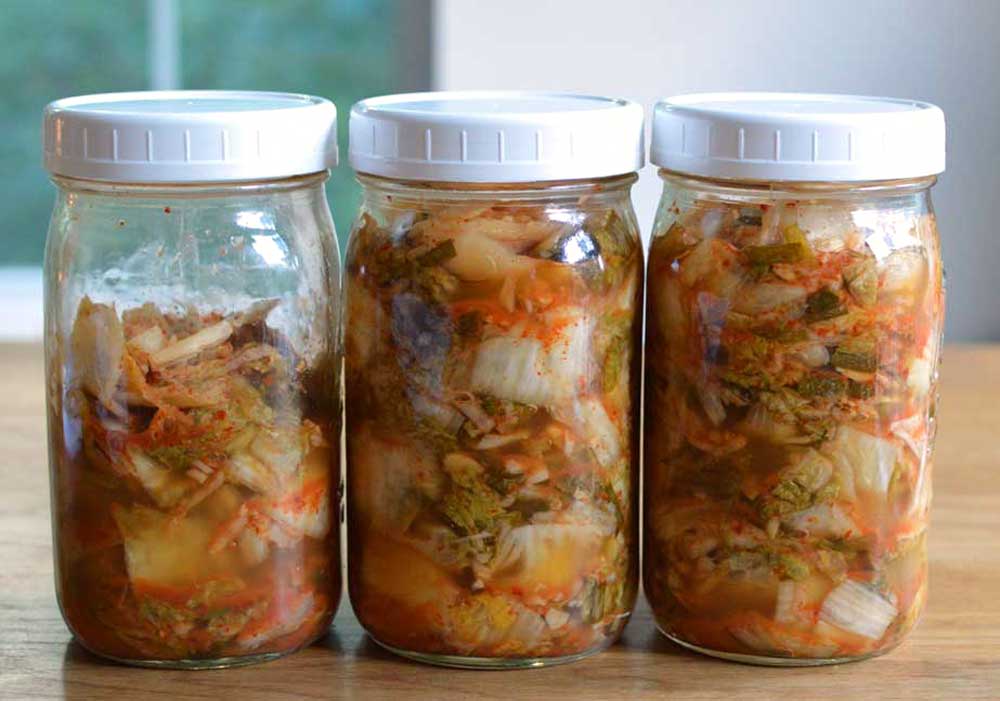
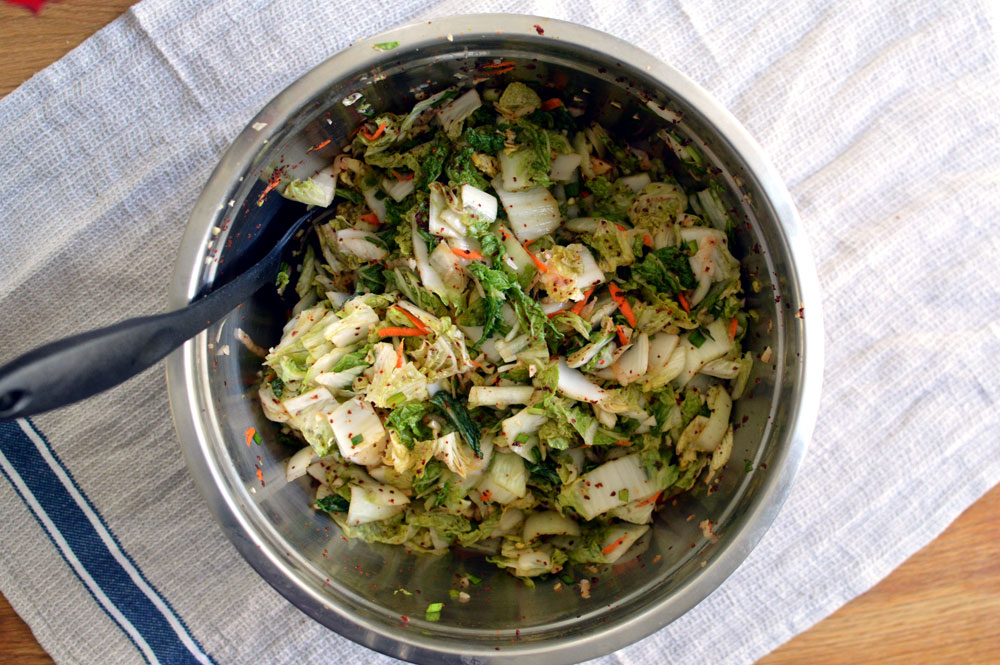
I credit fermentation and garden fresh food with healing my acid reflux and IBS. One of the best ferments that I love for gut health is kimchi. I have a guide on how to make kimchi (this is the basic cabbage version). And I also have a recipe for cucumber kimchi that is delicious.
What is Lacto-Fermentation and How Does it Work?
The process of fermenting vegetables uses lacto-fermentation. The big word makes it sounds complicated but trust me, science aside, it’s all a simple process on your end.
Lacto-fermentation happens when Lactobacillus bacteria convert sugars into lactic acid. Strains of this bacteria are naturally present on vegetables.1
It’s important to note that the number of beneficial bacteria and microorganisms increases when the produce is grown organically.2 In my experience, my best results in lacto-fermentation come from fresh picked vegetables straight from the backyard garden.
While it may seem scary to think of microbes and bacteria on your food, most of them are good bacteria. When fermentation is done properly, the good microbes and friendly lactic acid forming bacteria will overpower any bad bacteria present.
Salt is an important addition in the process of lactic acid fermentation.
The salt has several purposes.
- Texture (keeps foods crunchy)
- Draw out water from the cells of the plant
- Prevents bad bacteria from taking over good bacteria
According to the book Fermented Vegetables by Kristen and Christopher Shockey, a standard percentage of 1.5% salt to vegetable weight will prevent decomposition of vegetables.
Simply put, all you need to get started with lacto-fermentation of vegetables is: Microbes, Vegetables, and Salt.
A Salt Brine is Essential to Successful and Safe Vegetable Fermentation
Some vegetables like cabbage, for example, have enough water content that adding salt will draw out the water from a vegetable and create a brine. Other vegetables may not have enough water content and you’ll need to mix salt with added water to create a brine.
The brine is needed to create an oxygen-free environment where good bacteria like lactobacilli can thrive.
When I make a brine, I use the ratio of 1 cup of sea salt to 1 gallon of water.
What kind of salt should be used?
- Unrefined sea salt or a natural mineral salt is the best option.
Do not use iodized salt which can inhibit the process of fermentation. Kosher salt occasionally has anti-caking agents used in processing and should also be avoided.
What kind of water should be used?
- Spring water or Filtered water
Generally tap water contains chlorine and shouldn’t be used unless it is filtered. Chlorine kills bacteria both good and bad. Do not use it for fermentation.
What Conditions are Required for Fermented Vegetables?
- Temperature: Should between 55 and 75ºF (12-24ºC)
- Light: Keep out of direct sunlight and ideally it should be very dark.
- Oxygen: A brine is needed to create an oxygen free environment.
Make sure the carbon dioxide has a way to escape.
During the fermentation process sugars turn into lactic acid and carbon dioxide. These gas bubbles need a way to escape the fermentation environment.
There are several ways to do this. I give some examples below:
- Keep the lid loosely on the jar and “burp” it once a day by opening the lid and letting the gas escape.
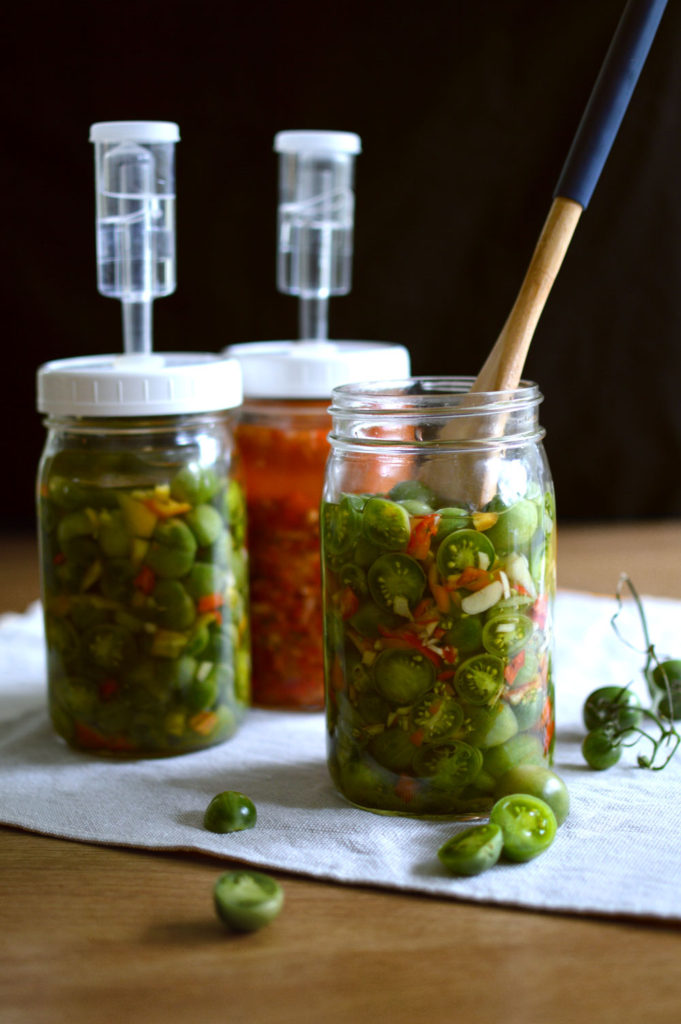
- Air-lock lids. These will do the work of letting the carbon dioxide escape. I like this method because there is no worry of an accidently jar explosion from built up gas.
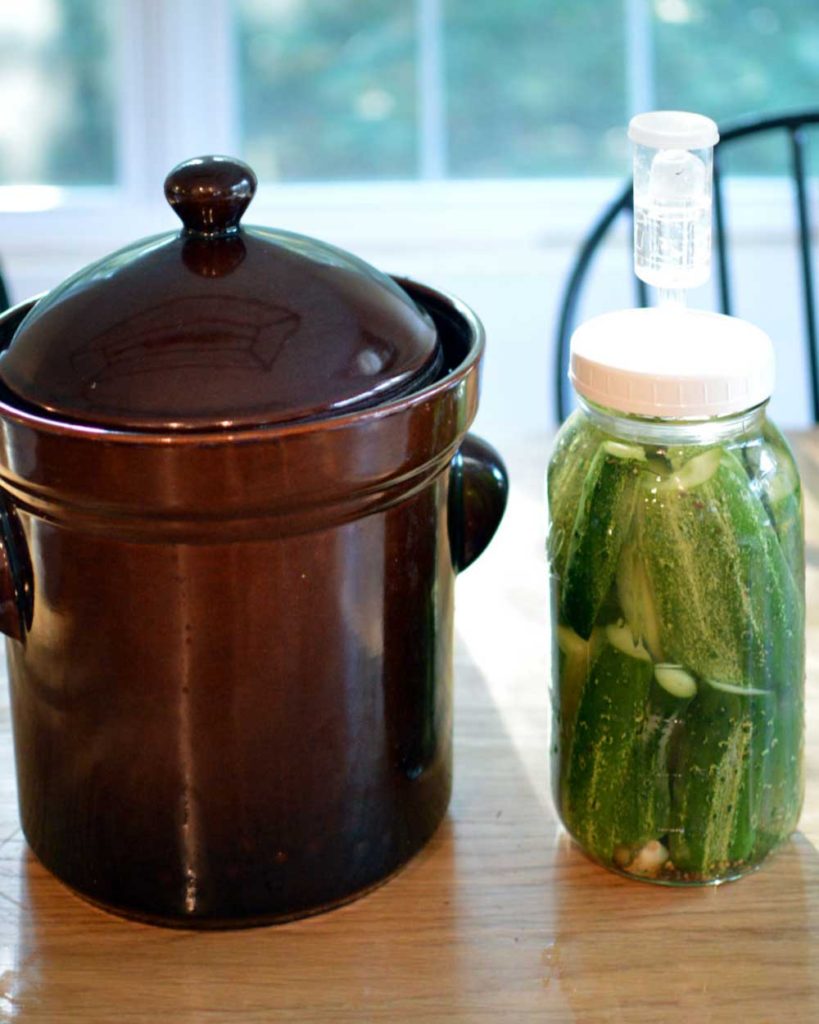
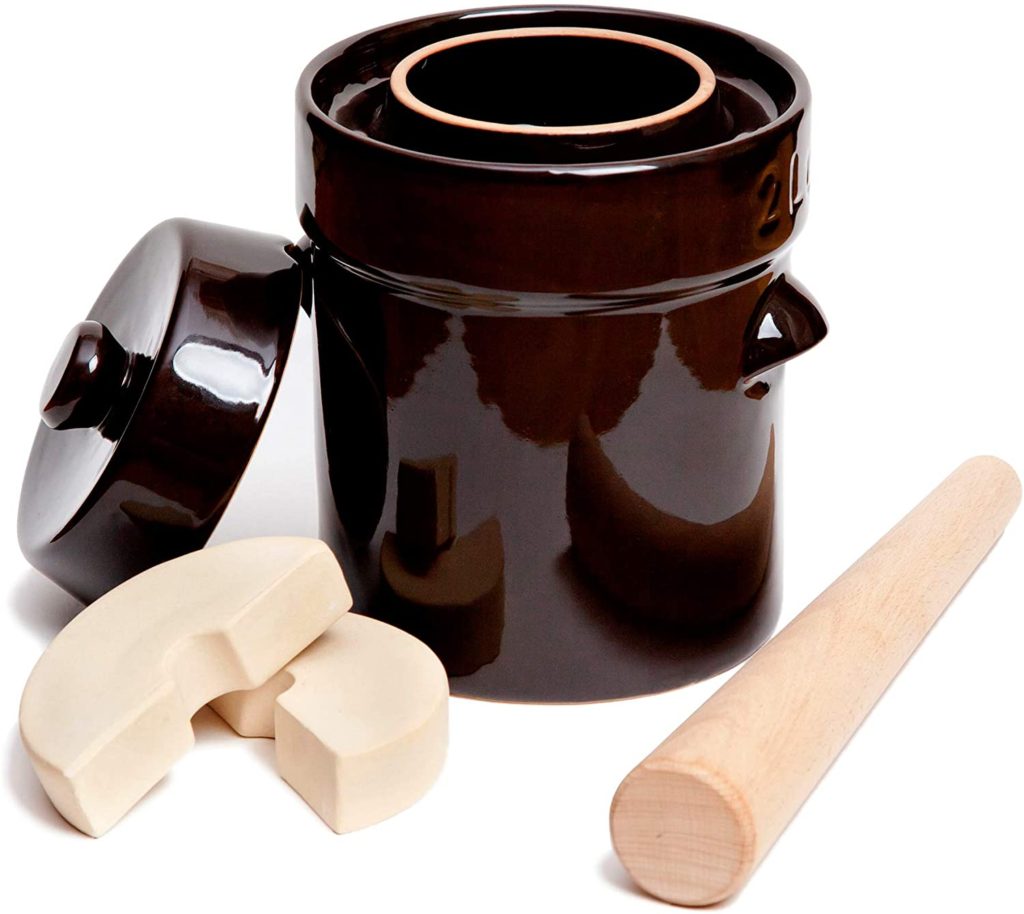
- Fermentation crock with water seal. This uses a similar principle to an airlock lid. The lid has a trough of water around the top of the pot. When the lid is placed on the top, it allows carbon dioxide to escape without letting oxygen in the crock.
What equipment is needed to Ferment Vegetables?
Fermentation can be done with little to no special equipment. Or it can be done with more specialized equipment to make it a fool-proof process. It is your own personal choice.
Examples of Options:
#1 Quart Mason Jar, Half- Pint Mason Jar, and Towel.
As a beginner dabbling in fermentation I used a quart size jar to hold the vegetables and brine and then placed a half pint size jar on top of the ferment. This smaller jar kept the vegetables submerged under the brine. Then I placed a towel over the top of the whole thing.
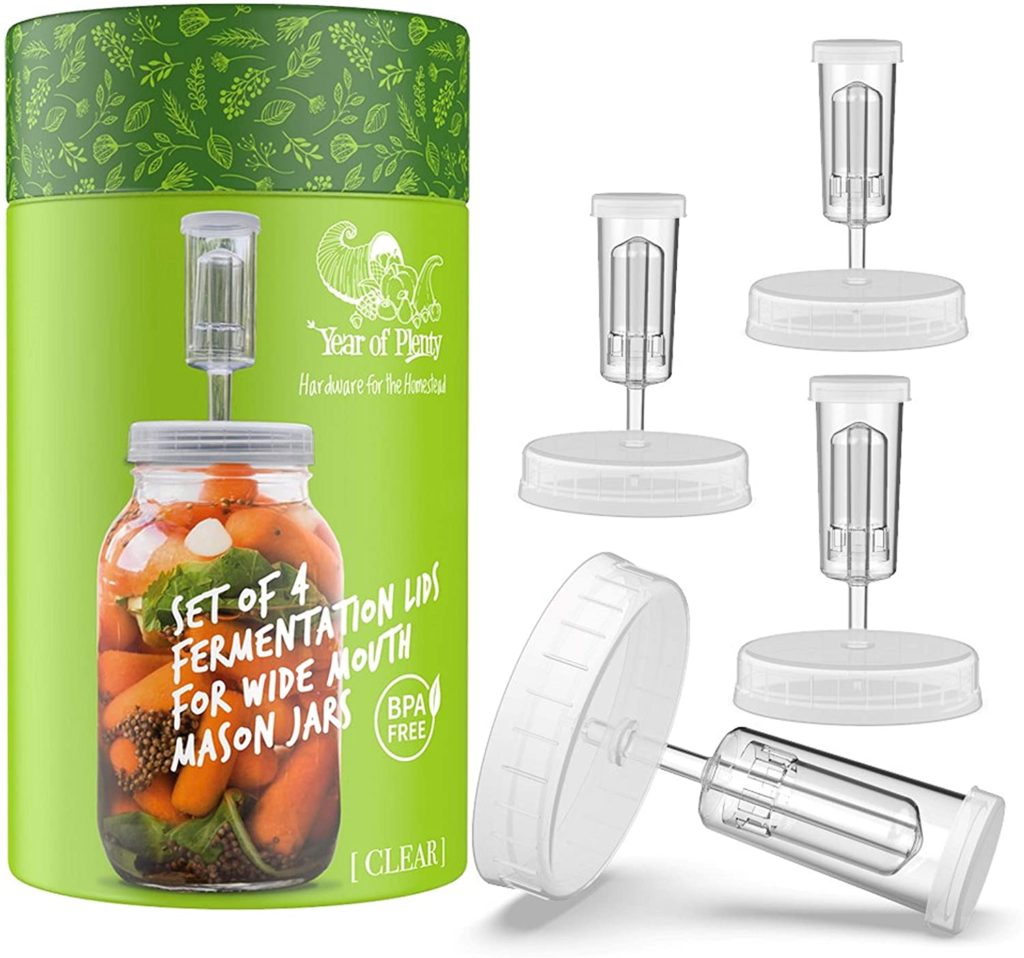
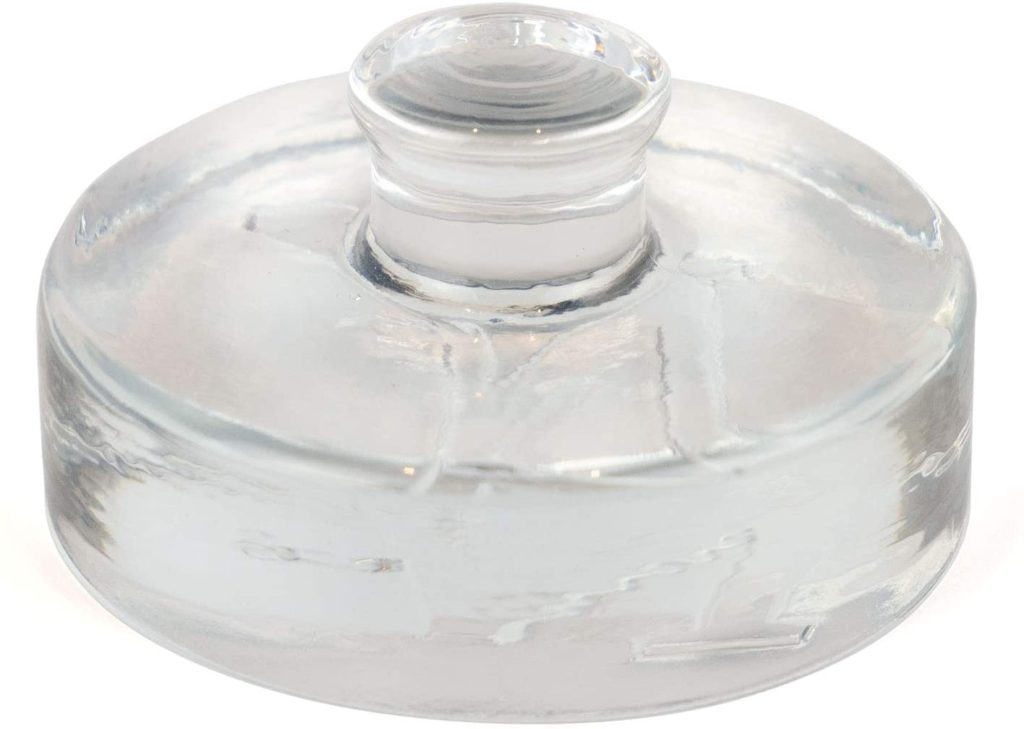
#2 Quart Mason Jar, Air-lock lid set, and Glass Weights.
I decided to upgrade to air-lock lids on my quart size jars and glass weights to hold down ferment. It was a worthwhile investment and made everything easier and I had less problems with scum or mold forming on the top of the ferment.
#3 Water- Seal Fermentation Crock.
When I started to do large batches, I invested in a water-seal fermentation crock. Most crocks come with weights. This really makes it very easy to ferment as it creates a dark oxygen free environment.
There are many, many other options available as well but these are the ones I have experience using and have worked well for me.
Other optional items include a food processor or mandoline to chop vegetables. If you don’t have either of these a good sharp knife will work just fine!
And you probably want to have a tamper or good wooden spoon on hand to pack everything tight.
A Word about Pickle Pipes
Another option to use for fermentation is a product called Pickle Pipes. These are silicone lids with slits in the top to allow for built up carbon dioxide to escape.
I bought some last year to test them out because so many people rave about them. Well, they are a step up from burping a lid manually but they aren’t as good as water lock seals.
In a test of fermenting peppers, I used all three types of fermentation options: airlocks, pickle pipes, and water lock seal crock. The best results always come from the water lock seal crock, second place goes to the airlock lids, and third is pickle pipes.
The pickle pipe jars had a lot of kahm yeast (it’s a harmless white film on the top of the ferment) and the water seal crock had ZERO.
Frequently Asked Questions
Botulism is a rare poisoning caused by toxins produced by Clostridium botulinum bacteria. Botulism grows in an anaerobic (no oxygen) and low acid environment.
When vegetables are fermented properly with salt, there is no risk of botulism.This is because the fermentation process converts the sugars in vegetables to lactic acid. This creates an acidic and probiotic environment where Clostridium botulinum bacteria can not survive.
In fact, United States Department of Agriculture research service microbiologist Fred Breidt concluded fermented vegetables to be even more safe than raw!4
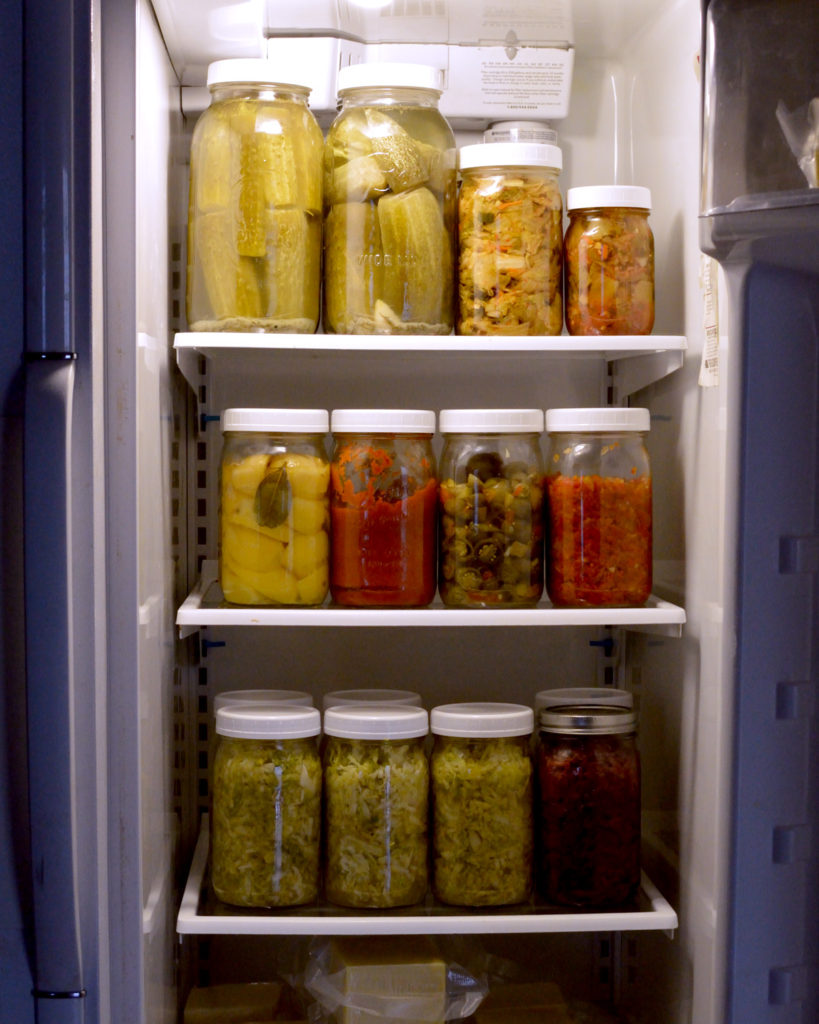
Fermented vegetables will usually store for about nine months in temperatures just above 32ºF or 0ºC. Most often to create these conditions you’ll want to store them in your refrigerator. Occasionally they will last longer than nine months, but there is usually some degradation in quality after that point.
Generally, as long as the mold is only on the top surface of the ferment and your vegetables are still under the brine, it is still ok to eat. You’ll want to take a sieve and scoop off the mold without disturbing the ferment below.
If the ferment smells or is slimy and has mold, don’t eat it!
Check out these Fermented Vegetable Recipes:
- Fermented peppers with garlic and lime
- How to make preserved lemons
- Lacto Fermented Dill Pickles
- Fermented Garlic
Sources:
- https://www.culturesforhealth.com/learn/natural-fermentation/what-is-lacto-fermentation/
- https://www.frontiersin.org/articles/10.3389/fmicb.2019.01629/full
- Fermented Vegetables. Kirsten K. Shocky and Christopher Shocky. Storey Publishing. 2014.
- https://www.ars.usda.gov/ARSUserFiles/60701000/FoodSafetyPublications/p337.pdf
- Cultured Food for Life. Donna Schwenk. Hay House, Inc. 2013


