The Weekly Digs #225
I have a short and sweet update for you this week because I’m trying to do better at my goal of going to bed early! I will have more to share next week.
In the Garden
Our first frost came on October 29th. We had a marathon couple of days getting everything ready but we harvested everything and covered what we needed.
All the time putting tunnels and covers over the plants was worth it because the temperature dropped to 28ºF the first night, 23ºF the second, and 15ºF the third night.

When I came out after everything had warmed up above freezing it was obvious that the warm season crops had been damaged and not coming back. I didn’t cover them or try to save any like I did last year.
After a quick look at all the cool season crops, everything looked really good with no damage from the cold weather.
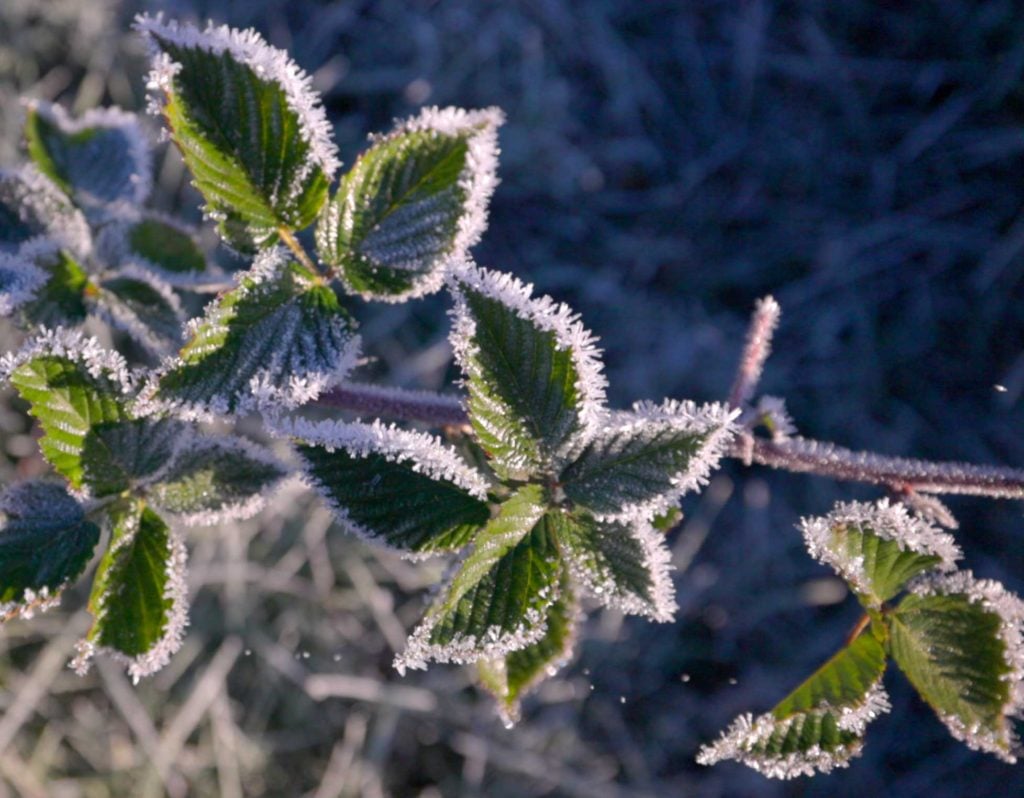
The hard part for me in winter is keeping an eye on the weather and remembering to open and close the tunnels. Oftentimes I forget to cover things back up and that is when crops freeze!
We are back up into above average temperatures so I’ve uncovered everything again to allow ventilation and airflow.
Inside, we have piles of dried beans that were harvested just before the frost that need to be shelled and canned.

This weekend Cam and I worked on separating the garlic bulbs for planting. We counted out 500 cloves. That is about what we need for a year’s supply!
In the garden I also got an area of cover crops planted. When Amy was here, we got that cleared and ready.

Preserving
When we separated garlic cloves, we pulled out all the small ones because they make small bulbs so I don’t plant them. Instead, I peeled them and then chopped them all in the food processor. They all went into a jar and I covered it with olive oil.
I know that if you leave this at room temperature, there is a risk of botulism so I put it in the fridge. It wasn’t until after I did all that, that I looked up how long garlic in oil would last in the fridge. Sources say “about 4 days” Seriously?!
That was a much shorter time frame than I thought and I don’t really believe that. But I poured the garlic and oil into some silicone trays for freezing in cubes anyway.

I still have a lot of garlic left, and it goes bad fairly quickly since I don’t have the right conditions to store it, so I may end up freeze drying the rest. We’ll see.


