How to Grow Peas: Start to Finish
One of the easiest crops to master as a beginner gardener is how to grow peas! They have very few pests and diseases and are so sweet and delicious fresh off the vine.

This step by step guide will cover how to plant, grow, and harvest peas along with tips and ideas for meals and preservation. I hope it will give you the knowledge and confidence you need to grow amazing and tasty peas whether it’s your first time growing or your tenth time!
Types of Peas
- Shelling peas have a sweet pea and a tough outer pod.
- Snap peas have entirely edible pods and peas inside. They grow fat and are sweet and juicy.
- Snow peas also have edible pods and peas. However, they are flat and a little less sweet than the other types.

My favorite varieties:
Shelling peas- I’ve tried a lot of peas over the years. My favorite shelling pea is PLS595. It’s prolific and the peas are so sweet!
Snap peas: We grow the popular Sugar Snap. This is a tried and true variety that consistently performs well.
Snow Peas: My favorite snow pea is Oregon Sugar Pod II.
When to Plant Peas
Peas are a cool season crop. This means the best time to plant is as soon as the soil can be worked in early Spring.
A popular way to remember when to plant certain crops is to use holidays as a guide. For peas, March 17th, St. Patrick’s Day is a good general time to plant them for most of the United States.

Alternatively, in places with mild fall weather, peas can be planted in late summer for a fall harvest. It is tricky to get the timing right so I wouldn’t recommend this as a beginner. For a Fall planting peas will need to get enough daylight hours to reach maturity before it gets too cold.
How to Plant Peas

Step 1: Prepare the Soil. The ideal soil pH is 6.5-6.8. Adjust soil to the correct ph, ideally in the fall prior to spring planting. If you haven’t taken a soil test recently, I recommend this soil test kit.
Ensure adequate soil fertility. Amend with compost if needed but don’t add a high nitrogen fertilizer.

Step 2: Inoculate the peas with beneficial bacteria to encourage formation of nitrogen-producing nodules on the plant roots. This enriches the soil, results in larger plants, and increases yield for both the peas and the crop following.
To inoculate, pour the peas into a bucket and add a very small amount of water. Then mix in the bacteria. Follow instructions on the inoculate package for exact amounts needed.

Step 3: Plant peas in the soil by hand or using a seeder. Peas should be planted densely as it helps them to grow better. Sow plants 1-2” apart and ½ to 1” deep in rows 36-48” apart (for taller varieties of trellised peas).
Shelling peas can be intensively spaced when not being planted as a row crop. Intensive plant space would be 6-8” apart in a raised bed.

Step 4: Add a trellis for tall varieties of peas. This includes snap and snow peas. Most shelling peas are shorter and don’t need a trellis.
A trellis can be set up prior to step 3 if needed or right after sowing. It is best to do it at planting.

Step 5: Keep seeds well watered to encourage good germination and add a mulch to discourage weeds.
*Note: Sometimes it’s encouraged to soak peas prior to planting. I have found this to be both unnecessary and sometimes damaging to the peas since they are very delicate at planting when soaked. This is my personal experience but you are more than welcome to try it if you have a desire. The only benefit is the peas will sprout 1 day faster.
Common Pea Pests and Diseases
The most common pest of peas is aphids. They love to hang out under leaves and on the stems. Most of the time, they won’t cause a significant amount of damage. If you see aphids you can give the plants a spray of water to wash them off. This is only a temporary solution since they will crawl back onto the plant.
Within a week or two, lady beetles and their larva will make their appearance and eat the majority of the aphids. Your patience will pay off!
The most common disease of peas is powdery mildew. It’s a common fungal disease that looks like white powder on plants. When it’s extreme, it will weaken plants, reduce yields, and shorten their lifespan.
If you find you have a problem with powdery mildew, you likely are too late for the current season of harvest. In an organic garden, the best solution is prevention. Grow powdery mildew resistant varieties of peas like…
When to Harvest Peas
Shelling peas are ready to harvest when the pod is full and round. The shell should be bright green and thick. Don’t wait too long to harvest or the peas will be dry and taste terrible. If the shell is starting to turn a light green or tan and thins out so much you can feel the peas inside, you’ve waited too long.

Snap peas are ready to harvest when the peas enlarge in the pod. They won’t become round like shelling peas but once they are swelling that is the time to harvest.
Snow peas will stay flat but a few peas will enlarge in the pod. They are ready when this occurs.
How to Harvest Peas
There are a lot of ways to harvest peas. The first is to use a scissor or shears to cut it just below the stem. Another way is to press in your thumb just under the stem so it breaks there and pull by hand. Oftentimes this pulls out the tough strings at the same time.
You can pull out tough strings out of peas post-harvest too. It really comes down to a matter of personal preference.

Types of trellises and tips for using them
Cattle panel: A cattle panel is tied to T-Posts or stakes. Peas can be planted on both sides of a cattle panel.
Framing and netting: Attach netting to a sturdy frame made of wood or steel.

Teepees and netting: Tie sticks, bamboo, or willow together to make a teepee that the peas can climb up. You’ll need to add a net so that the pea tendrils have something small enough to climb up.
How to Preserve Peas
There are many ways to preserve peas. The easiest and most popular way is to freeze them. Here’s some detailed instructions on how to freeze peas for the best end result.

You can also try fermented peas, freeze dried peas, canned peas (shelling peas only) or dehydrated peas. I’ve tried all these methods and my favorite for a fresh taste is still freezing.
Recipes that use Peas
In winter, we’ll often use up some of our frozen peas by making a Beef, Snap Pea and Bok Choy Stir Fry.
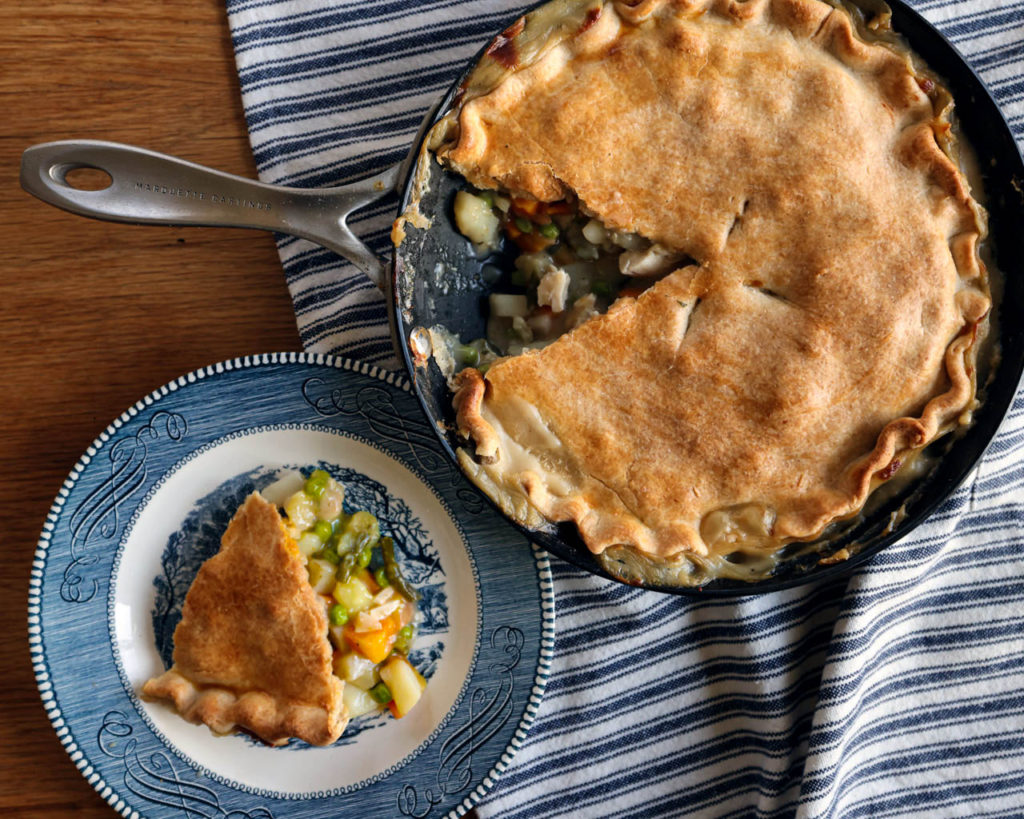
Then when spring comes around, I’ll make skillet chicken pot pie with fresh peas.