How to Plant Garlic
Garlic is simple to grow and a great crop for beginning gardeners. All you need to know are some simple tips on how to plant garlic and the best time to plant. After implementing the key guidelines, you’ll be on your way to an abundant garlic harvest!
When to Plant Garlic

Planting Garlic in Fall
The most important thing to know about garlic is when to plant. Garlic should be planted in the Fall.
The reason for planting in the fall is that garlic needs to go through a process called “cold vernalization“. This process naturally happens when the cloves are exposed to cold temperatures for a period of time. It triggers proper bulb and clove formation.
The best time in fall to plant is six weeks prior to ground freeze so it can develop some roots and anchor itself before going into dormancy.
Note: Ground freeze is not the same thing as your first frost. There are several factors involved but the ground usually freezes after several consecutive hard frosts and when temperatures stay below freezing all day.

In northern states, the best time to plant is around mid October. A good way to remember the time is to plant garlic on or around Columbus Day.
On the other hand, southern states can plant after October 15th. However, even as a southern gardener it’s best to plant by the end of November at the latest.
Planting Garlic in Spring
It’s possible to plant garlic in the Spring but it’s not recommended. Here are a few things to know:
- The garlic bulb will be small.
- It may not even develop into a bulb because it will not go through a cold period. You can mimic a cold period by putting garlic in the refrigerator for at least 3 weeks prior to planting.
- It will be very difficult to find good quality garlic seed to plant in Spring.
- A garlic harvest is better than no garlic at all. However, if you really want to grow garlic and have it be worth the time and effort, wait and plant in the fall.
Choosing the Right Garlic Varieties for Planting and Where to Buy Garlic
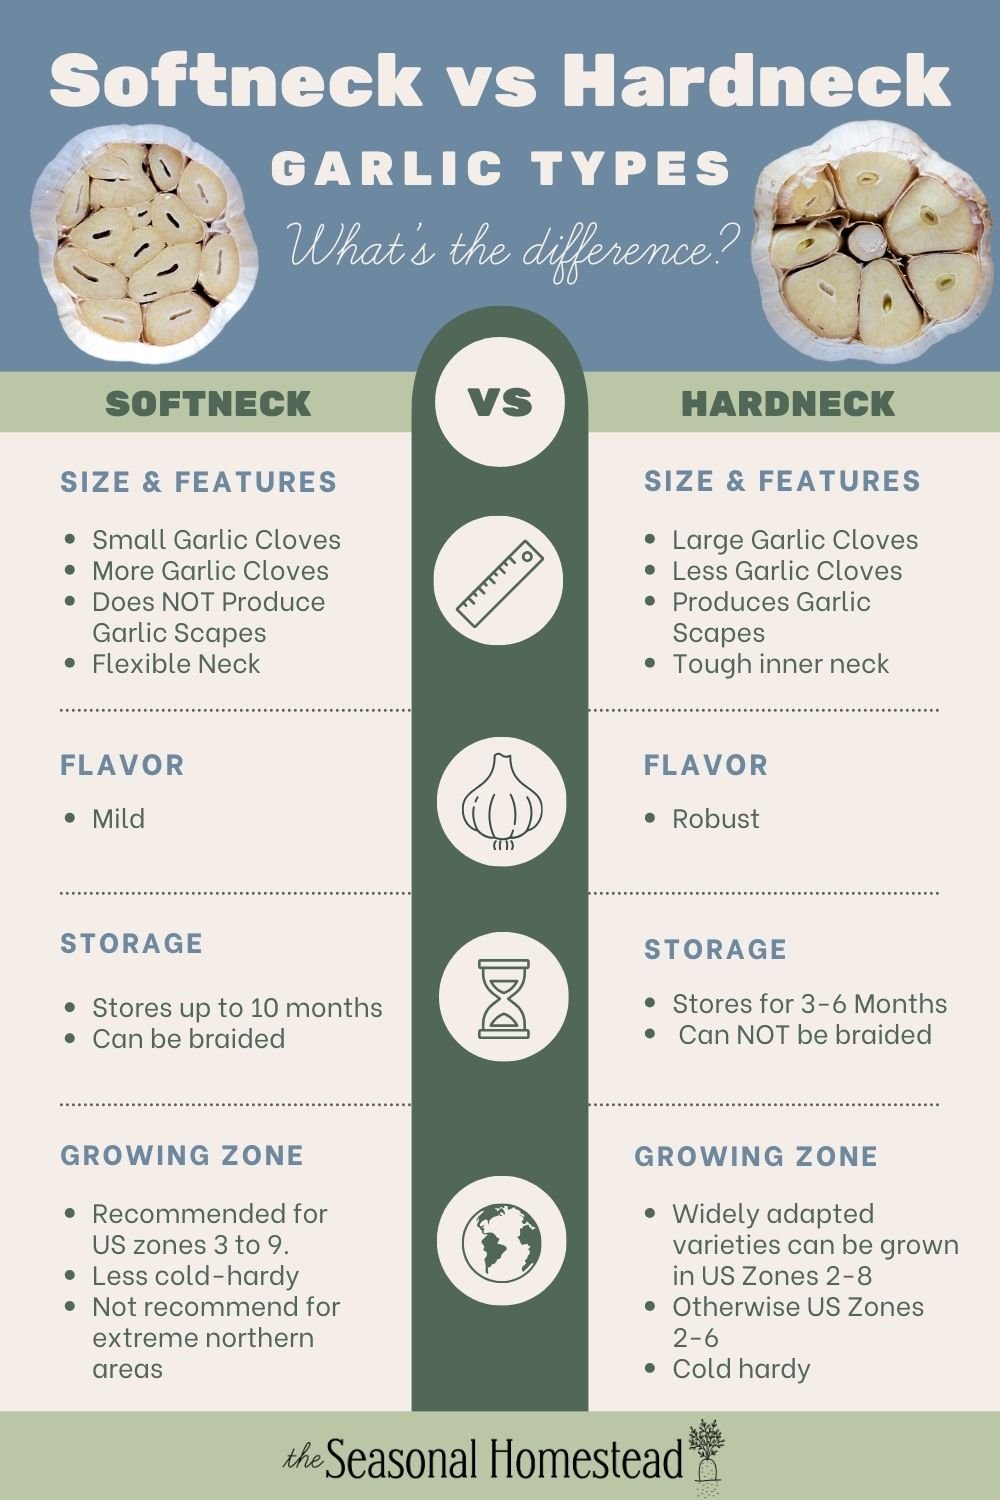
Hardneck vs. Softneck Garlic
Before you buy garlic to plant, it’s important to know the differences between hardneck vs softneck garlic and what kind is best to plant for your growing zone.
Choosing the Right Garlic Varieties
Easy to grow hardneck varieties for beginners:
- Music
- German Extra Hardy
- Chesnok Red
Easy to grow softneck varieties for beginners:
- Nootka Rose
- California White
Best Place to Buy Garlic
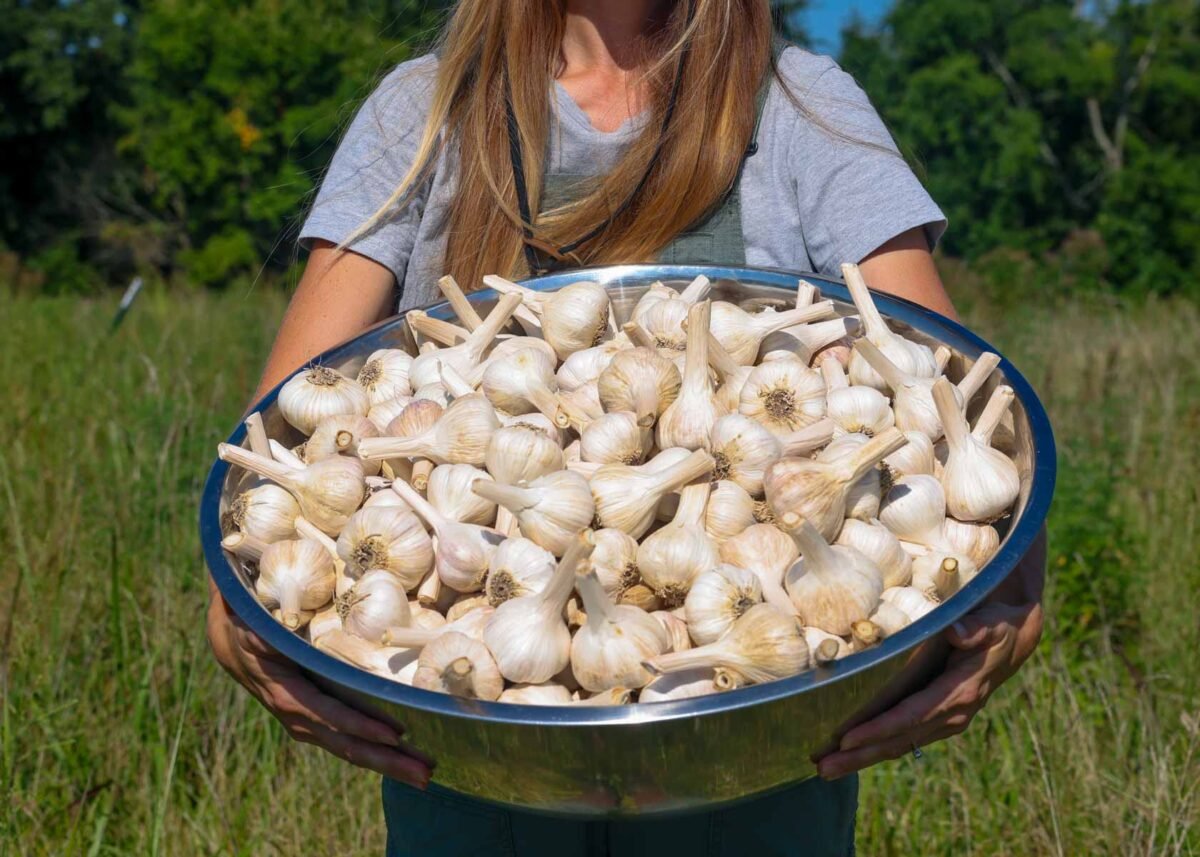
A successful garlic harvest starts with high quality, healthy, and robust seed. Consequently, the best garlic is found online, locally, or at a farmers market.
A company that specializes in selling seed garlic is a safe bet. I like Keene and The Farm on Central.
Garlic purchased from a grocery store isn’t recommended. For more details on why, see the FAQ section below.

How to Prepare Soil for Garlic
Prior to planting, prepare the soil. Garlic grows best in well drained soils with added organic matter. The soil ph should be between 6 and 7. Take a soil test if you aren’t sure what range your soil is and make adjustments if needed.
It’s important to improve your soil quality before planting because heavy clay soils can create misshaped bulbs and make it difficult to harvest.
The easiest way to improve soil is to add compost and then after planting add an organic mulch. Straw is ideal.
How to Plant Garlic: Step by Step Guide
I’ve put together a very basic guide of how to plant garlic below. Please read the notes after the steps for important additional information.
How to Plant Garlic
- Buy quality garlic seed
- Separate garlic bulbs into cloves
- Sterilize and do a fertilization soak (OPTIONAL- see below for steps)
- Make holes or a furrow in the ground. A 3 inch deep hole is generally sufficient. This allows for around a two inch garlic tall clove and around one inch of soil over top. Plant garlic 6-9 inches apart.
- Plant garlic pointy side up.
- Cover with soil. No more than 1 inch.
- Add 3-6 inches of mulch on the garlic. The ideal mulch is straw, but other options include chopped leaves, compost, wood chip mulch, hay, or other shredded organic material. Heavy mulches like compost and wood chip mulch should be applied to a 3 inch maximum depth. In cold, northern climates, lighter mulches like straw and chopped leaves should be applied at the full 6 inch depth.


Video Tutorial

Additional Planting Notes:
I personally do not plant garlic based on a simple formula of “3 inches deep” stated above. This is because garlic sizes vary widely and I’ve had better success adjusting each planting hole to fit the size of the garlic.
It’s more important to be consistent with how much soil covers the tip of the garlic. For southern areas, a ½ inch of soil covering garlic tips is the sweet spot -especially if you are working with clay soil. In northern areas the soil freezes.
Therefore it’s better to cover garlic with an inch of soil. Again, mulch is essential and the planting depth is based on the assumption you will add mulch.
Most sources say to leave the papery skin on the garlic to help prevent rotting. However, you can plant it with or without the skin with success. We personally leave ours with the skin on but always have a few where it will fall off. They all grow just fine.
Sterilization and Fertilization Soak (Optional Pre-planting step)
Sterilizing and fertilizing the garlic is optional. However, there is a reason it’s a very common practice for garlic seed growers. We had our best garlic harvest ever in 2025 by sterilizing and doing a fertilization soak. I highly recommend it!!
Sterilizing the garlic kills mites and other microscopic bugs on the garlic. Additionally, It can kill possible surface fungal spores.
The next step, soaking the garlic in a liquid fertilizer gives the garlic a boost in growth.

How to sterilize garlic:
- Place garlic in a bowl with sterilizing liquid (options below).
- Immerse all cloves in liquid and let soak for 10 minutes, then drain. Then proceed with the fertilization soak.

How to do a fertilization soak:
- Place garlic in a bowl of diluted liquid fertilizer. Follow the recommended dilution rate of your chosen fertilizer. For example, the fish emulsion fertilizer I use says to use 2 tablespoons of fish emulsion for every 1 gallon of water.
- Let soak for at least 30 minutes or up to 24 hours. Drain, then plant.
What products to use for the sterilization and fertilization soak
Do not dilute any of these sterilizers. You can soak garlic in batches and keep reusing the liquid. Sterilize with any of these options:
- Isopropyl Alcohol 70%
- Cheap Vodka
- Hydrogen Peroxide 3%
Fertilization soak with any of these options:
- Fish emulsion
- Liquid Kelp
- Compost tea
I also use a soil prebiotic called Ultra in addition to the fertilizer but it’s optional. (Use code BECKYTSH for a discount). I add one tablespoon of ultra per gallon of water.
Growing and Caring for Garlic Plants in Spring
Fertilize the Garlic
Fertilize the garlic with a nitrogen based fertilizer right when it emerges out of the ground in early spring. You can use Feather meal, Blood Meal, or my personal favorite, Mineralyte Grow (use code SEASONALHOMESTEAD for 15% off). Stop fertilizing right before the garlic scapes emerge.
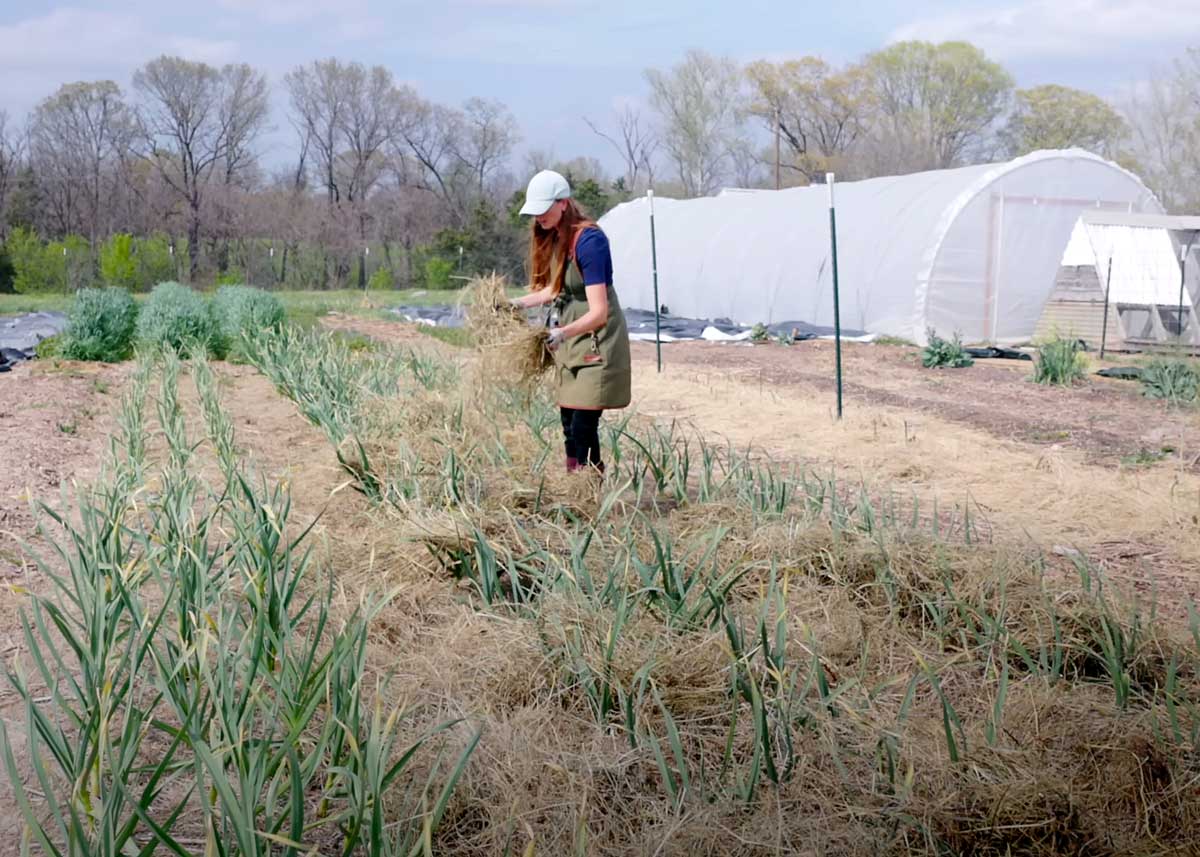
Keep the Garlic Weeded
Bulb size is reduced if garlic has to compete with weeds, so get the weeds while they are small, pulling by hand if you have mulch in place. I also add more mulch as the season progresses to keep weeds away.
Irrigation
Try to get about 1″ of water a week on the garlic and try to taper off right before harvest. If you get rainfall naturally in spring and early summer, you may not need any additional irrigation. Here’s a guide on types of irrigation for a vegetable garden.
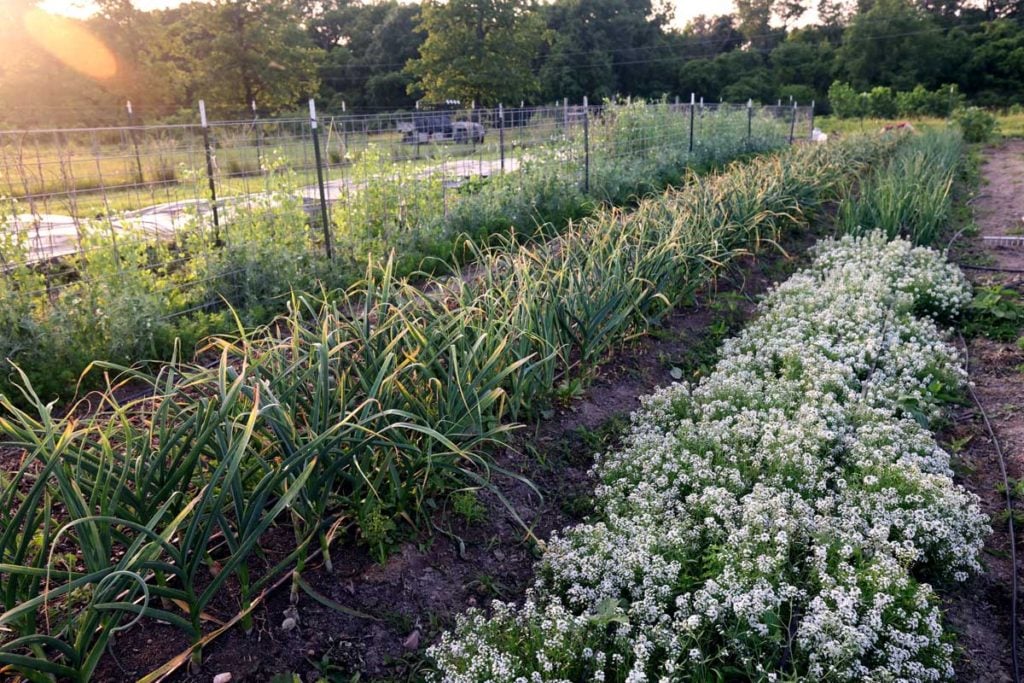
Harvest Garlic Scapes
If you’re growing hardneck garlic, you’ll need to harvest the scapes when you see them. Harvesting scapes allows the bulbs to reach maximum size.
A scape is a shoot coming from the garlic that is the flowering portion of the plant. They are delicious and we make garlic scape pesto, freeze dried garlic scapes, and use them in dishes like our skillet chicken pot pie.

Common Problems When Growing Garlic and How to Prevent Them
THRIPS
Problem: Leaves with small white streaks or blotches are a common problem caused by thrips. They are a small insect barely visible to the naked eye. Heavy infestations cause leaves to wither and turn brown.
Natural Prevention: Trap with sticky traps hung just above the plants.
White Rot
Problem: Bulbs rot in the ground. May be covered with white fuzzy growth
Natural Prevention: Sterilize cloves before planting. Destroy infected plants, don’t compost them. Plant in an area with better drainage in the future.
Harvesting and Storing Garlic
Signs your garlic is ready to harvest
- 5 green leaves are remaining from the top or 50% of the leaves on the plant are starting to yellow.
- If you have hardneck garlic, they are ready to harvest about 3 weeks after picking the scapes.
- If you didn’t pick the scapes on the garlic, the scape will point straight up to the sky.
How to Harvest Garlic
Harvest on a dry day when the soil still has a little moisture but is not soaked.
Use a tool like a shovel, trowel, or pitchfork to get underneath the ENTIRE garlic plant including the roots and pull it up. This method will help you to avoid damage to the bulb.
Avoid pulling by hand as sometimes this can cause the stem to break.
Garlic Harvest Video Visual
I timed stamped a recent video to show you our hardneck garlic.

Curing and Storing garlic for long shelf life
After harvest, place the garlic bulbs in an area out of direct sun and under the cover of a roof to block rain and excess moisture. You’ll need lots of airflow so if it’s not windy use fans to circulate the air.
Cure garlic for 14-21 days or until the stems and leaves are brown and crispy. The ideal temperature for curing is about 80ºF (26ºC).The papery covering over the bulbs should feel dry along with the neck.
After the garlic is completely dry then it can be cut or braided and stored.
Store garlic at 55-60ºF (12-15ºC) with 45-50% humidity. For in-depth details check out our guide on how to harvest, cure, and store garlic.
How To Preserve Garlic
If you don’t have ideal storage conditions and would like to keep garlic all winter, you may want to preserve it.
Our favorite methods of garlic preservation are lacto fermented garlic, freezing garlic in oil, and freeze dried garlic.
Frequently Asked Questions
No, it’s perfectly normal to see some growth on the garlic before spring. This is especially true in southern areas where the ground doesn’t freeze, or doesn’t freeze until January or February.
In these areas, a little bit of green is actually a good sign because that means the garlic has put down roots and is growing well. Even in northern areas, sometimes a warm spell can mean a little bit of green growth occurs above ground.
Fall green growth will die off in cold climates but don’t worry, it will resprout in the Spring!
It’s possible to plant garlic in the Spring but it’s not recommended. Here are a few things to know:
The garlic bulb will be small.
It may not even develop into a bulb because it will not go through a cold period. You can mimic a cold period by putting garlic in the refrigerator for at least 3 weeks prior to planting.
It will be very difficult to find good quality garlic seed to plant in Spring.
A garlic harvest is better than no garlic at all. However, if you really want to grow garlic and have it be worth the time and effort, wait and plant in the fall.
Planting garlic from the grocery store is not recommended for several reasons. One reason is because it is often treated so it doesn’t sprout.
Another reason not to plant grocery store garlic is it’s generally small. Small garlic will likely produce the same size or even smaller heads of garlic after growing.
It’s also not tested for diseases so you could be bringing home disease to your garden.
All that said, I’ve had several people tell me that they have successfully grown garlic purchased from a grocery store. Try it at your own risk 🙂
Conclusion
Garlic is an easy and rewarding crop to grow if you get your timing right! The keys to a good harvest are proper soil preparation, lots of straw mulch, and feeding the plants when they emerge in spring.


