Fermented Garlic (Easy Recipe!)
This easy, fermented garlic recipe is long lasting, convenient, and filled with beneficial bacteria. Lacto-fermented garlic is a great way to preserve it for about 9-12 months.
New to fermentation? Here’s a beginners guide on how to ferment vegetables.
Why This Recipe Works
- Easy to digest. Fermenting garlic softens the flavor, makes it easy to digest, and gives it a bit of tangy flavor.
- Convenient and Ready to Use. Once you have fermented garlic on hand, you’ll never want to use anything else! You can mince the garlic prior to fermentation or keep it whole depending on what you prefer.
- Three simple ingredients. Garlic, water, and salt are all you need.
How to Use Fermented Garlic
This fermented garlic can be used in any dish that calls for garlic! But of course it maintains the beneficial bacteria if it’s used in something not cooked.
Try it in preserved lemon hummus and skip the roasting step. Since this garlic is a little more mellow in flavor it doesn’t need to be roasted prior to eating! Additionally, it would be delicious in herb vinaigrette.
However you use it, you’ll be impressed with how convenient and time saving it is to have already peeled and chopped. We love perserving garlic this way!
Ingredients
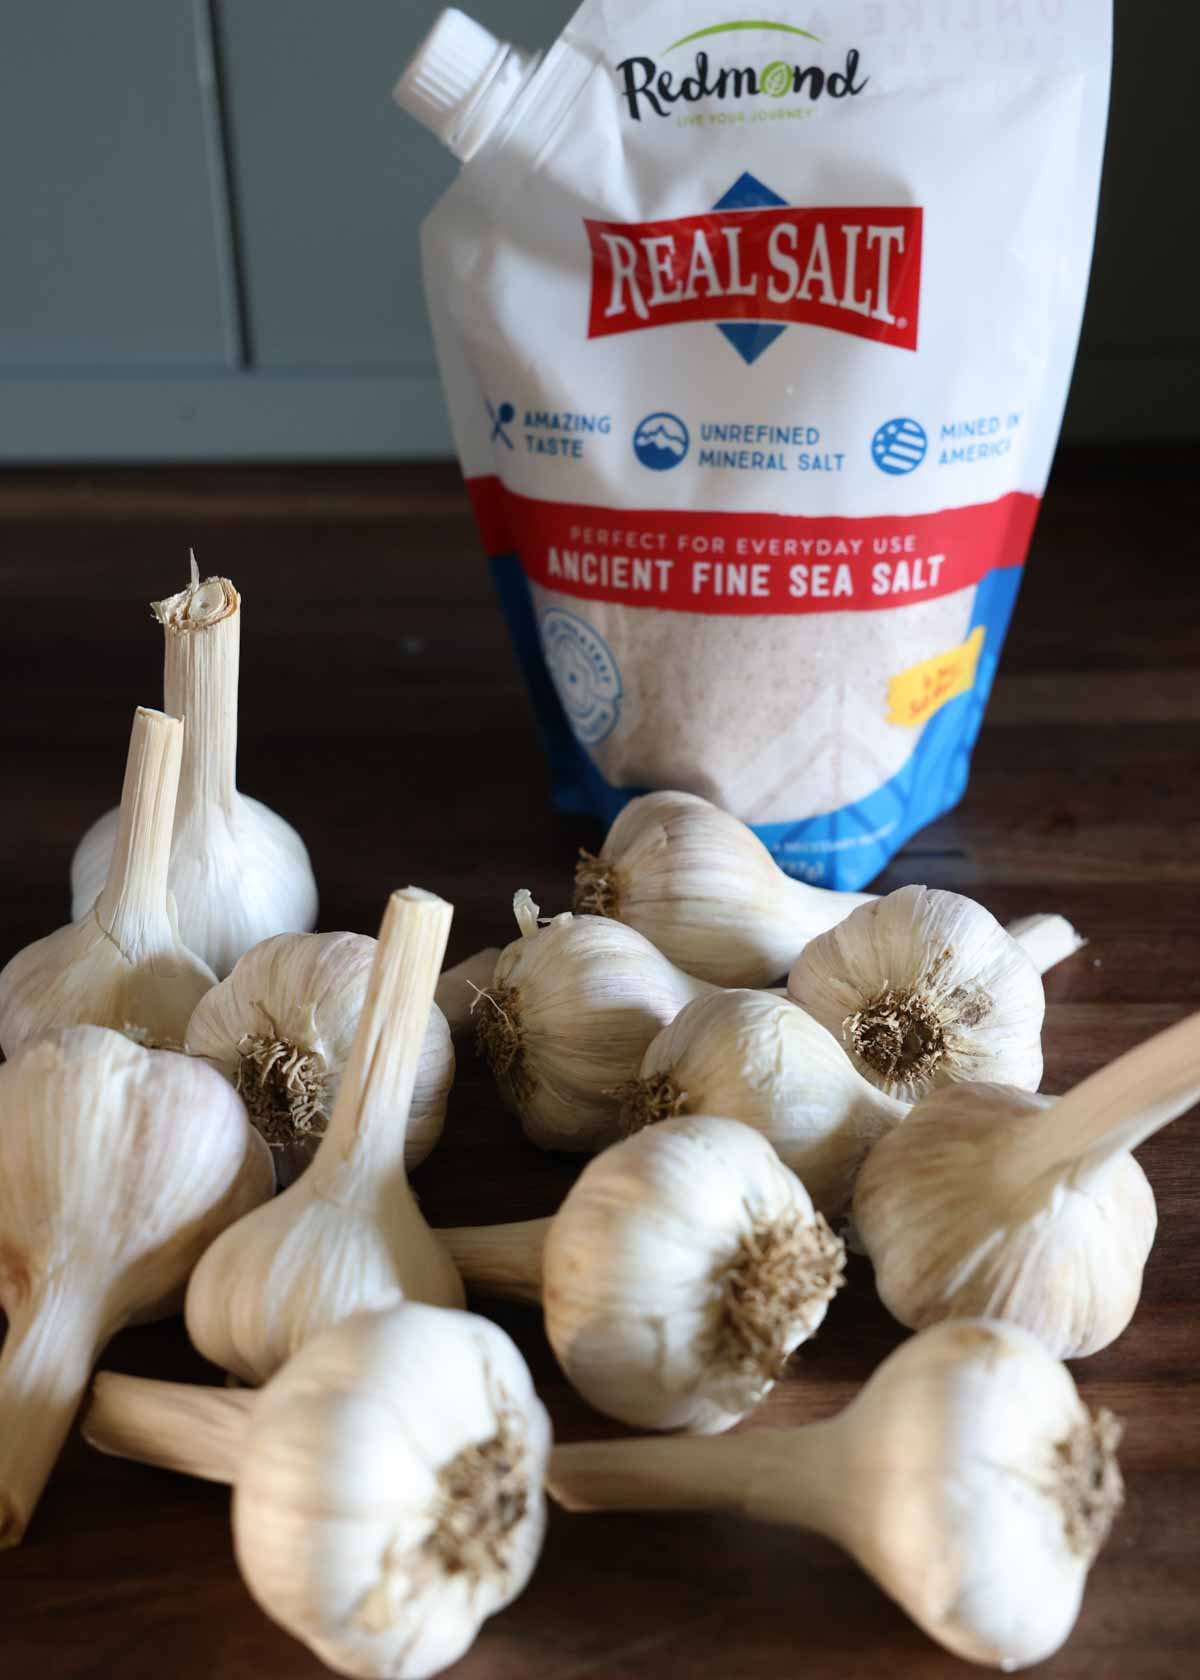
Garlic: Use organic whole garlic bulbs.
Salt: Salt is key to getting the garlic to ferment and cultivate beneficial bacteria. You’ll need to use a salt that has no additives. I like Redmond Real Salt because it’s from the US, is pure, and filled with minerals. You can use code SEASONALHOMESTEAD for 15% off Redmond’s salt.
Water: This recipe needs a basic brine. There isn’t enough liquid in the garlic for the salt alone to draw out so you’ll need salt and water. Use water that has no chlorine. Spring water or well water is best but you can use tap water if it has been filtered well.
How to Make this Recipe

STEP 1: Mince garlic or if leaving whole skip this step.
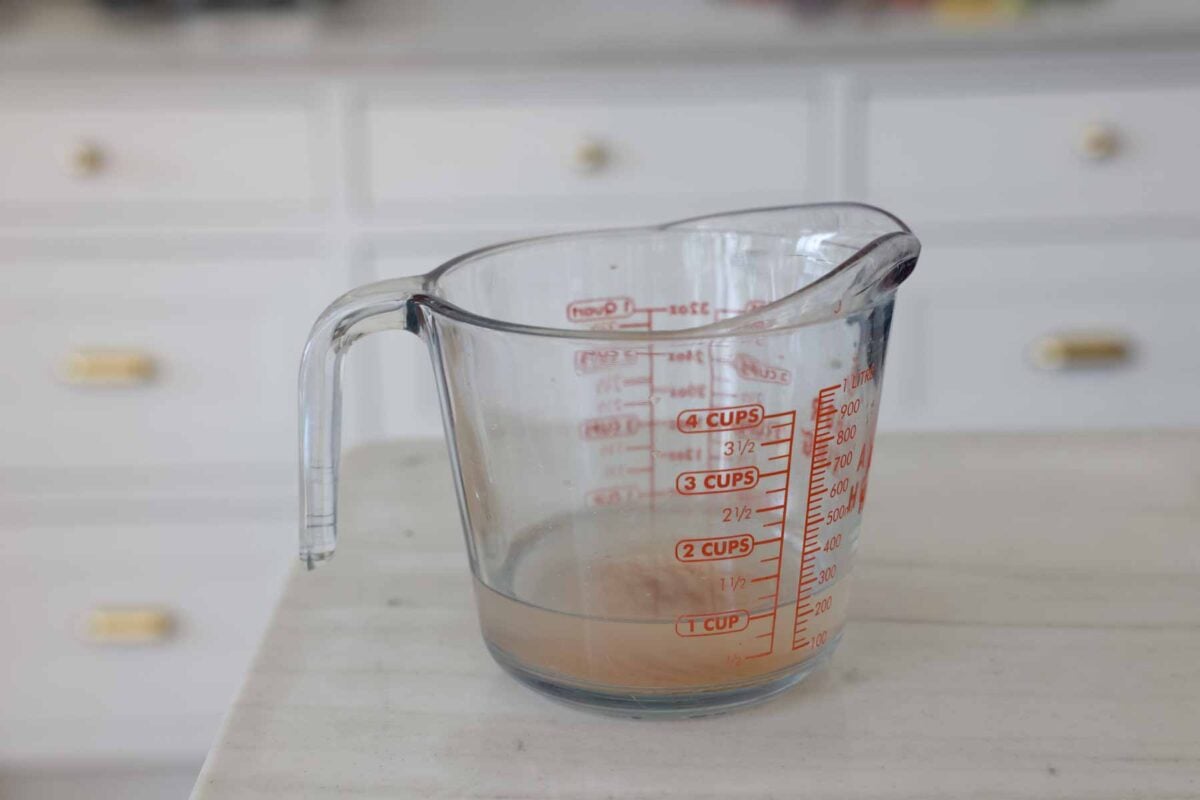
STEP 2: Mix 2 cups water and 2 Tablespoons of salt in a liquid measuring cup to make a brine. Allow salt time to fully dissolve.
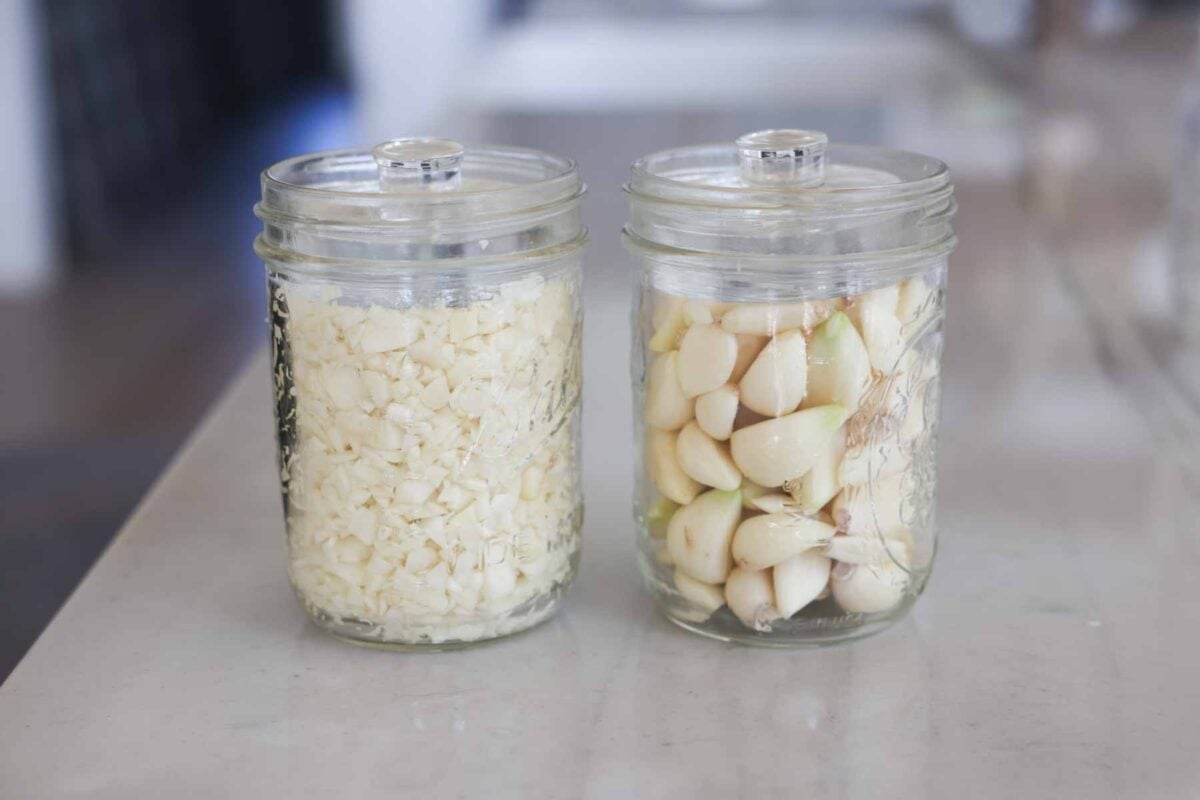
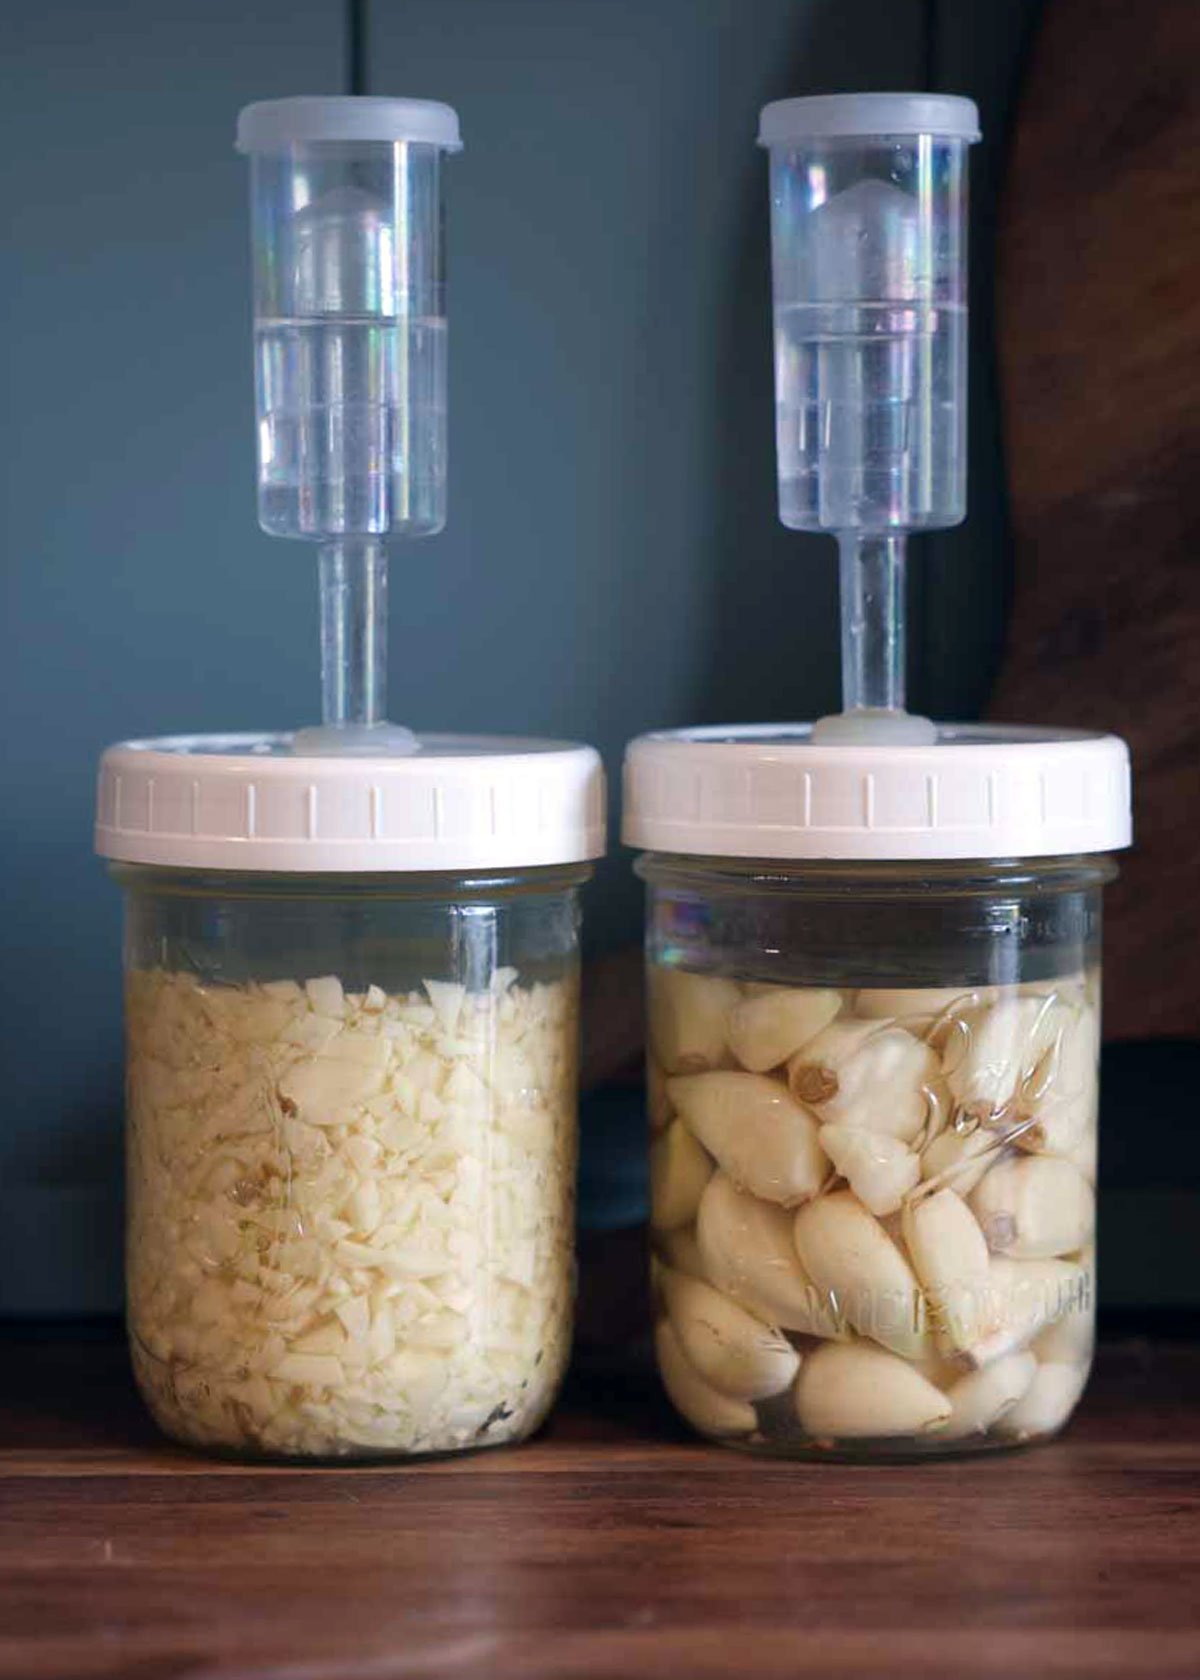
STEP 3: Fill two wide mouth pint jars or a small fermentation crock with garlic. Press it down tightly and add a fermentation weight.
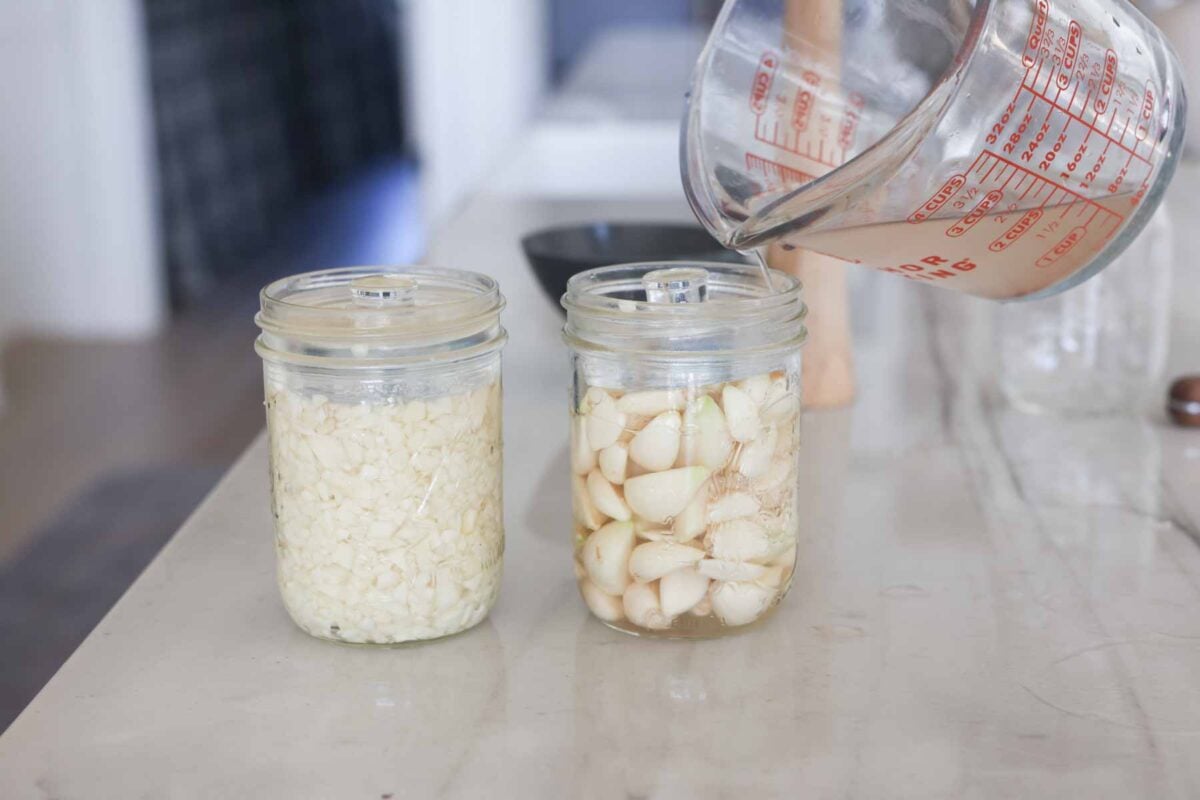
STEP 4: Pour brine over the top until it covers the garlic completely, overing by about a quarter inch. You’ll likely have some extra brine leftover.
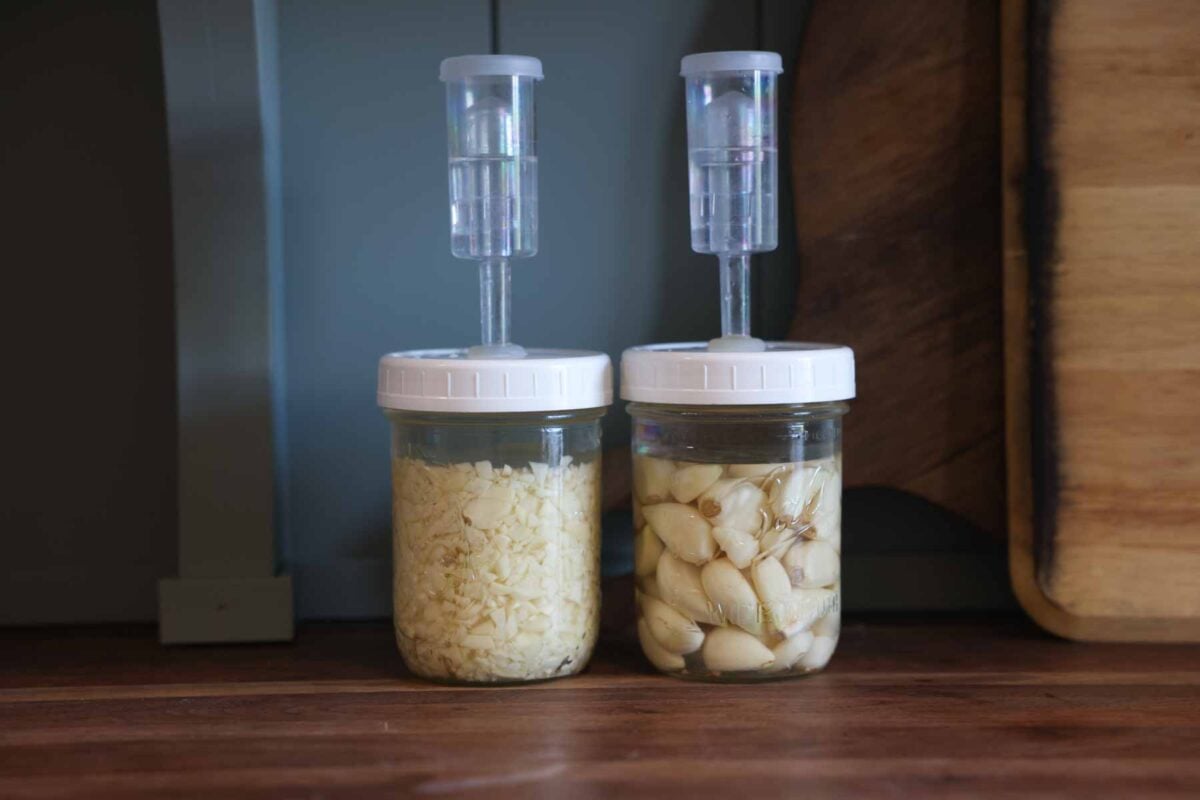
STEP 5: Add a fermentation lid (airlock, pickle pipe, homemade, or water-lock seal). Store in a cool, dark area, 65ºF is ideal, for 2-3 weeks. Put in an air tight jar and store in the refrigerator.
Frequently Asked Questions
Fermented garlic is easily digested and good in any recipe. The maximum nutrition and health benefits are available when it’s used in a recipe that isn’t heated. Examples would be a salad dressing or in a vegetable dip like hummus.
Fermented garlic can last for up to one year in a jar under ideal conditions. Fermented garlic needs to be store at temperatures of 45ºF and below. Storing in a refrigerator works great.
Yes! Fermented garlic is best eaten raw for maximum nutrition and beneficial gut bacteria. As long as it has been fermented properly, it’s safe to eat.
Tips & Tricks
- The best fermentation results come from homegrown garlic. If you’ve never grown garlic before, you’ll be surprised at how easy and rewarding it is to grow. Here’s my guide on how to plant garlic, along with how to harvest, cure, and store garlic.
- Garlic doesn’t have much liquid in it so a salt and water brine is use to help it ferment. Only use enough brine to cover the garlic by about a quarter inch. The garlic will release a little more liquid as it ferments. This recipe makes a generous amount of brine and it’s unlikely that you’ll need to use it all.
If you made this Fermented Garlic Recipe or any other recipe on my blog please leave a 🌟 star rating and let me know how it went in the comments below. Thanks for visiting!

Fermented Garlic
Ingredients
- 1 lb (about 3 cups) whole garlic bulbs separated into cloves and peeled
- 2 tbsp sea salt
- 2 cups water
Instructions
- Mince garlic. If whole cloves are preferred, skip this step.
- Mix 2 cups water and 2 Tablespoons of salt in a liquid measuring cup to make a brine. Allow salt time to fully dissolve.
- Fill two wide mouth pint jars or a small fermentation crock with garlic. Press it down tightly and add a fermentation weight.
- Pour the brine over the top until it covers the garlic completely. Stop when it's about a quarter inch above the garlic. You'll likely have extra brine leftover and don't need to use it all.
- Add a fermentation lid (airlock, pickle pipe, homemade, or waterlock seal).
- Store in a cool, dark area, 65ºF is ideal, for 2-3 weeks.
- When the ferment is finished, store in an airtight jar in the refrigerator. The fermented garlic will store for up to one year.
Notes
- If your garlic turns blue in the fermentation process, don’t worry. This is a normal chemical reaction between enzymes and the sulfur in the garlic. It’s safe to eat! It happens to me almost every time I make fermented garlic.
- Minced garlic will ferment faster and usually only take about 2 weeks for fermentation. Allow the full three weeks for whole garlic at ideal conditions of 65ºF
- The intention of the brine is to just cover the garlic and then stop. You’ll likely have some leftover, depending if you leave the garlic whole (uses more brine) or mince it up (uses less brine). You can dump the extra or save it in the refrigerator for another batch later on. If you use too much brine over the top the ferment will not be as good.


