Diced Tomatoes for Canning
Diced tomatoes for canning are so convenient! Delicious food starts with quality, fresh ingredients and these home canned diced tomatoes make a great base for any dish!
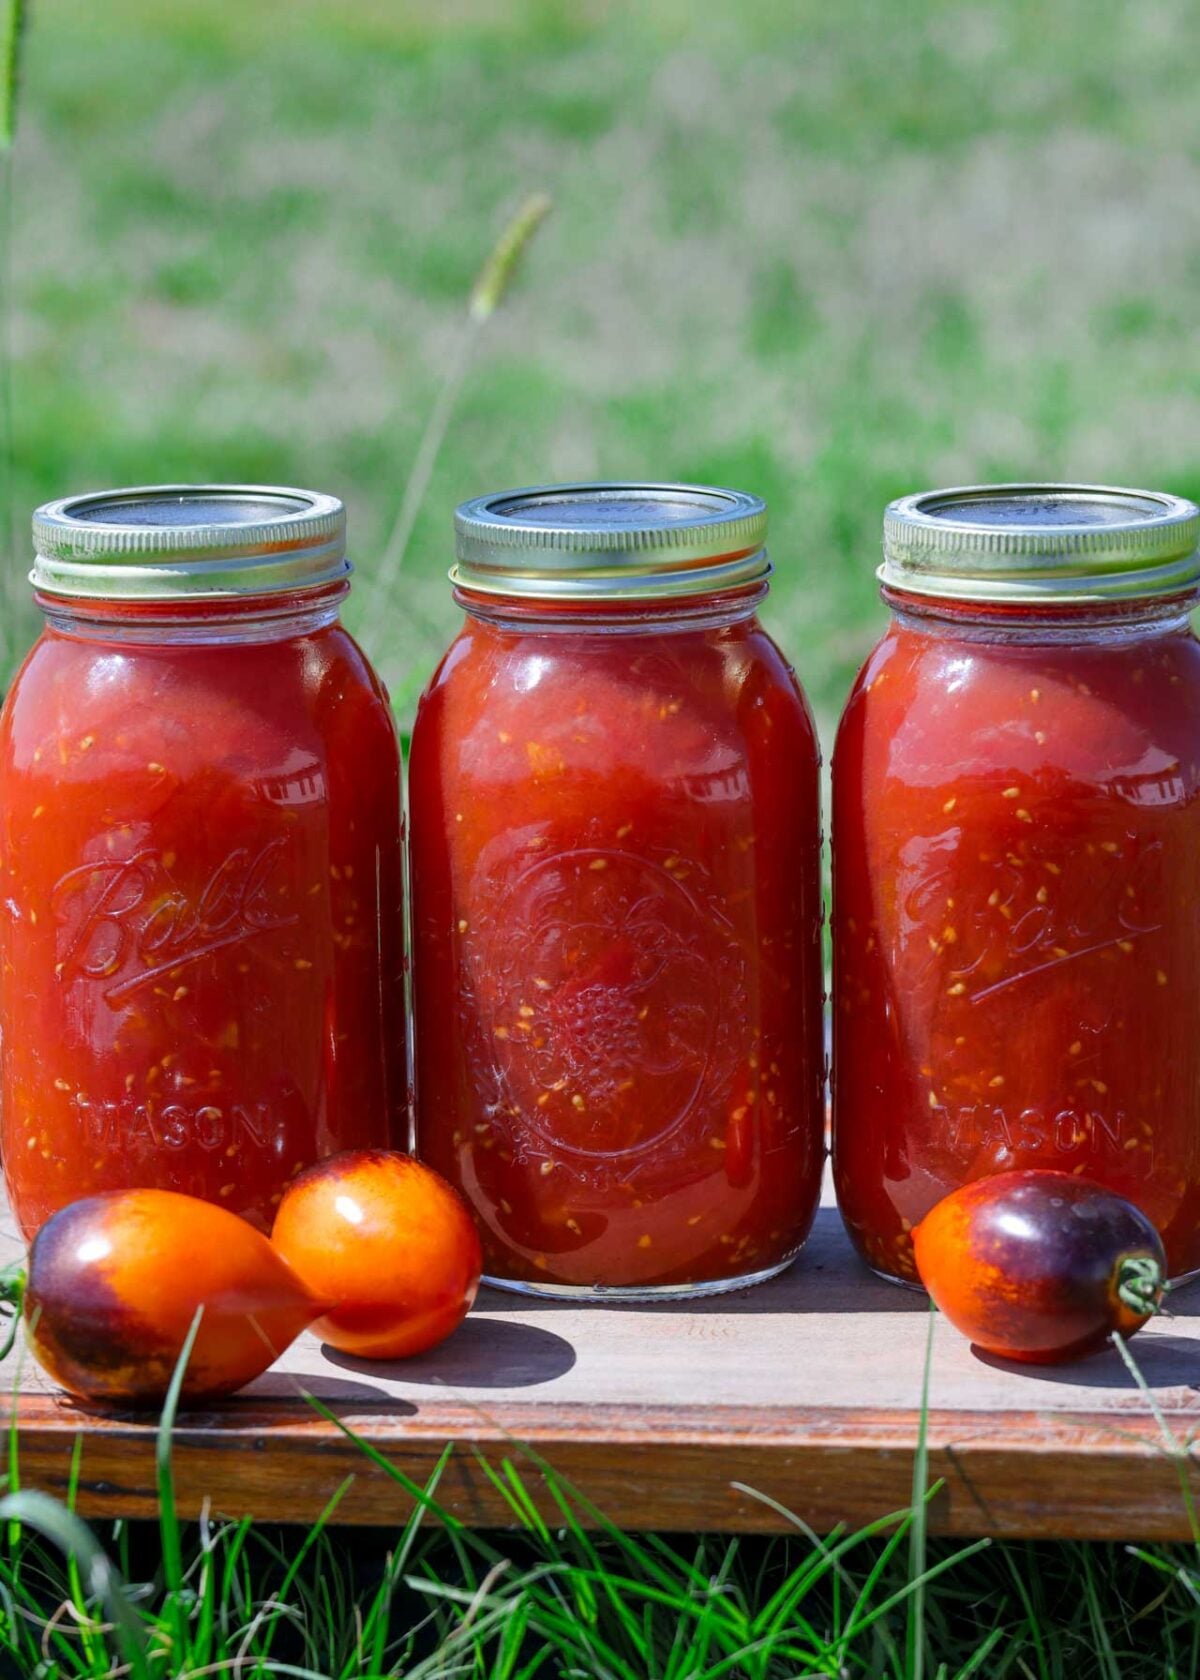
Aside from how much better home canned tomatoes taste, I also love the versatility of tomatoes for preserving. We grow a ton in our garden and use them for everything from ketchup to roasted pizza sauce for canning (plus about 10 other things!).
Surprisingly, you can preserve diced tomatoes with either water bath canning or pressure canning. Not very many recipes work with both methods of canning. So pick your preference and go with that!
After testing it, I found the overall time involved is nearly the same for both methods. You’ll find the key differences and instructions for either kind of processing below.
For those concerned about canning safety, this recipe is adapted from “Crushed Tomatoes” a tested recipe in the Ball Book of Home Preserving and National Center for Home Food Preservation. It was used as a guide for processing times since the food is identical, juice from the tomatoes are used, and the tomatoes are very close to the same size.
Why You’ll Love This Recipe
- Safe for Storing on the Shelf at Room Temperature. It won’t take up space in your freezer.
- Simple ingredients let the homegrown tomato flavor shine.
- Ready to Use. Canning tomatoes diced rather than whole makes them very convienient
Ingredients

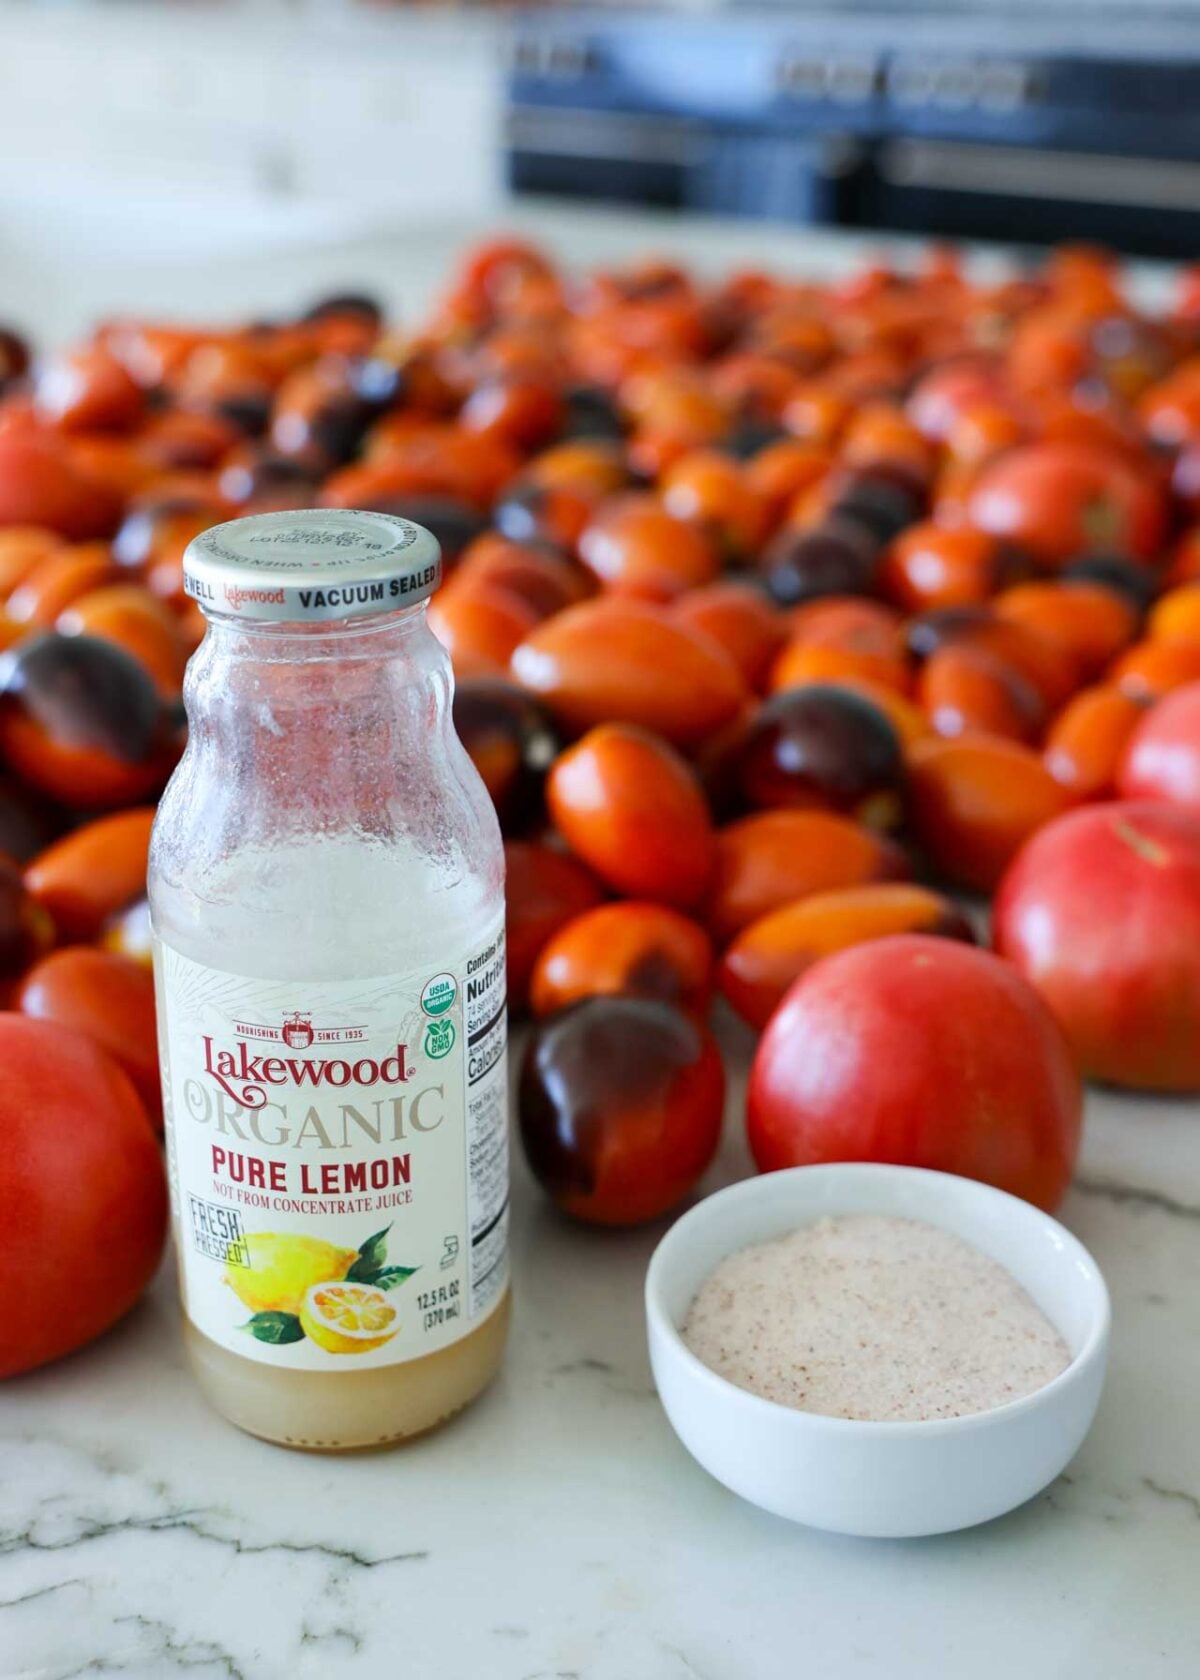
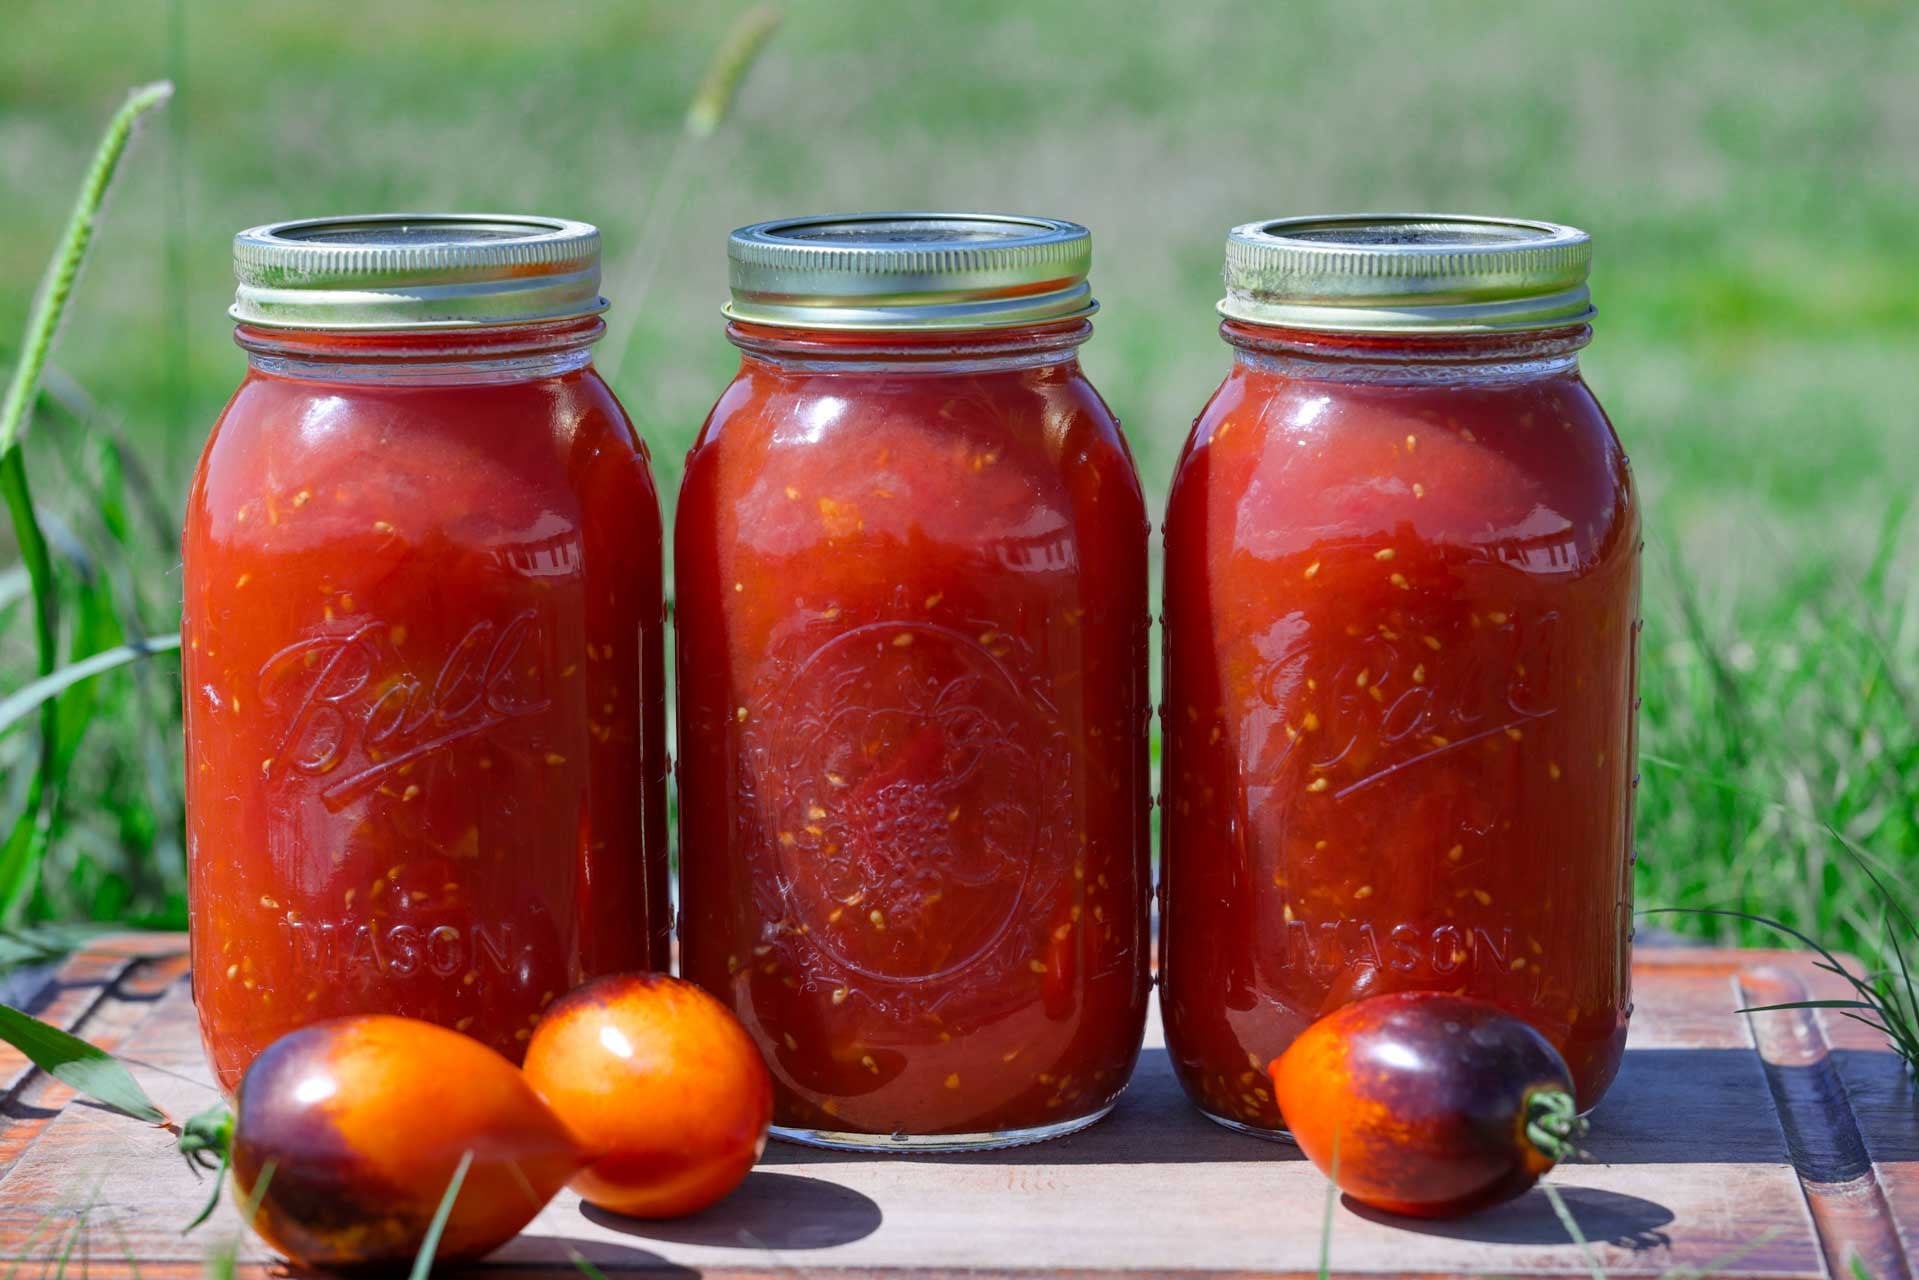
Tomatoes– A paste tomato is the ideal type of tomato to use since it holds it’s shape well and has fewer seeds. Other options that will work for diced tomatoes are large beefsteak or slicing tomatoes. My favorite paste tomato is a variety called Midnight Roma (pictured above).
Salt (optional)– Salt adds flavor but isn’t required for canning safety. You’ll need to use a salt without additives. My favorite is Redmond Real Salt (code SEASONALHOMESTEAD gets you 15% off).
Bottled Lemon Juice– A bottled lemon juice with 5% acidity is required for ensuring the proper pH and safety in canning.
How to Make Diced Tomatoes for Canning Step By Step
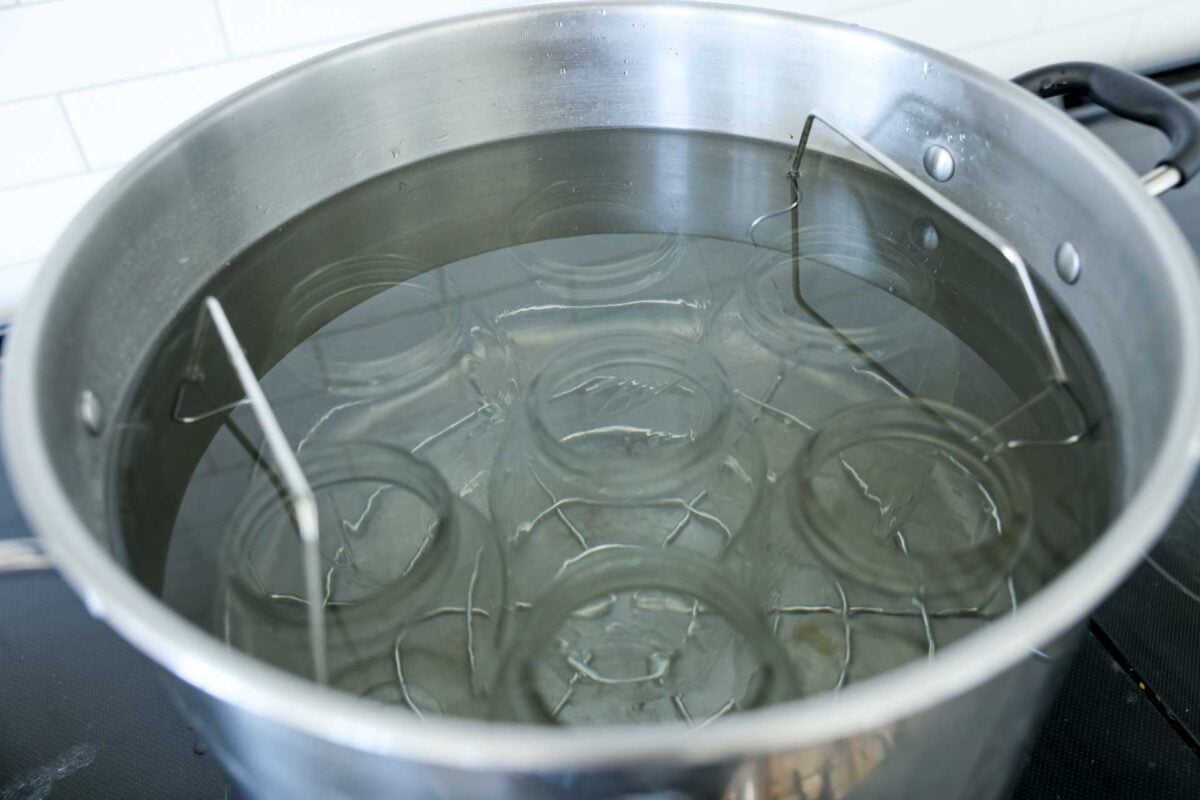
STEP 1: Prepare a water bath or pressure canner, heat jars in simmering water, and rinse lids and rings in warm water then set aside.
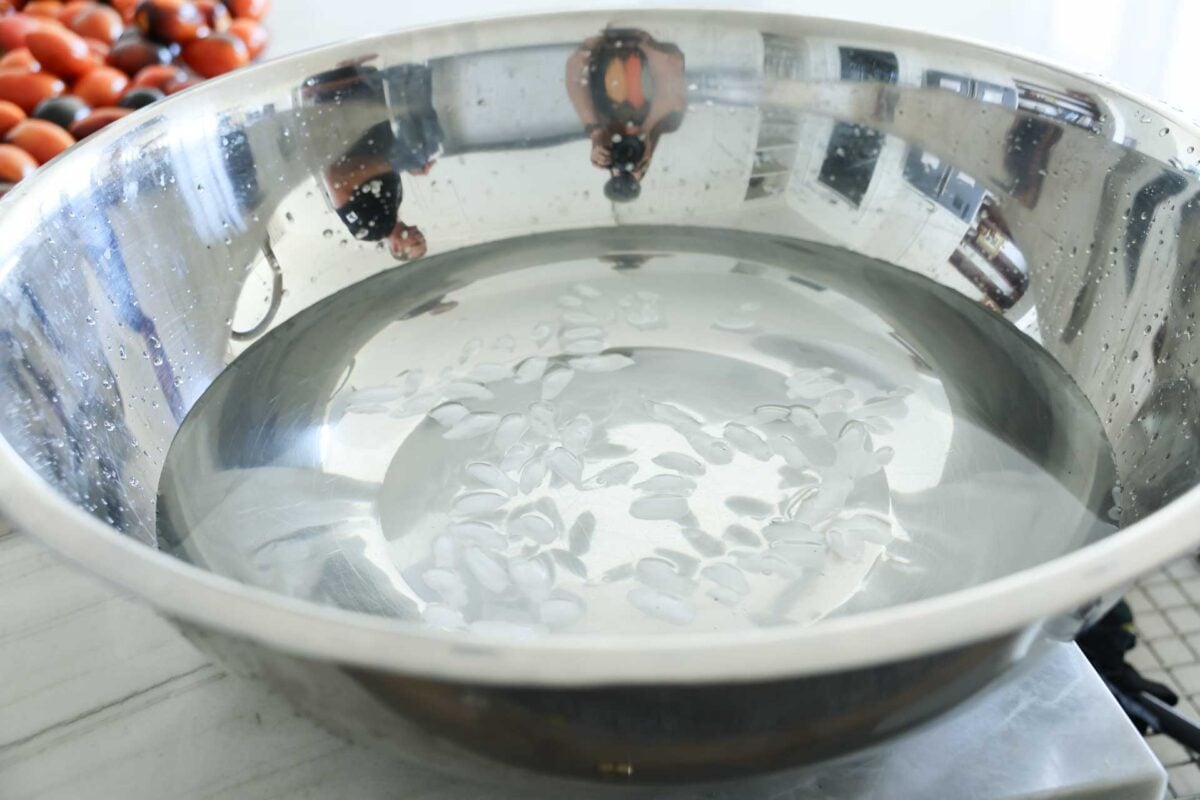
Step 2: Fill a bowl with ice cold water.
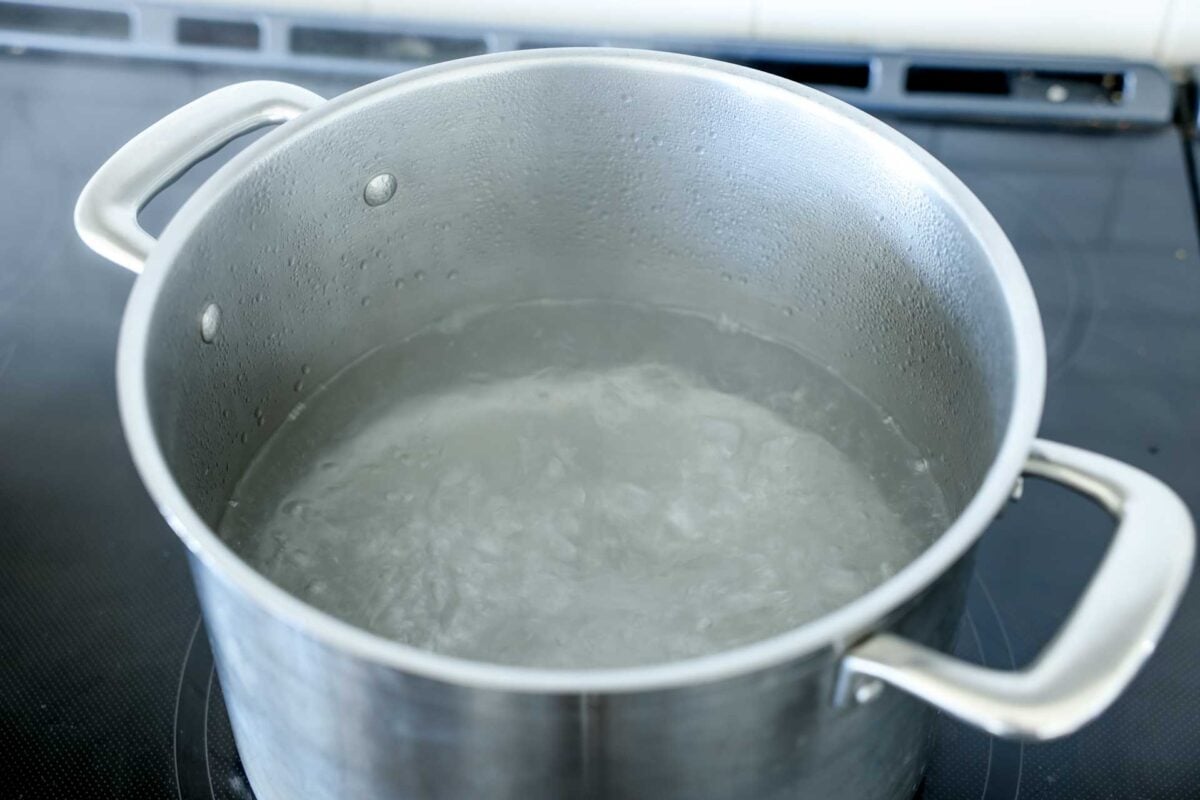
STEP 3: Fill a large saucepan with water and bring to a boil.
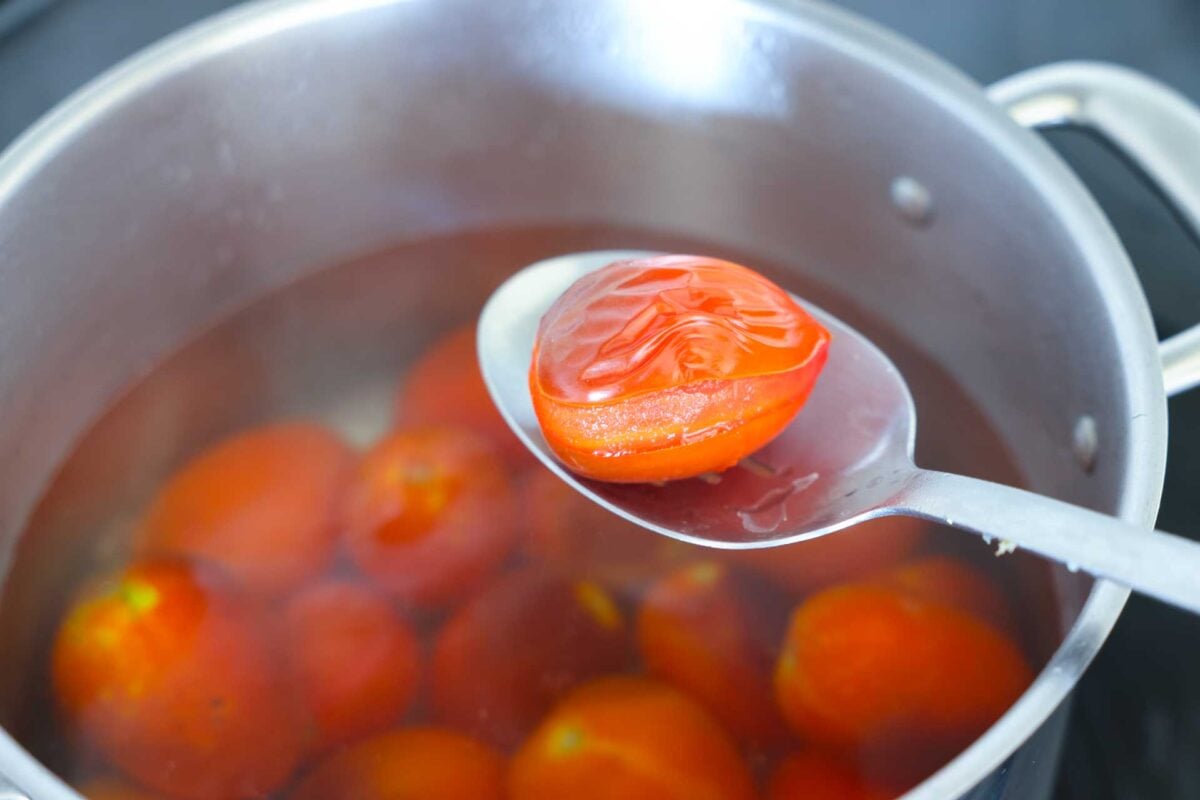
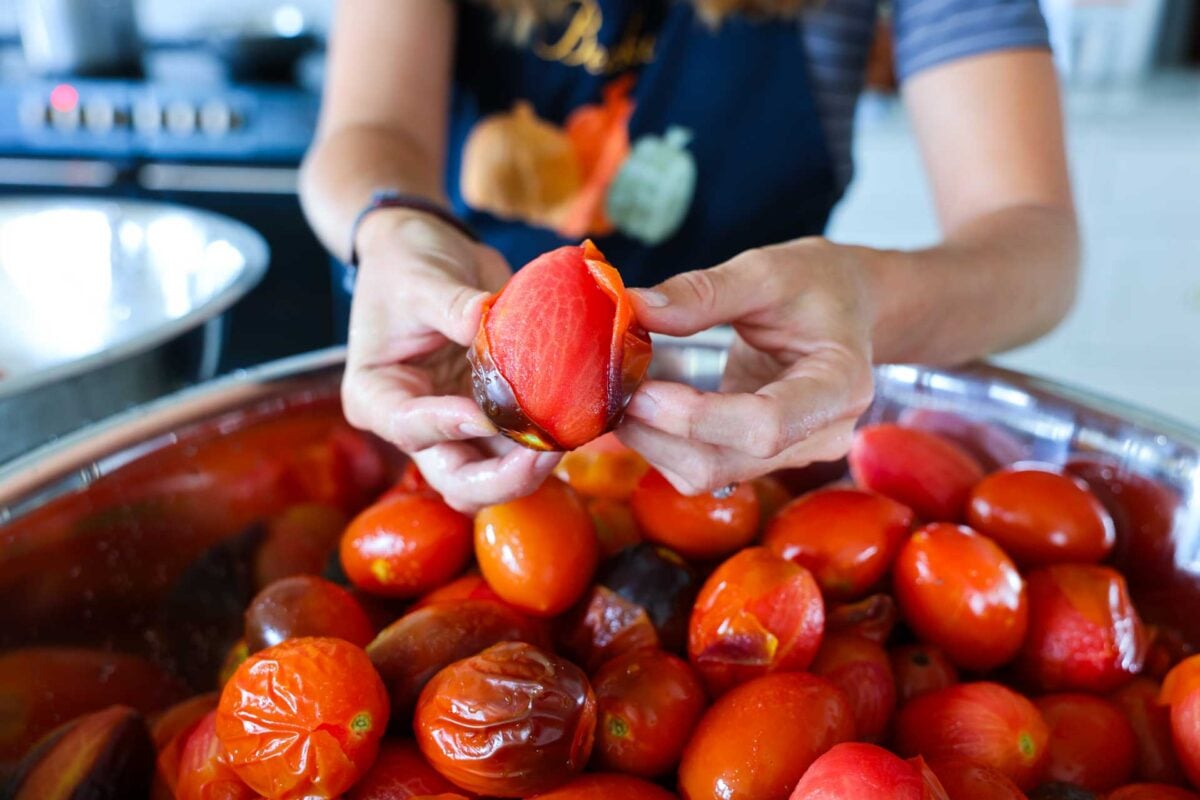
STEP 4: Working in small batches, place tomatoes in boiling water and boil for 30-60 seconds until the skins split. Note:To ease skin removal you can also cut small x cut in the bottom of tomatoes prior to boiling.
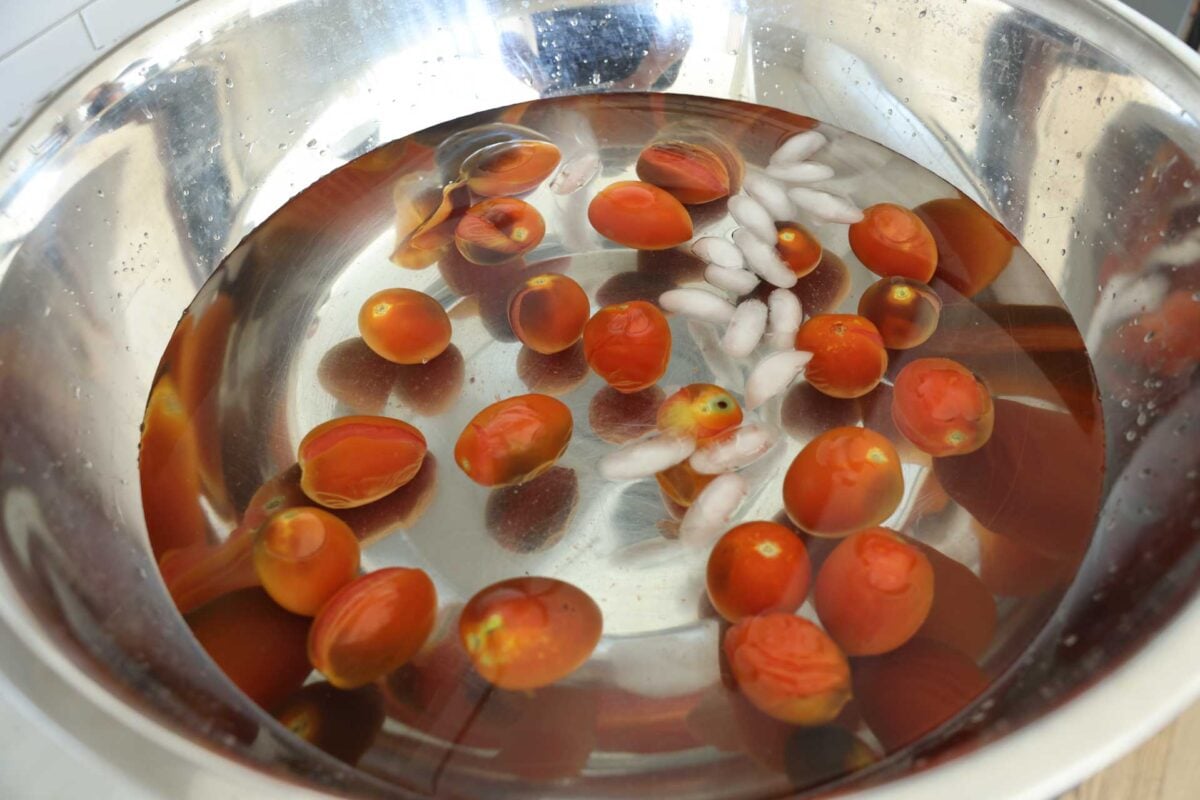
STEP 5: Place tomatoes immediately in the prepared cold water bowl. Let sit until it’s cool enough to touch and remove the skins. Remove any cores, bruises, or bad spots.
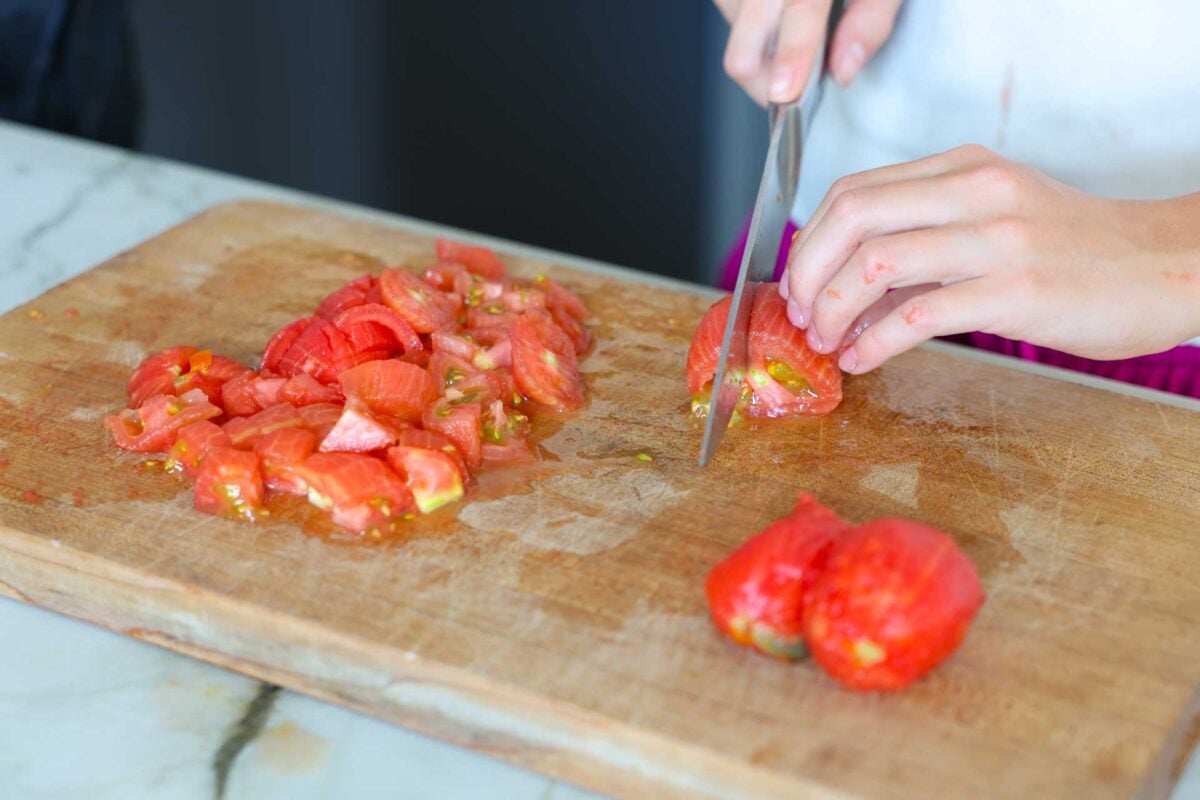
STEP 6: Dice tomatoes into half inch cubes. Place the tomatoes and any juices from cutting into a large sauce pan.
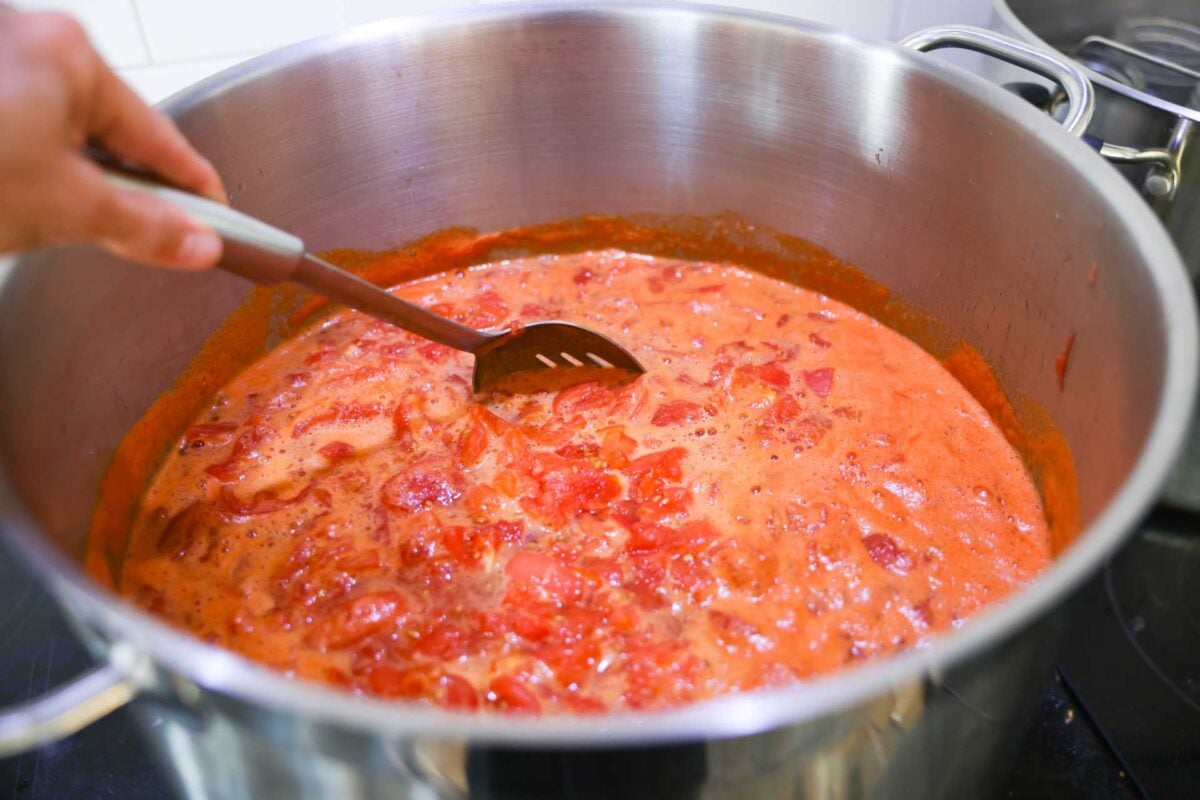
STEP 7: Bring tomatoes to a boil on medium-high heat and boil gently for 5 minutes.
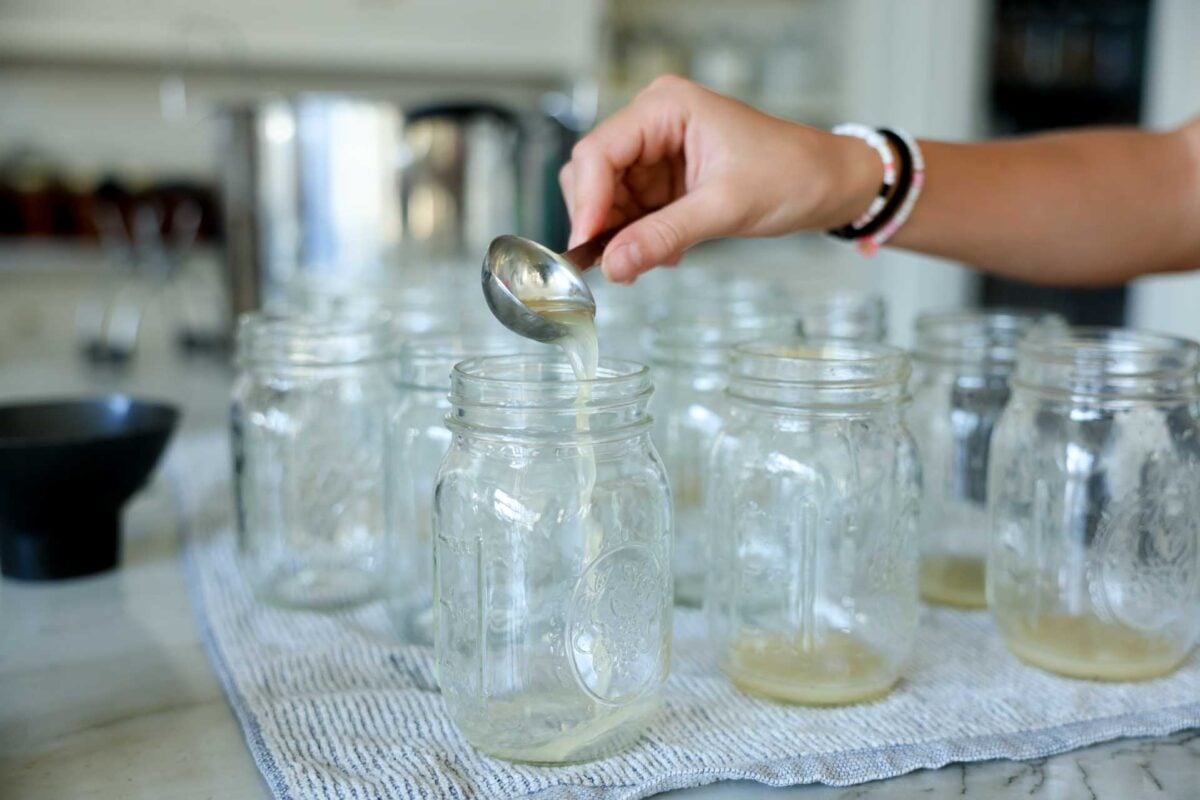
STEP 8: Prior to loading the tomatoes, add 1 tablespoon (15 mL) of bottled lemon juice to each jar for pints. Or if using quarts 2 tablespoons (30 mL) of bottled lemon juice. If you prefer citric acid, use 1/4 tsp (1mL) for pints and 1/2 tsp (2mL) for quarts.
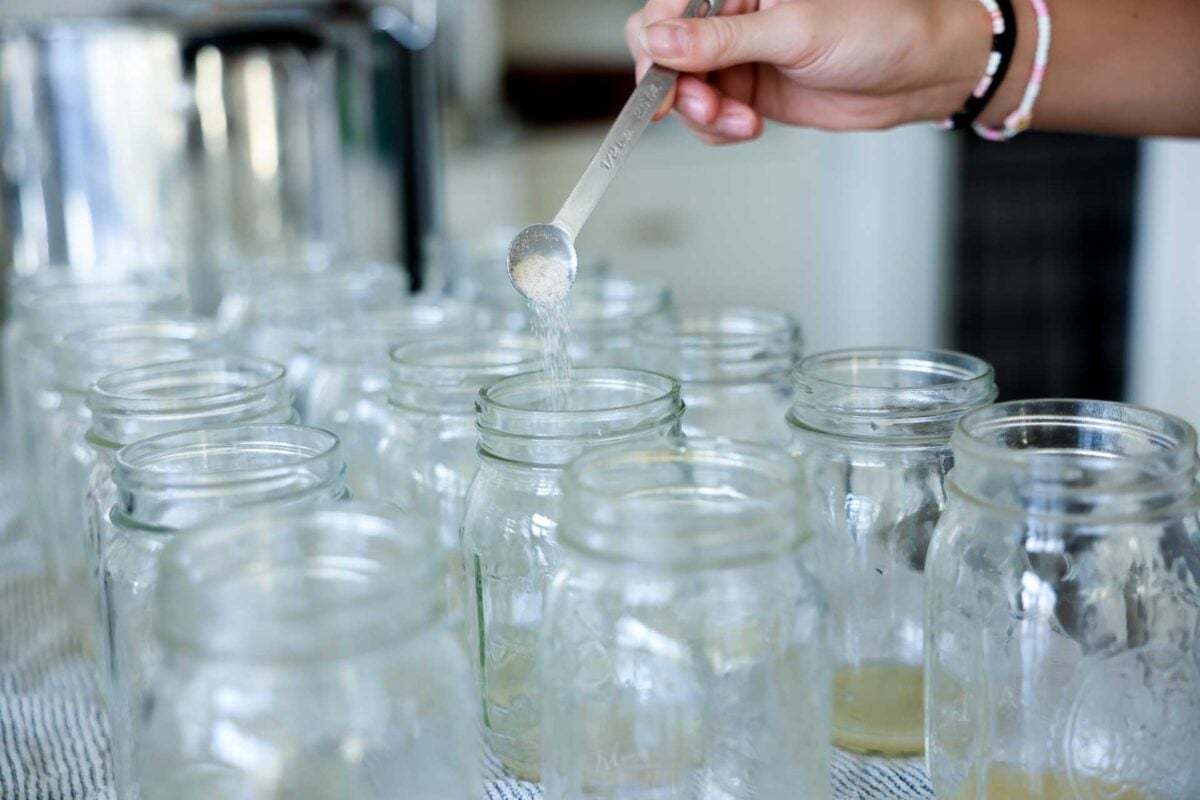
STEP 9: Optional: Add ½ teaspoon of salt per jar for pints or add 1 teaspoon of salt for quarts.
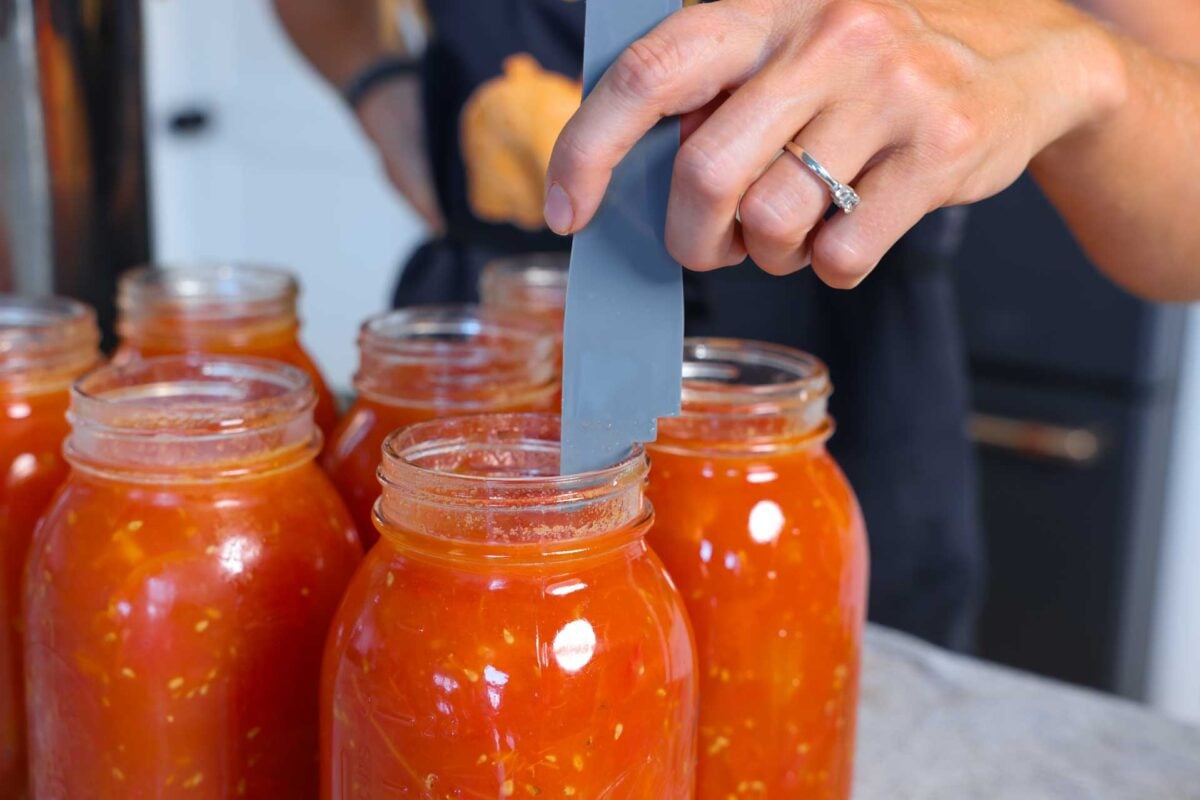
STEP 10: Water Bath Canning (OPTION 1): Pack hot tomatoes in hot jars with a generous half inch (1cm) of headspace. Remove air bubbles and fix headspace if needed. Wipe the jar rim with hot water. Center lid on jar and apply band, adjust to fingertip tight.
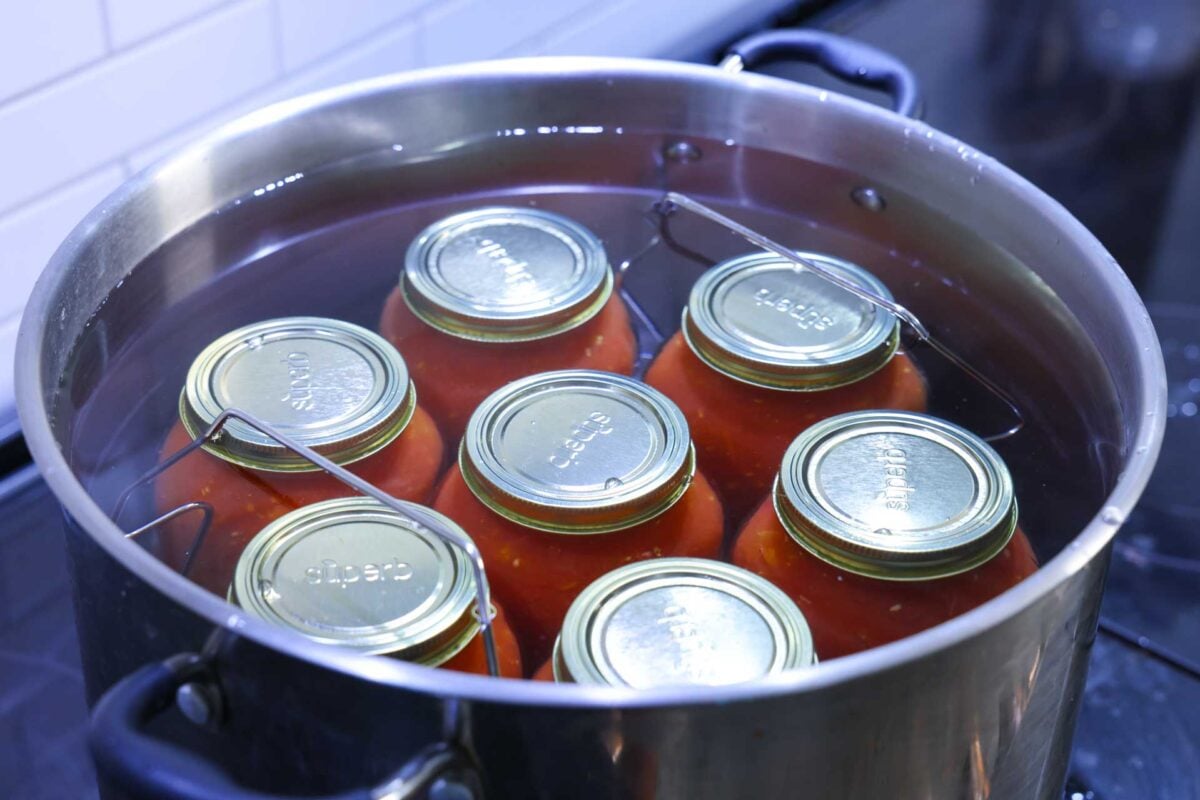
STEP 11: Place the jars in the water bath canner. Bring to a boil and process pint (500mL) jars for 35 minutes and quart (1L) jars for 45 minutes. Adding additional time for altitude as needed (see chart below).
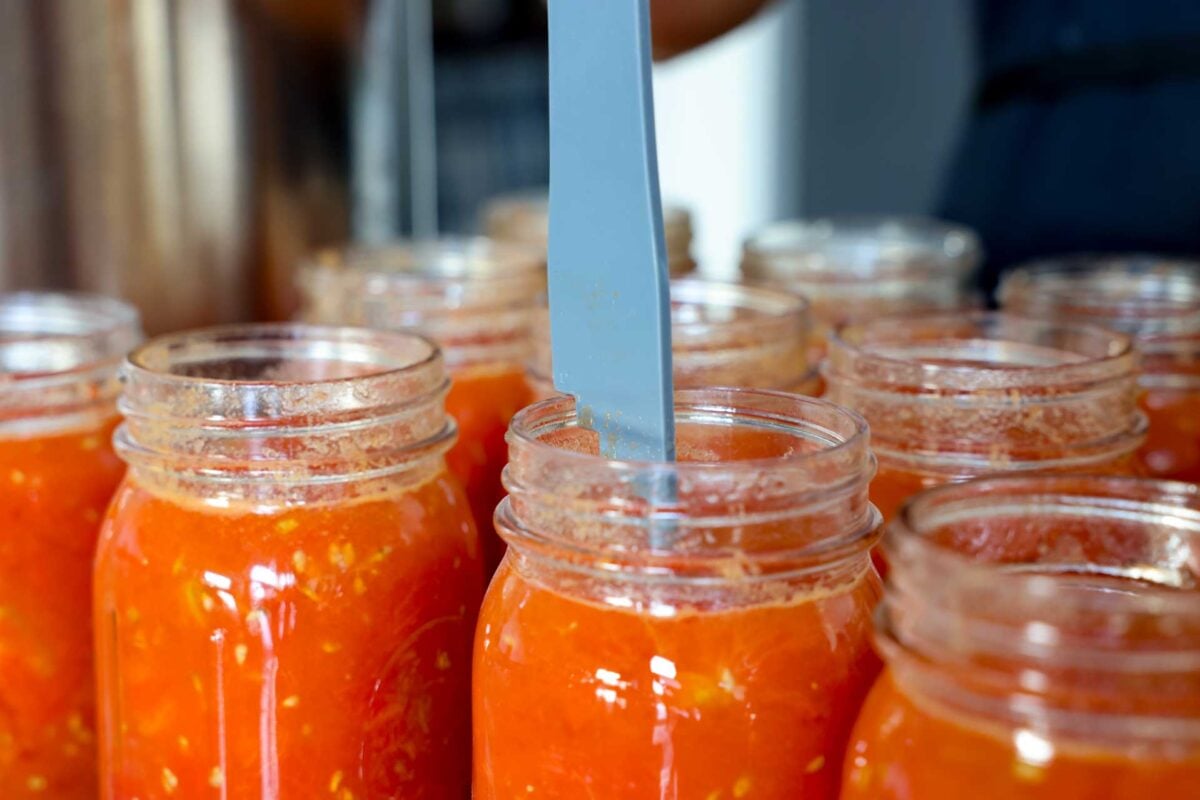
STEP 12: Pressure Canning (OPTION 2): Pack hot tomatoes in hot jars with a generous 1 inch (2.5cm) of headspace at the top of the jar. Remove air bubbles and fix headspace if needed. Wipe the jar rim with vinegar. Center lid on jar and apply band, adjust to fingertip tight.
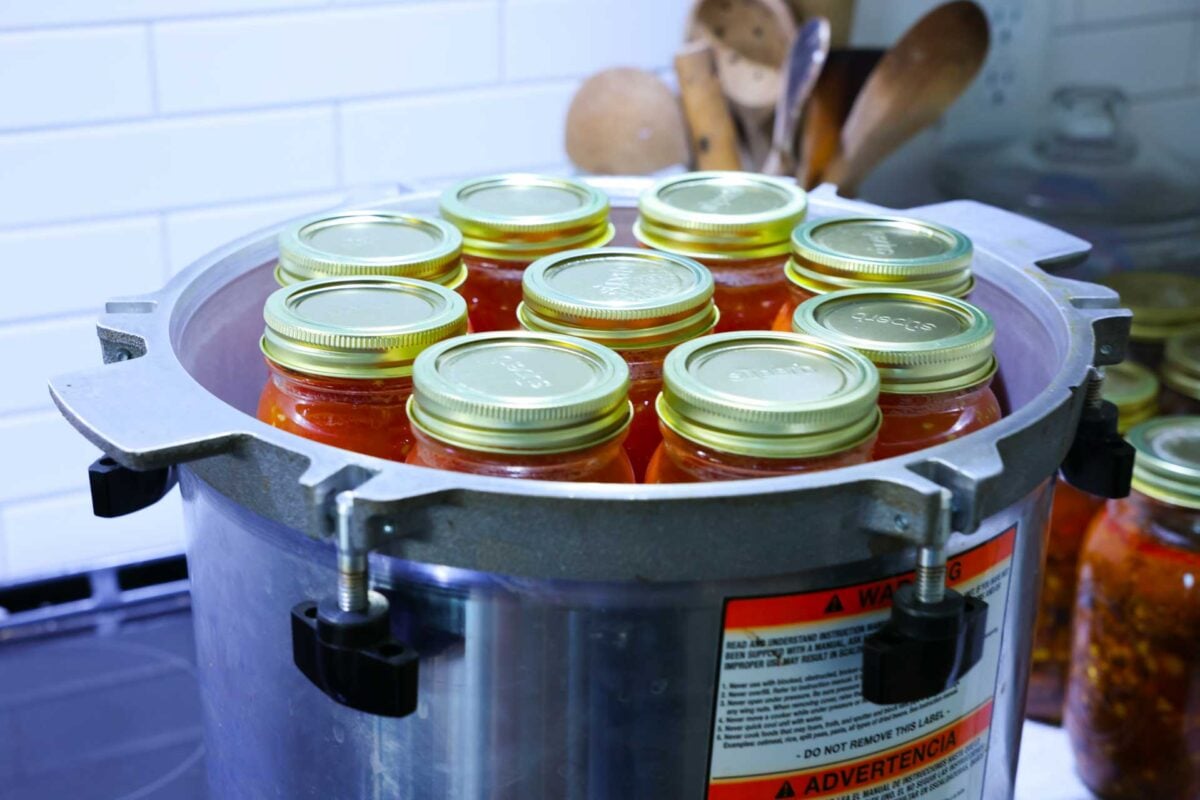
STEP 13: Place the jars in the prepared pressure canner. Follow your manufacturers instructions and adjust water level if needed. Lock the lid and vent steam for 10 minutes. Then close the vent. For weighted gauge, process at 10lbs of pressure 0–1,000 ft and 15 lbs above 1,000 ft. Dial-gauge canner use 11 lbs of pressure at 0–2,000 ft, 12 lbs at 2,001–4,000 ft, 13 lbs at 4,001–6,000 ft, and 14 lbs at 6,001–8,000 ft. Bring to a boil and process pint (500mL) and quart (1L) jars for 15 minutes.
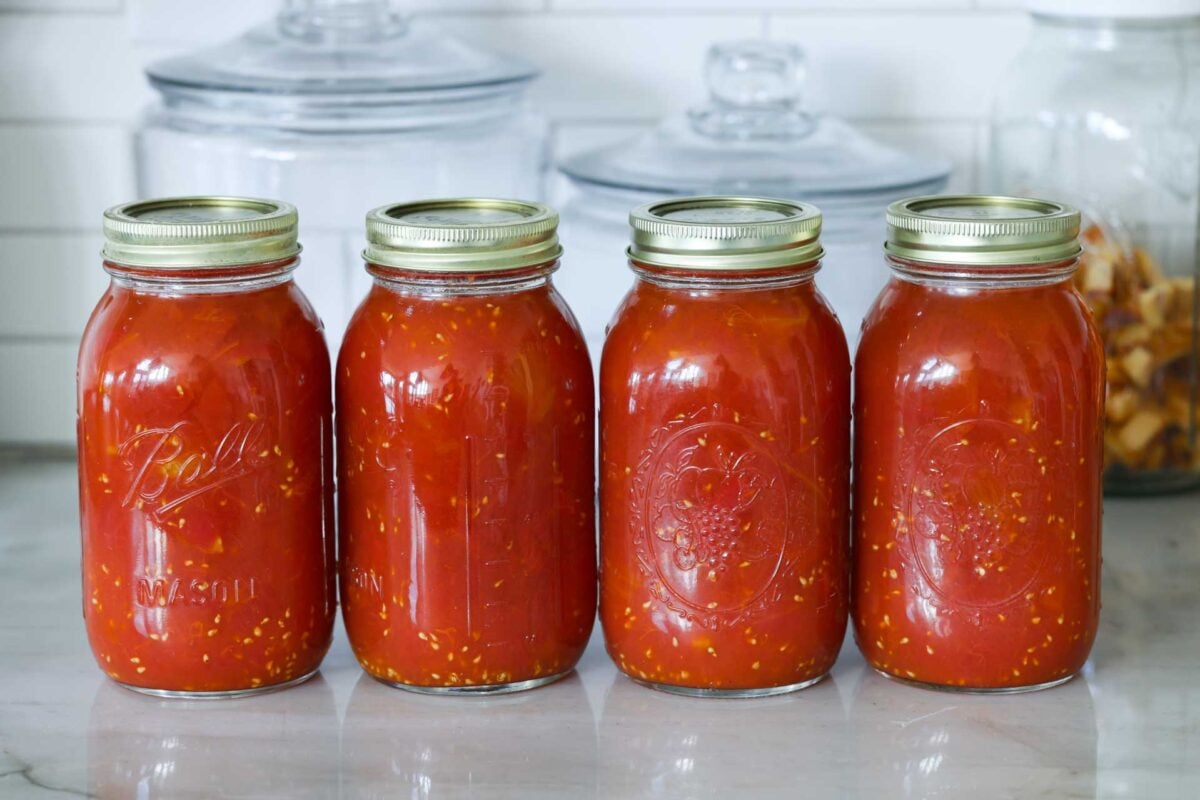
STEP 14: Turn off heat. Don’t touch anything and let the pressure return to zero naturally. Allow an extra 10-20 minutes even after it is at zero then open the vent. Remove the canner lid. Wait another 10-20 minutes then remove the jars. After 24 hours, check seals, remove rings and wipe off, and store in a cool, dry place.

Video Tutorial On How To Can Diced Tomatoes


Tips For Awesome Canned Diced Tomatoes
- Don’t cut the tomatoes too small because during the processing they will break down further. 1/2 inch to 1 inch cubes is ideal.
- Use firm, ripe tomatoes for the best finished product. If the tomatoes are getting soft and overripe the end result will be soft and mushy.
- Don’t skip peeling the tomatoes. Tomato skins don’t seem so bad when eating it fresh but when you cook them they toughen while everything else softens. It is not a pleasant texture and can ruin all your hard work.
Frequently Asked Questions
Yes! Tomato skins maintain their tough texture when canning and don’t soften. Therefore, it’s best peel the tomatoes with a 30-60 second dip into boiling water, then transfer over to cold water and the skins peel right off. Some tomatoes peel easier than others so if you aren’t sure, you may want to take the time to cut slits in an x shape at the base of each tomato.
Canned tomatoes are the best quality when consumed within the first 2 years. After two years, the quality will likely decline but as long as the seal on the lid is still holding well, they can still be consumed up to 3 years later. Obviously, use your best judgement, if anything looks off or the contents of the jar are moldy or spoiled don’t eat it.
Speaking from personal experience, the only time I’ve seen moldy home canned food is if a seal on the jar failed in storage. This can happen years after processing!
Other Favorite Tomato Preserving Recipes
If you made Diced Tomatoes (canning recipe) or any other recipe on my blog please leave a 🌟 star rating and let me know how it went in the comments below. It really helps! Thanks for visiting!
Diced Tomatoes for Canning
Ingredients
- 12 lbs Tomatoes cut off bad spots and core prior to weighing.
- Sea salt or Canning Salt
- Bottled Lemon Juice or Citric Acid Use 5% acidity for the lemon juice
Instructions
- Prepare a water bath or pressure canner, heat jars in simmering water, and rinse lids and rings in warm water then set aside.
- Fill a bowl with ice cold water.
- Fill a large saucepan with water and bring to a boil.
- Working in small batches, place tomatoes in boiling water and boil for 30-60 seconds until the skins split. Note:To ease skin removal you can also cut small x cut in the bottom of tomatoes prior to boiling.
- Place tomatoes immediately in the prepared cold water bowl. Let sit until it’s cool enough to touch and remove the skins. Remove any cores, bruises, or bad spots.
- Dice tomatoes into half inch cubes. Place the tomatoes and any juices from cutting into a large sauce pan.
- Bring tomatoes to a boil on medium-high heat and boil gently for 5 minutes.
- Prior to loading the tomatoes, add 1 tablespoon (15mL) of bottled lemon juice to each jar for pints. Or if using quarts 2 tablespoons (30mL) of bottled lemon juice. If citric acid is preferred, us ¼ tsp (1mL) for pint jars and ½ teaspoon (2mL) for quart jars.
- Optional: Add ½ teaspoon of salt per jar for pints. For quarts add 1 teaspoon of salt for quarts.
Water Bath Canning (Processing Option 1)
- Pack hot tomatoes in hot jars with a generous half inch (1cm) of headspace. Remove air bubbles and fix headspace if needed. Wipe the jar rim with hot water. Center lid on jar and apply band, adjust to fingertip tight.
- Place the jars in the canner. Bring to a boil and process pint (500mL) jars for 35 minutes and quart (1L) jars for 45 minutes. Adding additional time for altitude as needed (see chart above). When the time is finished turn off heat, remove canner lid, and let jars sit for 5-10 minutes. Then
Pressure Canning (Processing Option 2)
- Pack hot tomatoes in hot jars with a generous 1 inch (2.5cm) of headspace at the top of the jar. Remove air bubbles and fix headspace if needed. Wipe the jar rim with vinegar. Center lid on jar and apply band, adjust to fingertip tight.
- Place the jars in the prepared pressure canner. Follow your manufacturers instructions and adjust water level if needed. Lock the lid and vent steam for 10 minutes. Then close the vent. For weighted gauge, process at 10lbs of pressure 0–1,000 ft and 15 lbs of pressure is used if you live in a place that is 1,000 ft+ above sea level. Dial-gauge canner use 11 lbs of pressure at 0–2,000 ft, 12 lbs at 2,001–4,000 ft, 13 lbs at 4,001–6,000 ft, and 14 lbs at 6,001–8,000 ft. Bring to a boil and process pint (500mL) and quart (1L) jars for 15 minutes.
- Turn off heat. Don’t touch anything and let the pressure return to zero naturally. Allow an extra 10-20 minutes even after it is at zero then open the vent. Remove the canner lid. Wait another 10-20 minutes then remove the jars. After 24 hours, check seals, remove rings and wipe off, and store in a cool, dry place.